Use Database Encryption with Files and Attachments Encryption
Learning Objectives
After completing this unit, you’ll be able to:
- Assign permission to generate, rotate, and archive your org’s keys.
- Enable Database Encryption.
- Enable encryption for files, fields, and attachments.

Move Forward with Shield Platform Encryption
Carolyn, Calvin, and Ernesto have another meeting to share what both Calvin and Ernesto have discovered about Shield Platform Encryption. They’re all pleased with the results. From what they’ve learned, they can cover all of the issues in their security review without disrupting their user experience or forfeiting any of their Salesforce investment. Carolyn suggests that Calvin and Ernesto set up a Developer Edition org and try it out. Calvin will create the Developer Edition org and manage secrets generation. Ernesto will handle the permissions and key management.
After that, they plan to test the features in two groups.
- Database Encryption and Files and Attachments
- Field-Level Encryption, Search Index Encryption, and Event Bus Data Encryption
Get Hands-On with Shield Platform Encryption
Follow along with Ernesto and Calvin as they set up their developer org for Shield Platform Encryption.
Assign Permissions
Ernesto starts by going through the steps to grant the Customize Application and Manage Encryption Keys permissions.
- From Setup, enter
Permission Setsin the Quick Find box, then select Permission Sets.
- Click New.
- Now create a label for the new permission set. For this unit, use the label
Key Boss. The API name populates with a variation of the label.
- Click Save.
- In the System section of the Key Boss page, select System Permissions.
- Click Edit, and enable the Customize Application and Manage Encryption Keys permissions.
- Click Save and then confirm your configuration.
- From Setup, enter
Usersin the Quick Find box, then select Users.
- Select the name you want in the User list (in this case, that’s yours).
- Scroll down to Permission Set Assignments, and select Edit Assignments.
- Select Key Boss, then add it to the Enabled Permission Sets list.
- Click Save.
Ernesto adds both his and Calvin’s accounts, so that they can both work on Shield Platform Encryption tasks.
Enable Database Encryption
With the permissions enabled, Calvin can turn on Database Encryption. Using Database Encryption is the quickest way to begin using Shield Platform Encryption. With a single selection you can begin encrypting every data field, all your metadata, and any file that’s small enough to be stored within the database. Calvin and Ernesto are both thrilled that with Database Encryption, there is no compromise on the filtering or sorting of encrypted content.
Before Zephyrus can start encrypting customer data, Calvin needs to enable Database Encryption.

- From Setup, in the Quick Find box, enter
Platform Encryption, and then select Encryption Settings.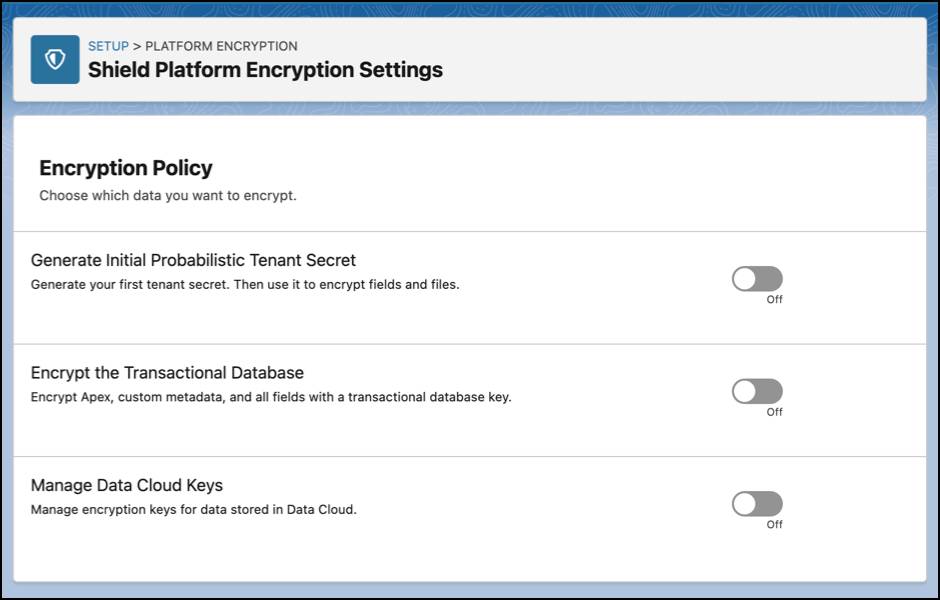
- In the Encryption Policy section, click the Encrypt the Transactional Database toggle. You are notified that this is a permanent change. Go ahead and click the Encrypt the Transactional Database button.


That’s it! Salesforce creates your first Database Encryption tenant secret automatically. All new transactions of any kind are now protected.
Learn the Database Encryption’s Process
Database Encryption’s smallest unit of encryption is a database fragment (or page). It securely manages many constant encryptable transactions until an encrypted fragment can be written. This fragment-based architecture results in a constant re-encryption of fragments, which gradually spreads throughout the entire transactional database in an organic way. Because of this, with Database Encryption enabled, synchronizing your data is not needed and is therefore unavailable.
Learn About Database Encryption Secrets
Let’s take a look at the Database Tenant Secret.
1. In the Setup sidebar, select Key Management.
2. Select the Database Tab.

Database Encryption manages and uses its secrets differently than other Shield Platform Encryption features.
First, while it uses a tenant secret, an IV, and a KDF to derive a DEK, it scopes each DEK to a single database fragment. Every time it writes a new or existing fragment, it generates a fragment-specific IV. This is used with the tenant secret to create a fragment-specific DEK for encryption. These DEKs are securely and permanently stored within the database.
Second, because of this fragment-based encryption architecture, Database Encryption tenant secrets can’t be exported, imported, or destroyed. That’s why on the Database Tab for the Key Management page, the only options available are generating a new tenant secret and uploading a BYOK. In addition, the Database Encryption tenant secrets are not accessible by the API.
Third, there’s a limit of 50 active tenant secrets you can have in your org for all Shield Platform Encryption features. But this excludes Database Encryption’s tenant secrets. Because Database Encryption secrets are managed separately and cannot be destroyed, they are not counted in the limit.
Encrypt Files and Attachments
Zephyrus works with many companies in relocating their clients. A relocation can generate many different sets of contracts, manifests, and bills of lading. Files that are smaller than a few kilobytes are stored within the database, so Database Encryption protects them there. But for larger files, Zephyrus needs to enable Files and Attachment Encryption. Let’s see how that’s done.
Before you can turn on encryption for Files and Attachments, you must create a tenant secret. The same tenant secret is used for fields, files, and attachments.
Generate Your Tenant Secrets
As we learned in unit 2, tenant secrets are used to derive your encryption keys. They work with the Salesforce-generated primary secret, but each tenant secret is specific to your org. In this way, the data in each of your orgs is encrypted with keys unique to that org.
So, before Zephyrus can start encrypting its files and attachments, Calvin needs to create the first tenant secret.
- From Setup, in the Quick Find box, enter
Platform Encryption, and then select Encryption Settings.
- Enable the Generate Initial Probabilistic Tenant Secret toggle.
It’s as easy as that. Now Calvin has a tenant secret that the Salesforce key management service can use to create the DEK for protecting fields and smaller files.
Now you can enable encryption for larger files and attachments.
- In the Encryption Policy section, enable Encrypt Files and Attachments.
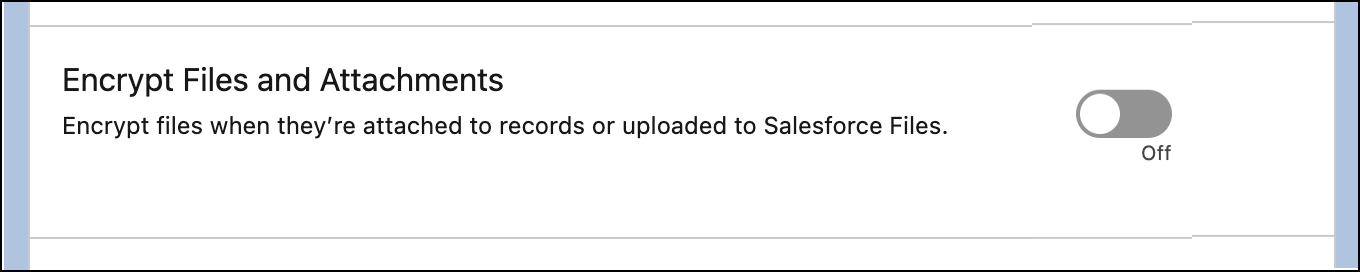
After you enable the toggle, new files and attachments are encrypted as they are added.
Now anyone with the Customize Application permission can encrypt supported file types and even attachments. For example, if Mr. Smith brought in his residency visa for Sweden, Calvin can upload that file to Mr. Smith’s record and encrypt it.
Turning on the Encrypt Files and Attachments switch affects only files and attachments created after encryption is enabled. Files and attachments that were already in Salesforce aren’t affected. But unlike for Database Encryption, you can use the Encryption Statistics and Data Sync page to encrypt existing files and attachments.
OK! Calvin and Ernesto have set up their Developer Edition org and enabled database encryption, which encrypts the transactional database and their files and attachments. They will test these features thoroughly for a few days.
In the next unit, we join Calvin as he sets up field-level encryption and Event Bus Data Encryption.