Add Users to Spiff
Learning Objectives
After completing this unit, you’ll be able to:
- Download the user upload template.
- Add user data to the template.
- Activate users.
Download the User Upload Template
Salesforce Spiff is a leading sales compensation software that automates and simplifies the process of calculating and managing sales commissions. With Salesforce Spiff, your organization can ensure accurate, timely, and transparent commission payments, motivating sales teams and improving performance. In this module, find out how you can manage users in Spiff.
A new sales representative has joined the team and needs access to Salesforce Spiff. To add them as a user, you use the user upload template.

First, open the Salesforce Spiff app and go to Admin | Users. This brings you to the Mass Data Management page with a table of all existing users.
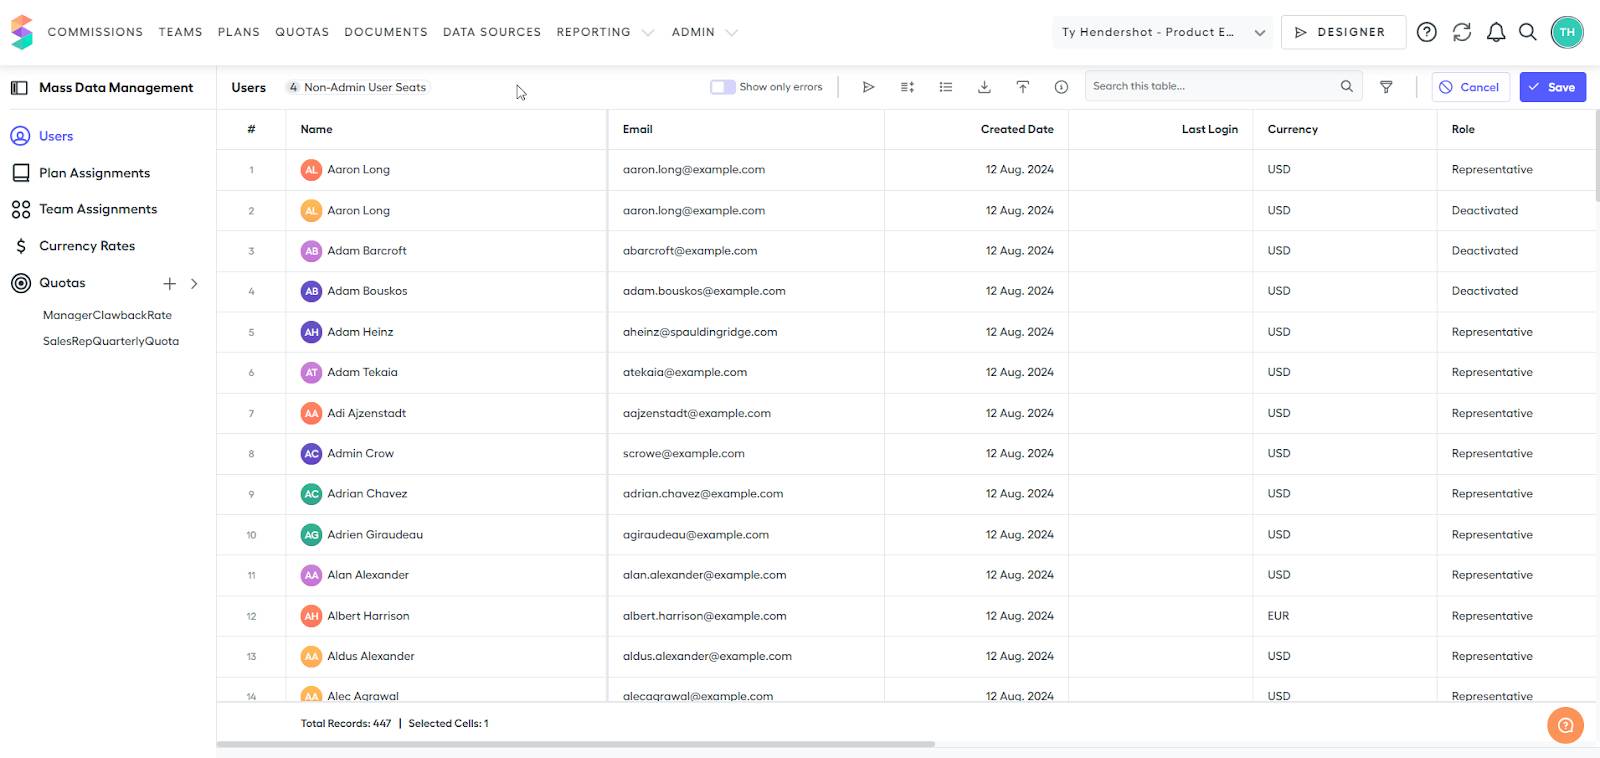
Make sure that the Users tab in Mass Data Management is selected. At the top middle of the page you'll find a row of buttons. Click  and an Upload window will appear. Click download the example file in the new window to download the user upload template. This file is used to add the new user to Salesforce Spiff.
Add User Data
Open the downloaded example file in Excel or Google Sheets. There are some examples included in the template that can be used as a reference for how to format information about new users. Delete these example rows and add data about the new user.
Let’s understand each column in the template.
-
External ID is a unique key identifier for every user that gets added to Salesforce Spiff. It’s a string type value and can include numbers or letters. No two users can have the same external ID.
-
Email is the email address where the new user receives their invite. This is typically their email address with your company.
-
Name is the user’s name and appears in Salesforce Spiff on their statements, the user management page, and anywhere else where their name appears.
-
Role determines a user’s role in Salesforce Spiff. The available roles are Salesforce Spiff all access, finance, editing manager, manager, representative, and IT support.
-
Preferred_currency_code sets the user’s preferred currency. The currency you enter here is the default currency that the rep uses in their payment statements. Make sure to add the correct currency for their location. For supported currencies, see Currency in Salesforce Spiff in Salesforce Help.
Here's a sample row for a rep named Abc Xyz who works in the United States.
external_id |
name |
role |
preffered_currency_code |
|
|---|---|---|---|---|
0051se156sdf |
abcxyz@salesforce.com |
Abc Xyz |
REPRESENTATIVE |
USD |
Activate Users
When your template is complete and you list all of the users you want to add, upload the document. It can take a few moments for the information to upload to Salesforce Spiff, but the process is usually quick.
Now these users exist within Salesforce Spiff, but they’re not yet active. Select one or more users, then click  to invite them to Salesforce Spiff. Reps receive an email informing them that they have 7 days to activate their account.
Now that you've learned how to add users, the next unit guides you through editing data about them.
Resources