Create a Flow
Learning Objectives
After completing this unit, you’ll be able to:
- Prepare to create a flow.
- Create a flow.
- Add a trigger to a flow.
- Add action steps to a flow.
- Exit a flow.
Before You Start
This module builds on MuleSoft Composer Basics and MuleSoft Composer Installation and Configuration. In these modules, you learn about MuleSoft Composer features, flow components, flow creation tasks, and the requirement to have the MuleSoft Composer User permission set to build and run flows. So make sure to complete these modules before you continue.
In this module, we assume you’re an authorized MuleSoft Composer user. If you’re not a MuleSoft Composer user, that’s OK. Read along to learn how they perform the steps. Don’t try to follow the steps in a Trailhead Playground, because MuleSoft Composer isn’t available in the Trailhead Playground.
Now, you step into the role of admin for Northern Trail Outfitters (NTO), an outdoor and recreational gear retailer. In this module, you examine some key integration challenges faced by NTO and learn how to use MuleSoft Composer to solve them.
Prepare to Create a Flow
Ready to get started?
First, gather all required information about the systems and assets your flow is going to use.
Let’s say you want to automate the data sync between Salesforce, NetSuite, and Slack. The following table describes the systems your flow must connect to and the information you need for those systems.
System |
Required Information |
|---|---|
Salesforce |
|
NetSuite |
|
Slack |
|
As a best practice, use a test environment for systems and data when you design and test your flows. After you’re done with testing, run the flows using your production systems and data.
Next, when you create a connection to a system using MuleSoft Composer, you’re typically required to grant MuleSoft Composer permissions to the system. Ensure your user account for the system is ready to grant MuleSoft Composer appropriate permissions.
For example, when you create a connection to Salesforce, your user account is required to grant MuleSoft Composer the following permissions.
- Access the identity URL service.
- Manage user data via APIs.
- Perform requests at any time.
Finally, to cross-reference data between systems, you must create relevant custom fields in the systems. For example, to cross-reference Salesforce products with NetSuite inventory items. In this case, you create a custom field in NetSuite to capture the Salesforce product IDs and a custom field in Salesforce to capture the NetSuite inventory item’s internal IDs.
To learn how to create custom fields in Salesforce, see Customize a Salesforce Object. To learn how to create custom fields in other systems, consult the documentation for those systems.
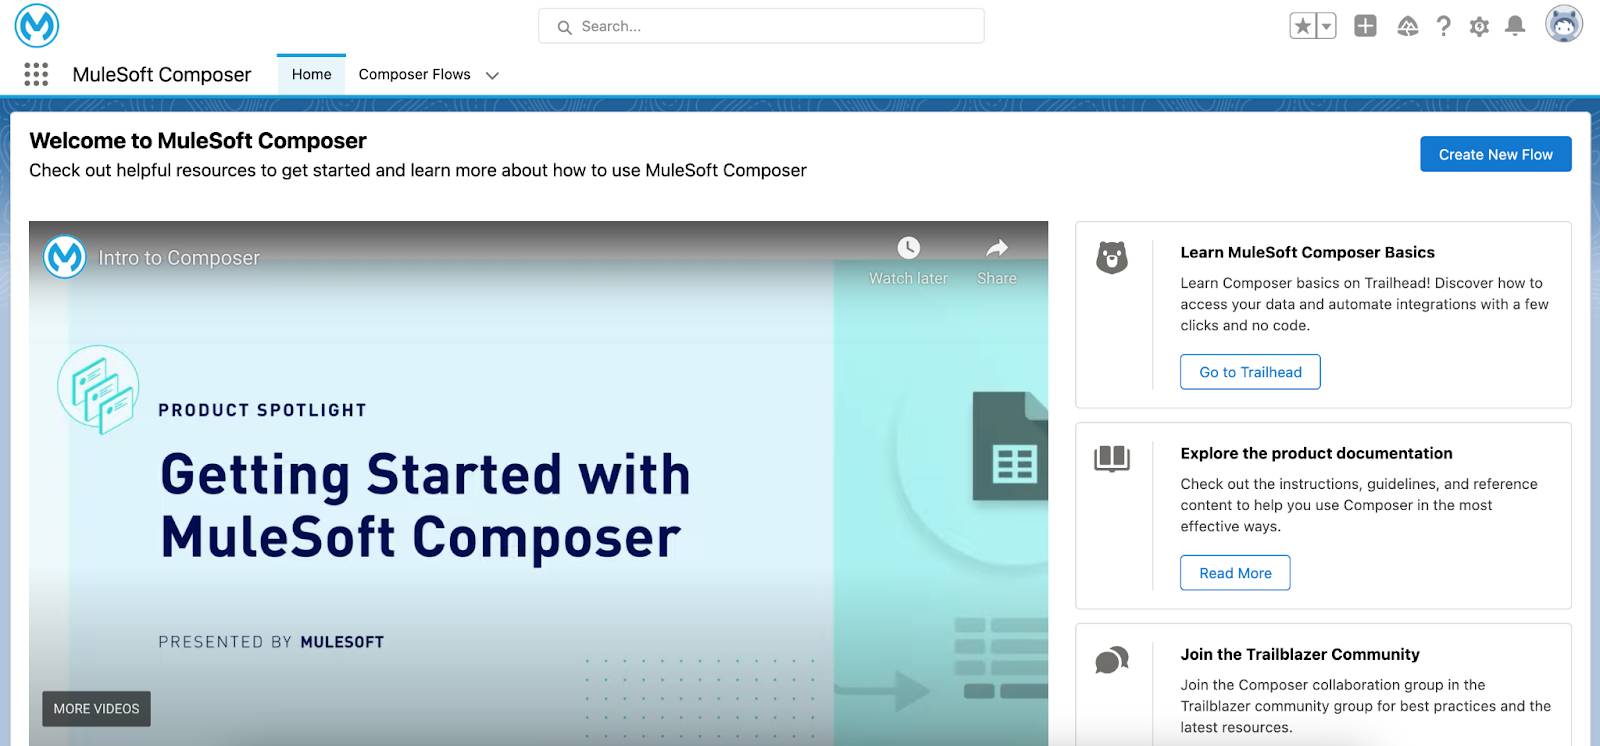
Create a Flow
After you’ve gathered all required information about the systems and assets your flow is going to use, you’re ready to create the flow.
Follow these steps to create a flow.
- Log in to your NTO org using your username and password.
- From the App Launcher, enter
Composerand select MuleSoft Composer.
- Click Create New Flow.
- Click the pencil icon next to the default flow name.

- Name the flow and click Save to save the flow name.
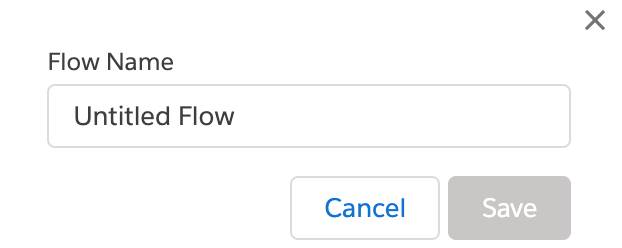
- Click Save to save the flow.

Add a Trigger to a Flow
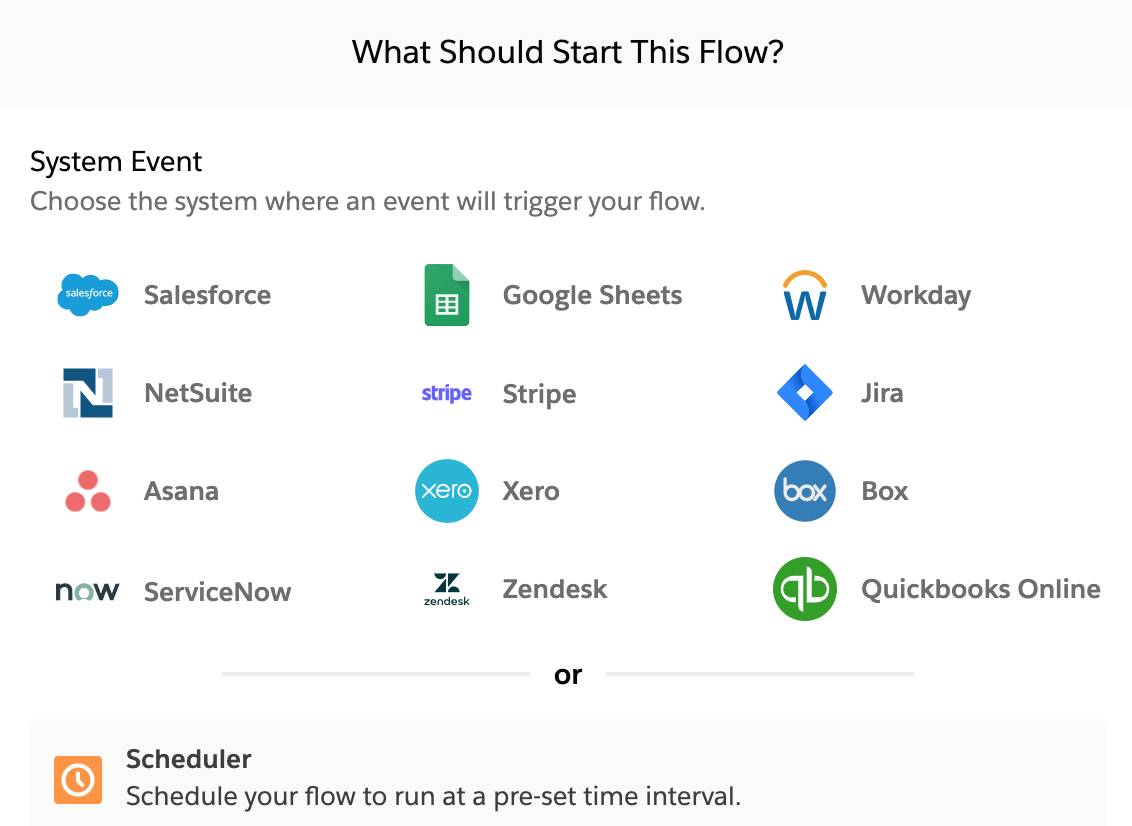
Every flow must have one of the following triggers to start.
- System event trigger
- Scheduler trigger
Use a System Event as a Trigger
You can use an event such as creating or updating a record in a system as a trigger for your flow. To do this, use one of the connectors MuleSoft Composer provides. MuleSoft Composer adds new connectors to a variety of systems on an ongoing basis.

Let’s learn how to add the creating or updating of an account in the NTO sandbox org as a trigger to your flow.
Follow these steps to add a Salesforce event as a trigger to a flow.
- On the What Should Start This Flow dialog box, select Salesforce from the list of available connectors.
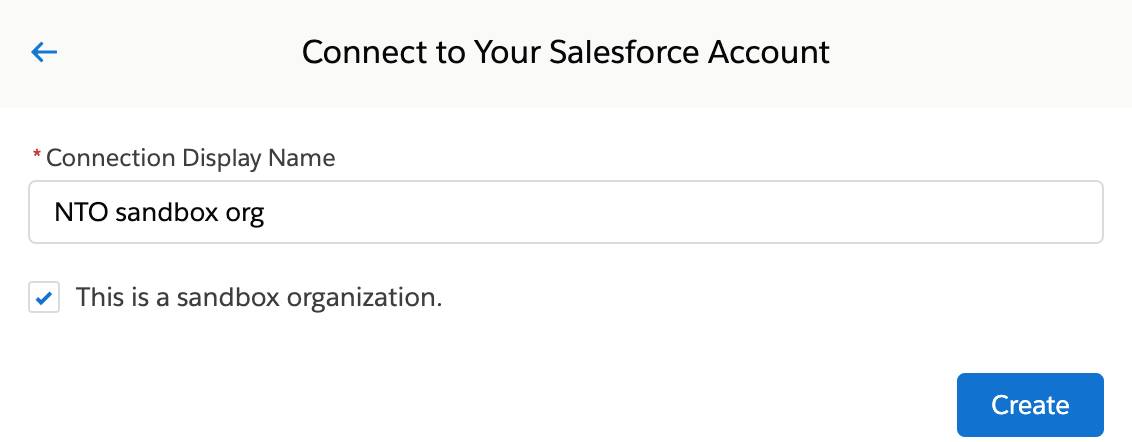
- Click Add new Salesforce connection to create a connection to the NTO sandbox org.
Note: If this is your first Salesforce connection, this option doesn’t appear. Go to the next step.
- Name the connection
NTO sandbox org.
- Select the checkbox This is a sandbox organization and click Create.
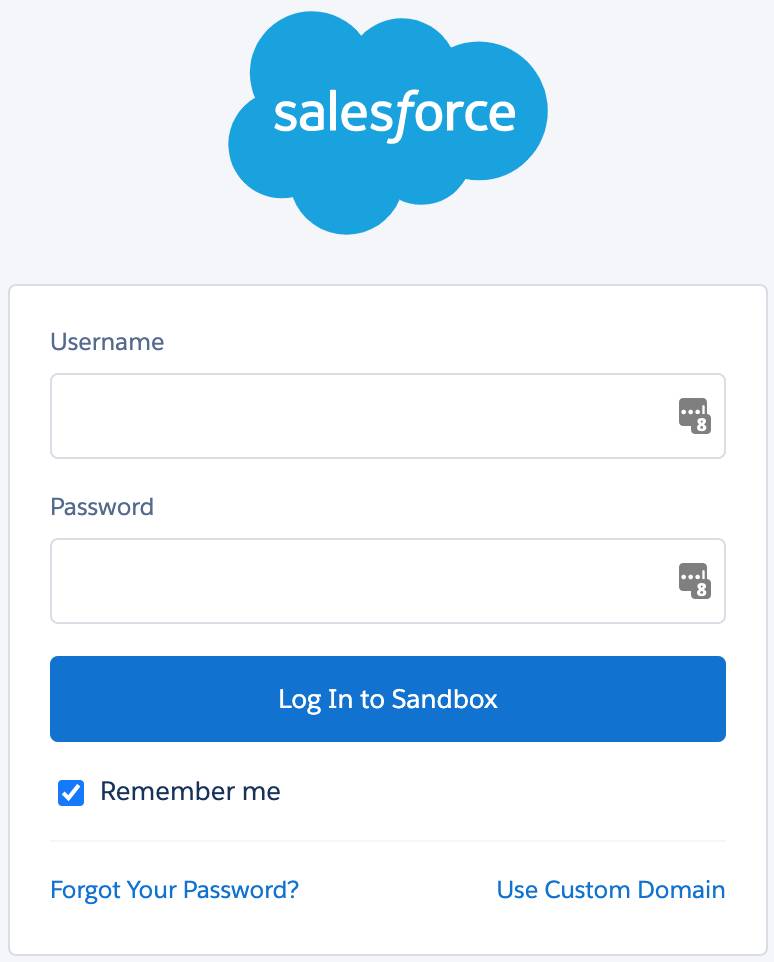
- Enter your NTO sandbox org’s username and password and click Log In to Sandbox.
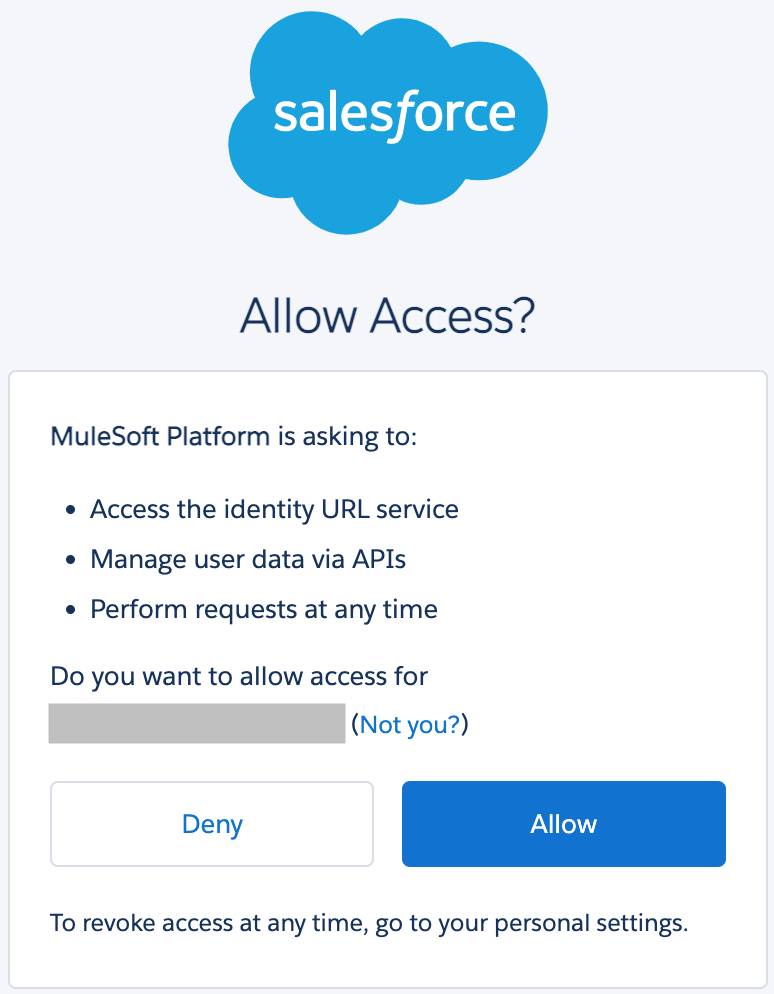
- Click Allow to grant MuleSoft Composer the permissions to access the identity URL service, manage user data via APIs, and perform requests at any time. MuleSoft Composer automatically tests the connection. If no error message appears, you have a successful connection, and the first step (trigger) of the flow appears.
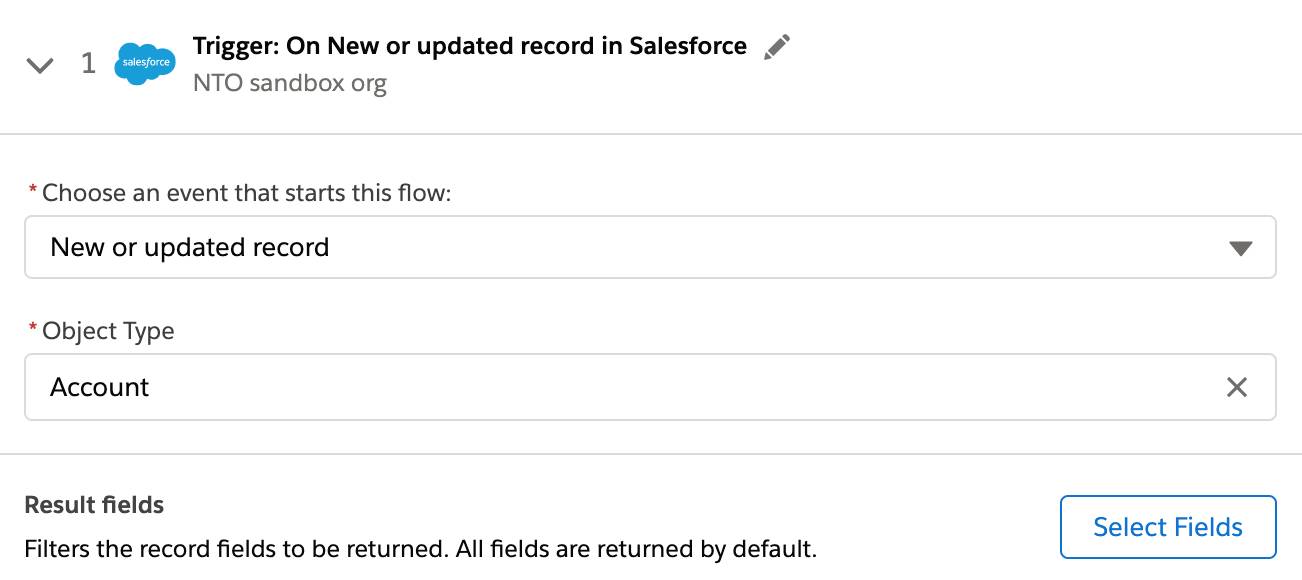
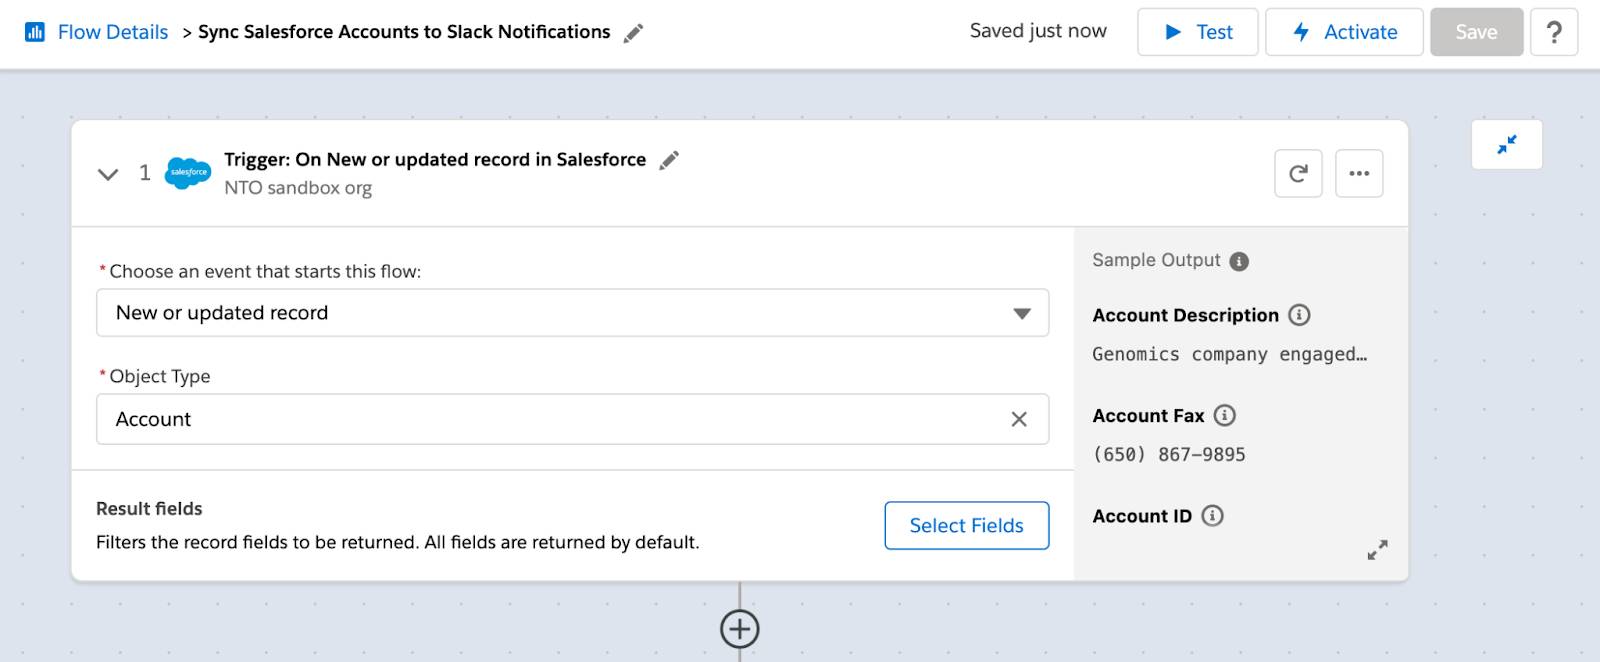
- Click in the Choose an event that starts this flow field and select New or updated record.
- In the Object Type field, enter
Account.
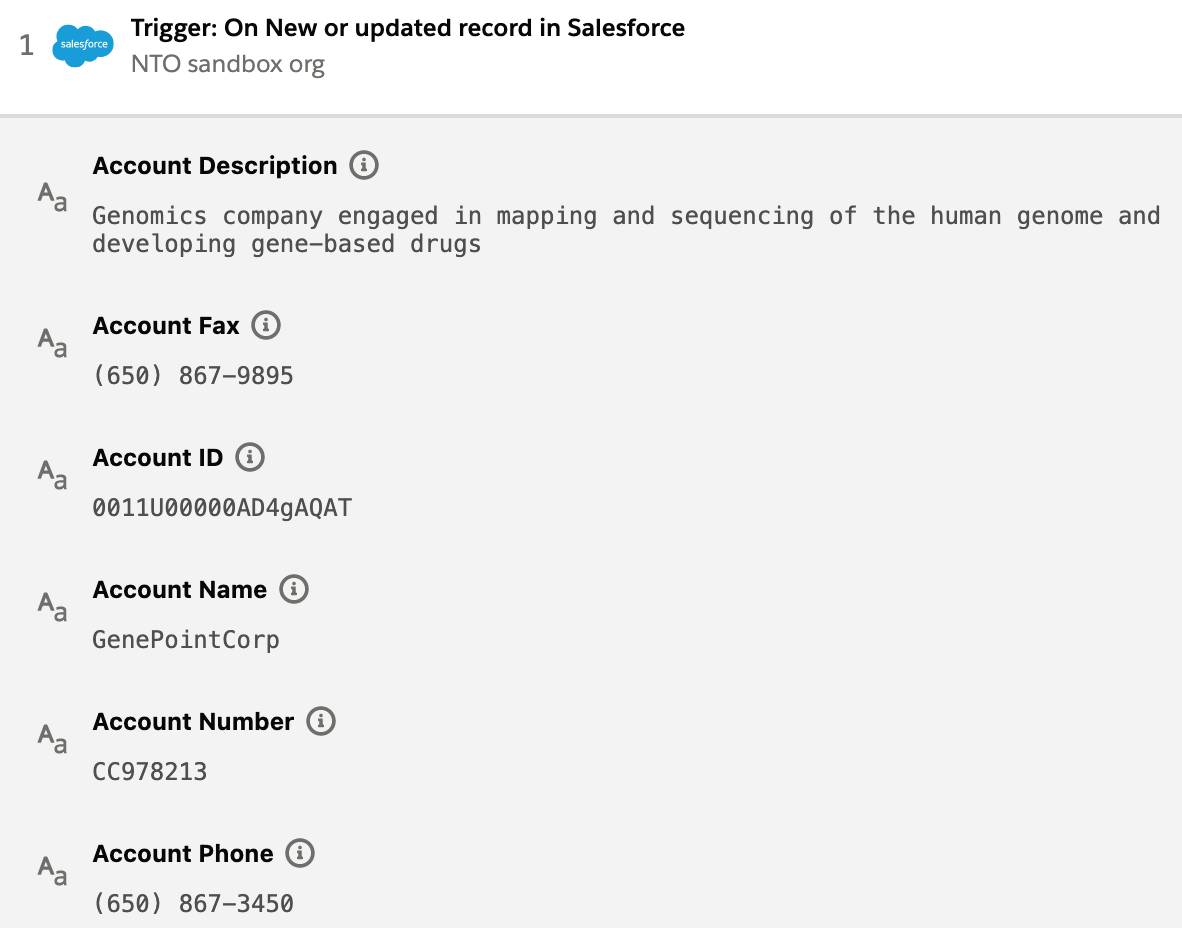
- Click the expand icon in the Sample Output section. The fields and associated sample values from an account in the NTO org appear. This confirms you’re connected to the correct system and lets you know the structure of the data that is available in later steps of your flow.
Note: After you’ve created and configured a trigger, MuleSoft Composer automatically generates a name for it. If this name isn’t sufficient for your business needs, click the pencil icon next to it, give it a new name, and then click Save.
Select Fields for an Object
By default, all fields associated with the object in the trigger are returned to the flow. If you need to narrow down to specific fields of the object, you can apply a filter.
Follow these steps to select fields for an object.
- Click Select Fields.
- In the search field, enter a keyword for the field you want to search, select the relevant field that appears, and then click Add.
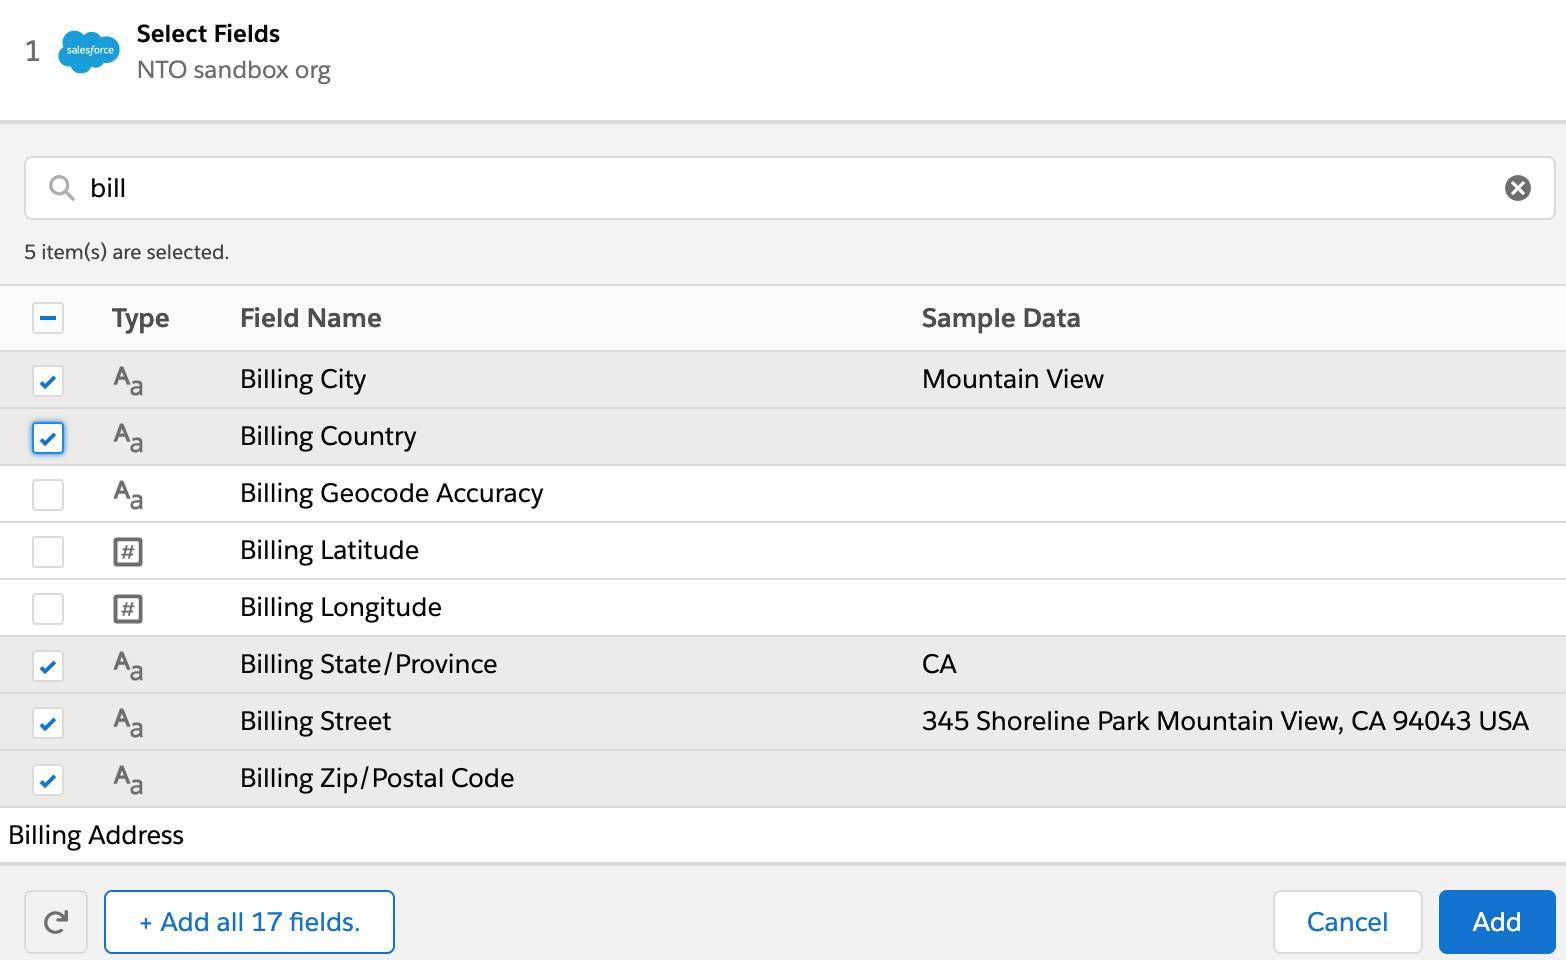
- Click the X icon to clear the keyword from the search field.
- Repeat steps 2 and 3 for the remaining fields you want to select.
- When done with selecting all desired fields, click Add.
Use a Scheduler as a Trigger
If your business requirements demand it, you can use a scheduler to run a flow at a regular time interval. With the scheduler, you can trigger your flow every 15, 30, 45 minutes, and so on up to every 30 days.
Follow these steps to add a scheduler as a trigger to a flow.
- On the What Should Start This Flow dialog box, scroll down and click Scheduler.
- Select a time interval of your choice.

At runtime, the scheduler starts running at the specified time interval. For example, you schedule your flow to run every 1 hour and you activate it at 8 AM on Monday. The flow starts running at 9 AM on Monday and continues every 1 hour. It continues to run until deactivated.
Add Action Steps to a Flow
Recall from MuleSoft Composer Basics that a flow is a sequence of steps that you assemble and configure to integrate systems and data. After you’ve added a trigger to your flow, the next step is to add action steps to the flow.
Let’s say you want to create a flow that syncs Salesforce accounts to Slack notifications. The flow must perform the following tasks.
- Find any new or updated account in the NTO org.
- Send a notification to the Slack sales-leads channel.
Earlier in this unit, you learned to create a flow that starts when an account is created or updated in the NTO org.
Now, let’s add an action step for sending notifications to Slack to this flow. Assume an NTO workspace and sales-leads channel have been created in Slack. To learn how to perform this task, take Slack Automation with MuleSoft Composer.
Here’s how to create and configure an action step that sends a notification to the sales-leads channel.
- Click the plus icon to add a step after the trigger.
- Click Slack.
- Name the connection
NTO Slackand click Create.
- Select NTO from the Slack workspace picklist.
- Click Allow to grant MuleSoft Composer the permissions to the NTO workspace. The MuleSoft Platform app is automatically added to the NTO Slack workspace, and the second step of the flow appears.
- Click in the Action field and select Post message to channel.
- In the Channel Name field, click the search icon, select Pick from List, and then select sales-leads.
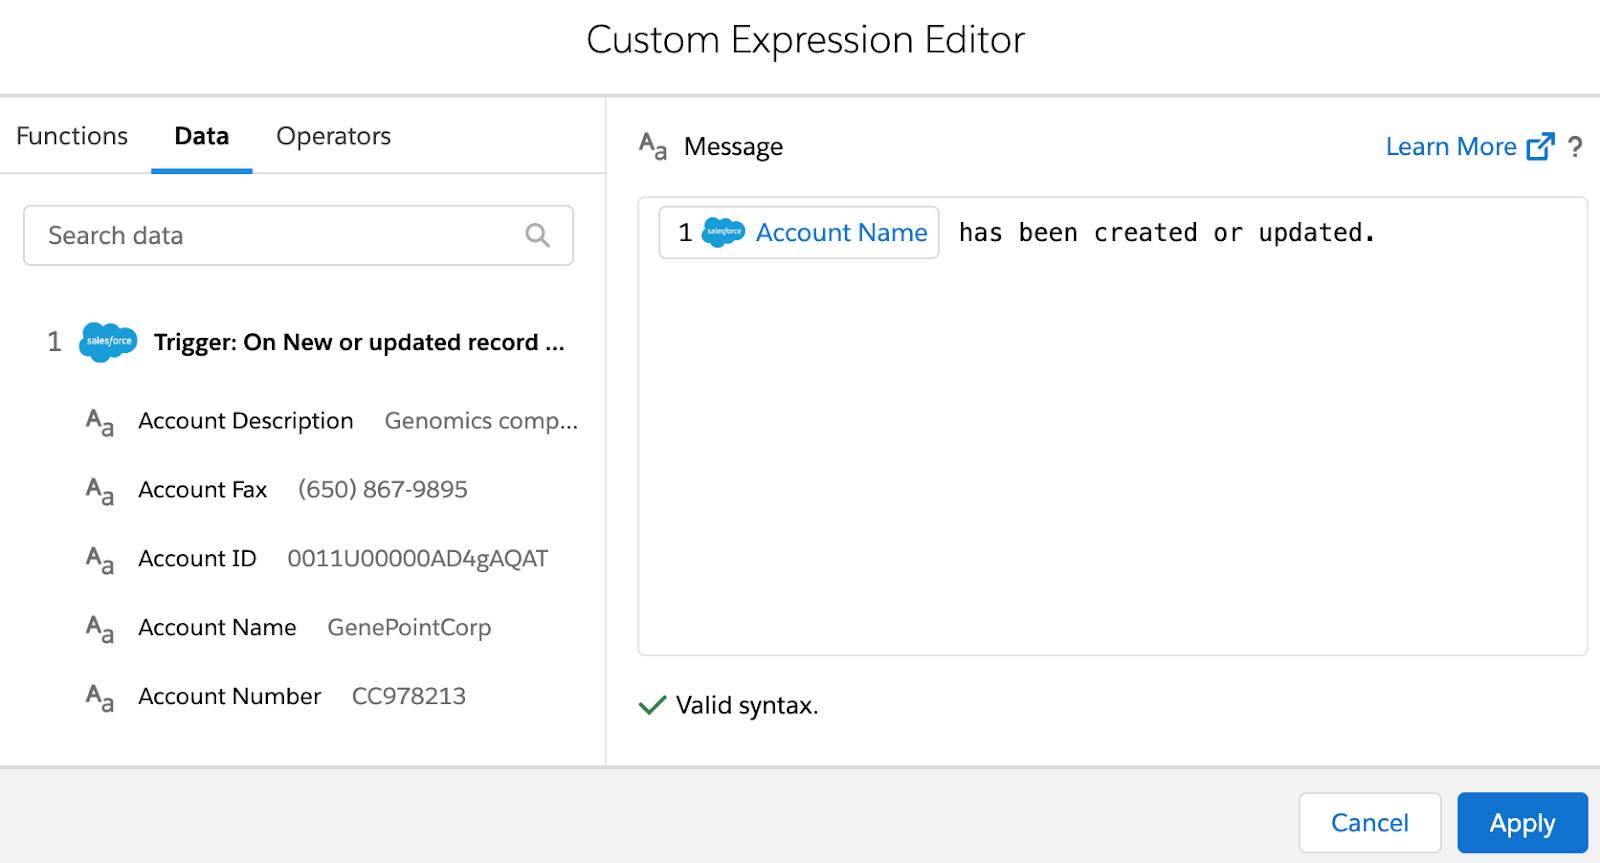
- Click in the Message field and then click Custom Expression. The Custom Expression Editor appears.
- Click the Data tab, and then click Account Name from step 1 of the flow. Account Name appears in the Message field.
- In the Message field, enter:
has been created or updated.
- Click Apply.
- Save the flow. Your entire flow should look like this.

Similar to a trigger, if the auto-generated name of an action step doesn’t meet your business needs, click the pencil icon next to it, give it a new name, and then click Save.
Exit a Flow
After you’ve created and configured a flow, you can exit it.
Follow these steps to exit a flow.
- Click the Composer Flows tab.

- If there are changes, then you’re prompted to save your work.
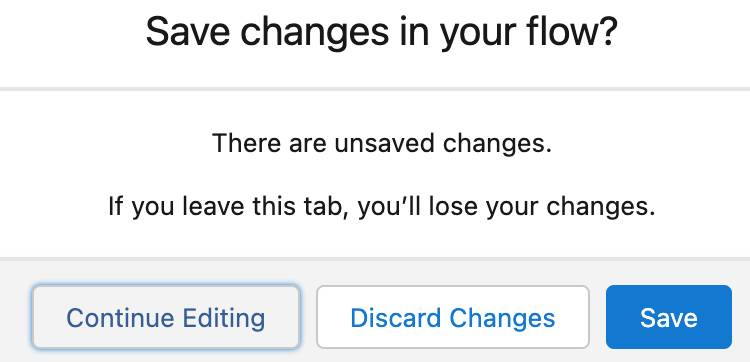
- Click Save to save your flow.
Nice job! You’ve taken the first steps to create an integration flow using MuleSoft Composer. In the next unit, you learn how to map and retrieve data in the action steps of your flow.
Resources