Set Up Financial Deal Management
Learning Objectives
After completing this unit, you’ll be able to:
- Enable the Financial Deal Management feature.
- Grant access to financial deal objects.
- Disable role hierarchy-based sharing.
- Enable many-to-many relationships.
- Map interaction and interaction summary to a financial deal.
In this badge, we assume you’re a Salesforce admin who’s authorized to set up the Financial Deal Management feature. If you’re not an admin, that’s OK. Read along to learn how your admin would take the steps in a production org. Don't try to follow these steps in your Trailhead Playground. Financial Deal Management isn’t available in the Trailhead Playground.
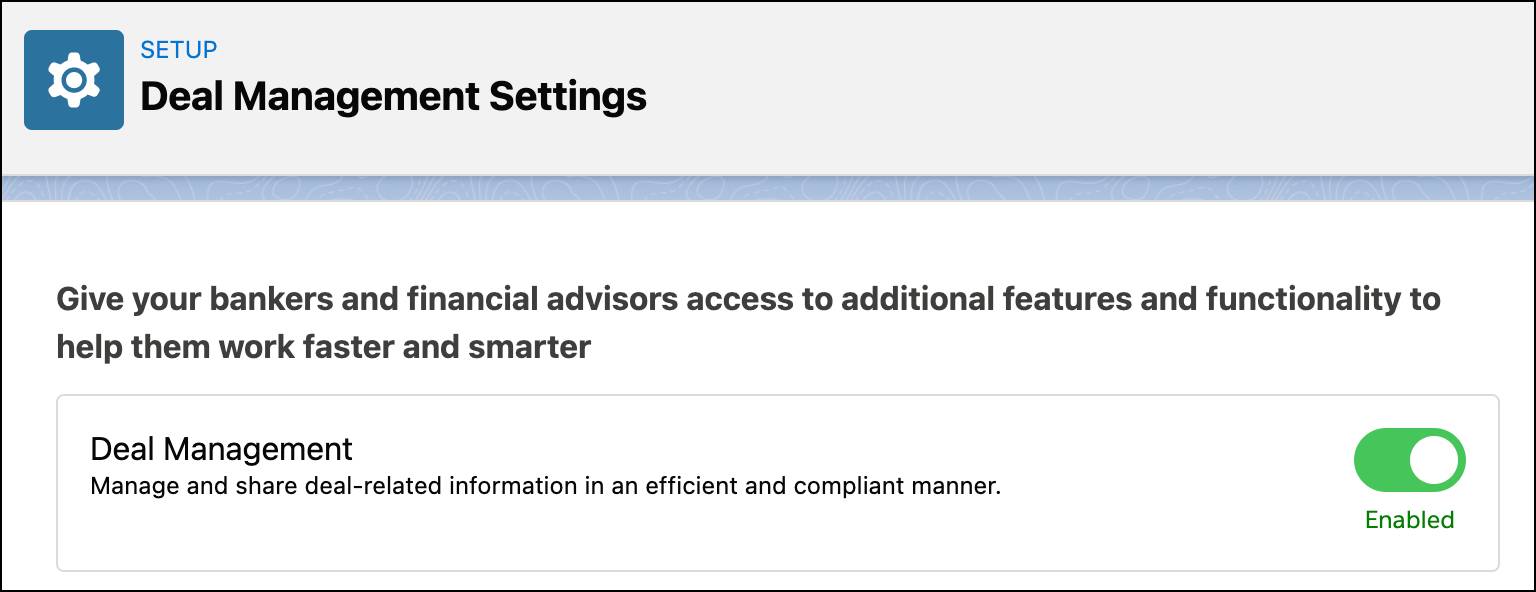
Enable Financial Deal Management
Financial Deal Management comes with a host of apps and components to manage various aspects of a deal. And to give Rob access to them, Matt must enable the Financial Deal Management feature in Setup. Here’s how he does that.
- Click
 and then Setup.
- In the Quick Find box, enter
deal manage, and select Deal Management Settings.
- Enable Deal Management.

Grant Access to Financial Deal Objects
Matt remembers the objects that make up the financial deal data model. As a user, Rob needs access to these objects to capture various details of the Dorjelean Kitchen acquisition deal.
Matt has already assigned an Associate profile to Rob, and proceeds to grant the profile access to financial deal objects.
- Click
 and then Setup.
- In the Quick Find box, enter
profiles, and select Profiles.
- Select the profile that you want to grant access to. Matt selects Associate.
- Next to the profile name, click Edit.
- In the Tab Settings section, look for Financial Deals, and select Default On. This step makes the Financial Deals Tab visible on the navigation bar for users with the Associate profile.
- Repeat step 5 for Financial Deal Products and Financial Deal Parties.
- In the Standard Object Permissions section, look for Financial Deals.
- If any Read, Create, Edit, or Delete permission isn’t selected, select it.

- Repeat step 8 for Financial Deal Interactions, Financial Deal Interaction Summaries, Financial Deal Parties, and Financial Deal Products.
Disable Role Hierarchy-Based Sharing
Role hierarchy-based sharing allows data sharing based on the order of roles you have set up in your org. This feature is enabled by default to allow automatic sharing.
Rob doesn’t want the acquisition deal data to be automatically shared with his seniors, so Matt disables the setting.
- Click
 and then Setup.
- In the Quick Find box, enter
deal manage, and select Deal Management Settings.
- Disable Role Hierarchy-Based Sharing for Financial Deals.

Enable Many-to-Many Relationships
Dorjelean Kitchen has subsidiaries in different locations across the globe. As legal formalities for acquisition in different countries differ, NTO wants to treat the acquisition of each subsidiary as a separate deal.
So Rob must create separate financial deals to track each acquisition. But several discussions for those financial deals happen in the same meeting interaction, the details of which Rob captures in an interaction summary. So how can Rob associate the same interaction summary or interaction with multiple deals? Using the many-to-many relationships setting. This setting allows him to map multiple deals to a single interaction or interaction summary.
Here’s how Matt enables the many-to-many relationships setting.
- Click
 and then Setup.
- In the Quick Find box, enter
deal manage, and select Deal Management Settings.
- Enable Use Many-to-Many Relationships.

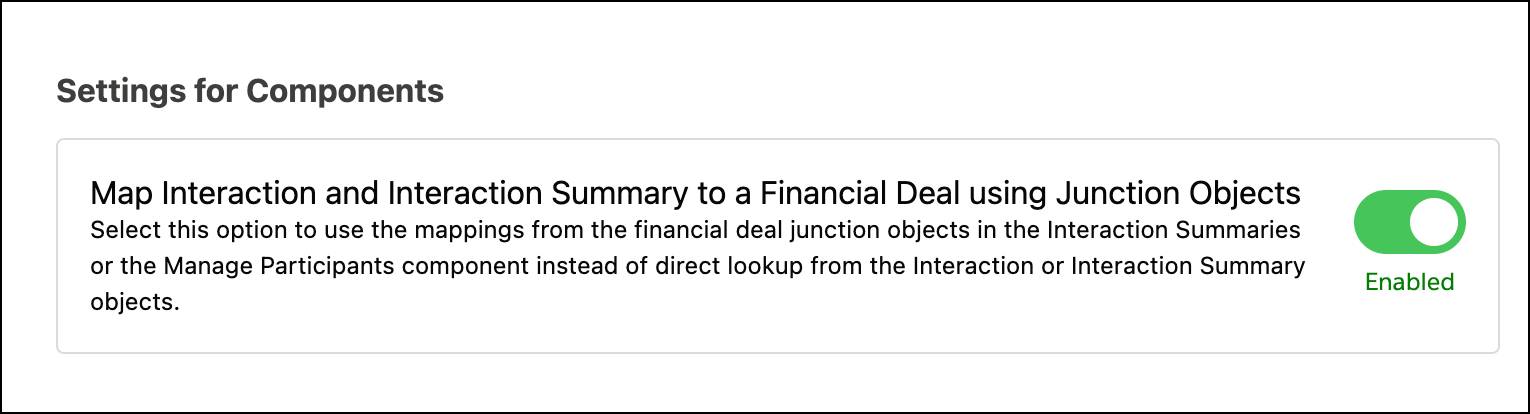
Map Interaction Summaries to Financial Deal
Next, Matt enables the setting to map interaction and interaction summary to a deal using Financial Deal junction objects. Matt remembers that the Financial Deal Interaction and Financial Deal Interaction Summary are those junction objects.
When the setting is enabled, components like Manage Participants and Interaction Summaries can use the mappings from financial deal junction objects.
- Click
 and then Setup.
- In the Quick Find box, enter
deal manage, and select Deal Management Settings.
- In the Settings for Components section, enable Map Interaction and Interaction Summary to a Financial Deal using Junction Objects.
What's Next
With Financial Deal Management all set up, Matt's part is done. He deserves a pat on the back, and maybe a raise. In the next unit, Rob takes Financial Deal Management for a spin. Start your engines!
Resources
- Salesforce Help: Enable and Configure Financial Deals
- Salesforce Help: Configure Sharing Settings for Financial Deals
- Salesforce Help: Compliant Data Sharing
- Salesforce Help: Interaction Summaries