Discover Amazon VPC
Learning Objectives
After completing this unit, you’ll be able to:
- Describe the features of Amazon Virtual Private Cloud (VPC).
- Explain how to create an Amazon VPC and subnets.
- Explain the purpose of reserved IPs in subnets.
If you want to build your own secure network for your cat photo application in AWS, you use Amazon Virtual Private Cloud (Amazon VPC).
What Is a VPC?
A VPC is an isolated network you create in the AWS cloud, similar to a traditional network in a data center. When you create a VPC, you need to choose three main things.
- The name of your VPC.
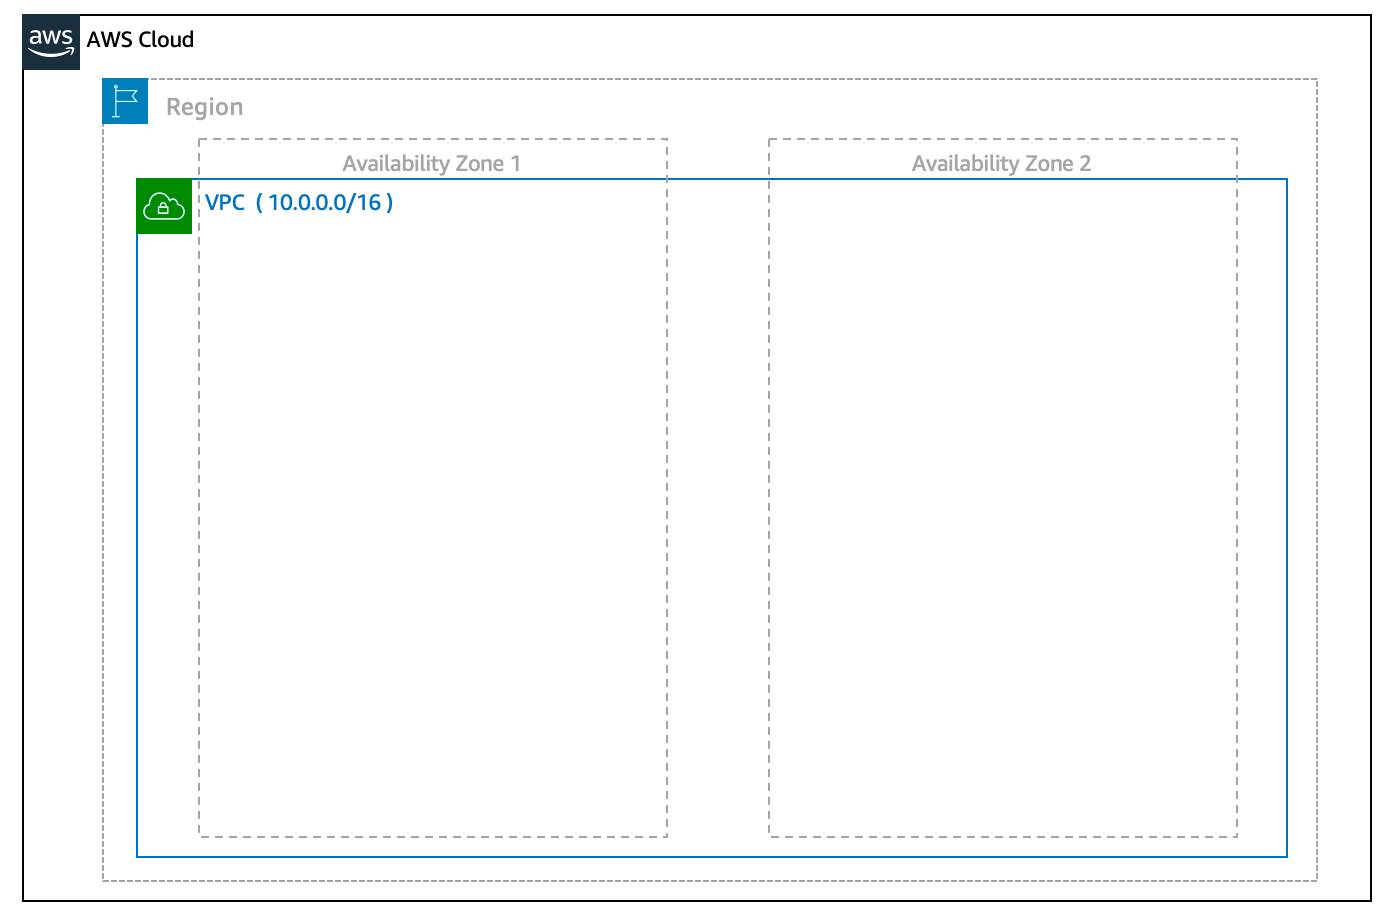
- A Region for your VPC to live in. Each VPC spans multiple Availability Zones within the Region you choose.
- A CIDR range for your VPC. This determines the size of your network. Each VPC can have up to four /16 CIDR ranges.
Using this information, AWS will provision a network and IP addresses for that network.

Create a VPC Subnet
After you create your VPC, you need to create subnets inside of this network. Think of subnets as smaller networks inside your base network—or virtual area networks (VLANs) in a traditional, on-premises network. In an on-premises network, the typical use case for subnets is to isolate or optimize network traffic. In AWS, subnets are used for high availability and providing different connectivity options for your resources.
When you create a subnet, you need to choose three settings.
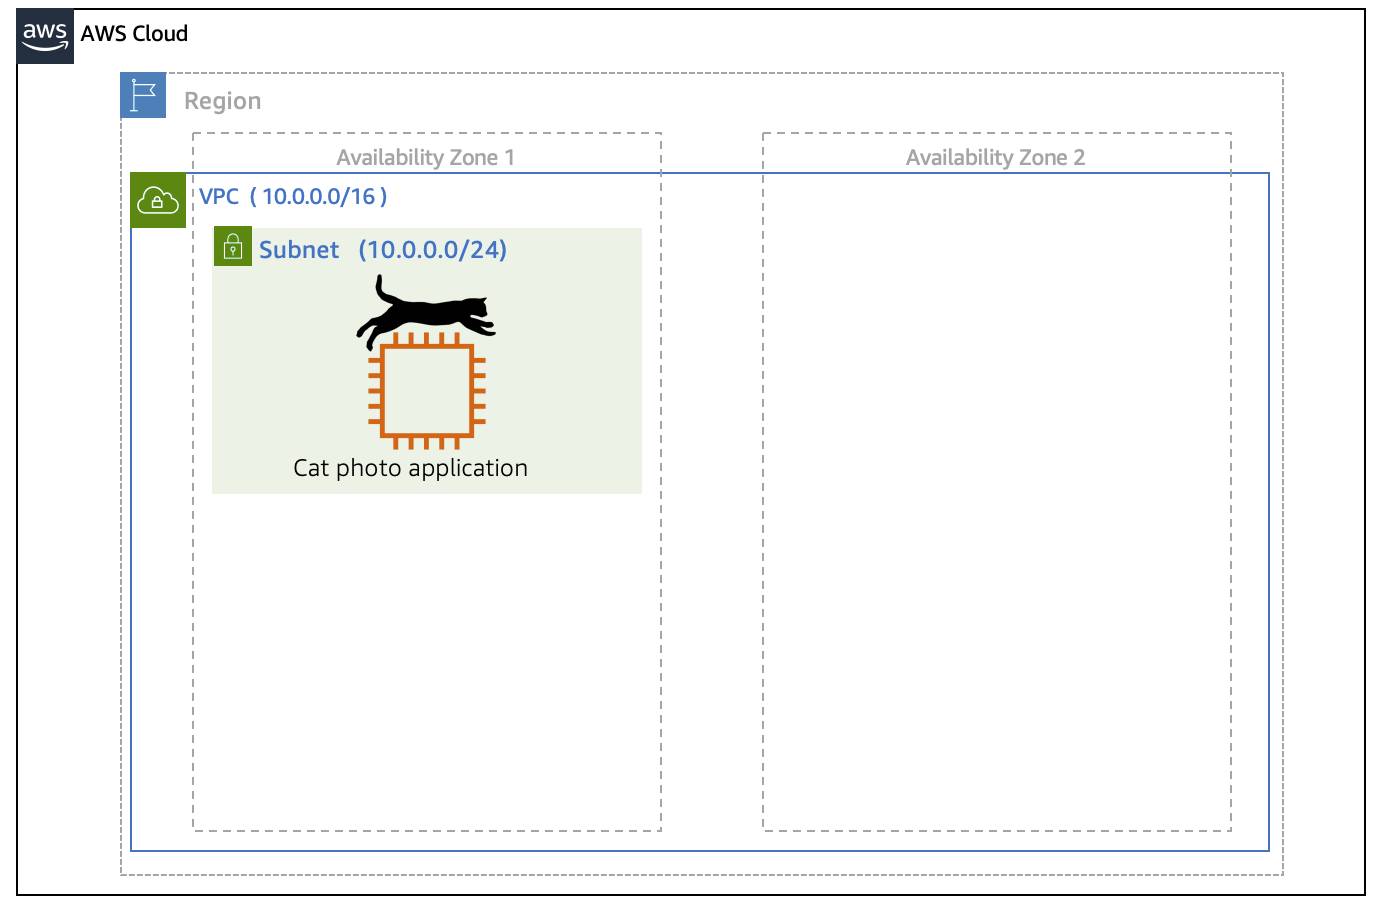
- The VPC you want your subnet to live in, in this case VPC (10.0.0.0/16).
- The Availability Zone you want your subnet to live in, in this case AZ1.
- A CIDR block for your subnet, which must be a subset of the VPC CIDR block, in this case 10.0.0.0/24.
When you launch an EC2 instance, you launch it inside a subnet, which will be located inside the Availability Zone you choose.

Achieve High Availability with A VPC
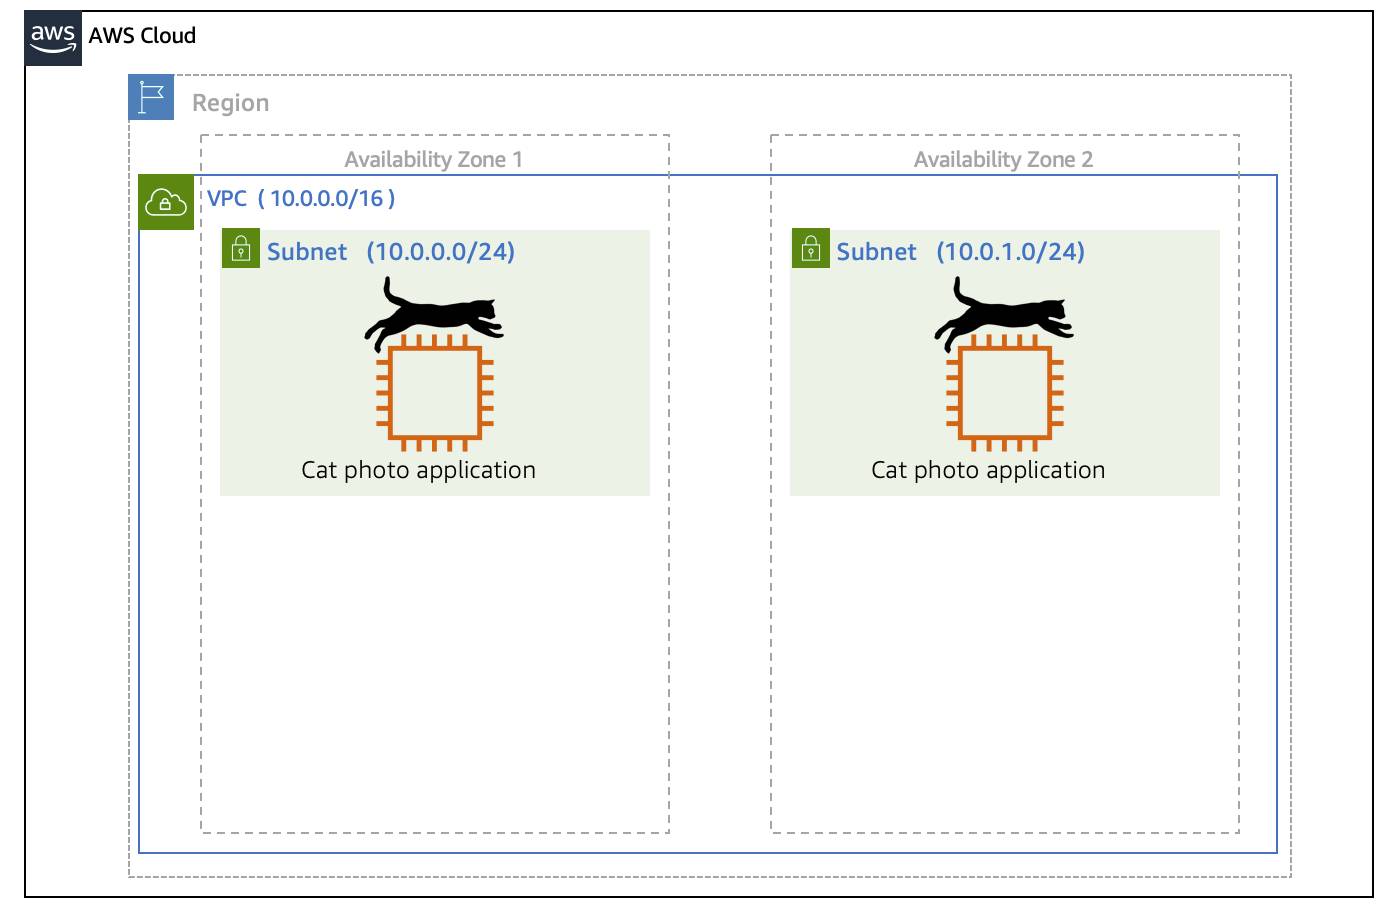
When you create your subnets, keep high availability in mind. In order to maintain redundancy and fault tolerance, create at least two subnets configured in two different Availability Zones.
As you learned earlier in the trail, it’s important to consider that “everything fails all the time.” In this case, if one of these AZs fail, you still have your resources in another AZ available as backup.

Get to Know Reserved IPs
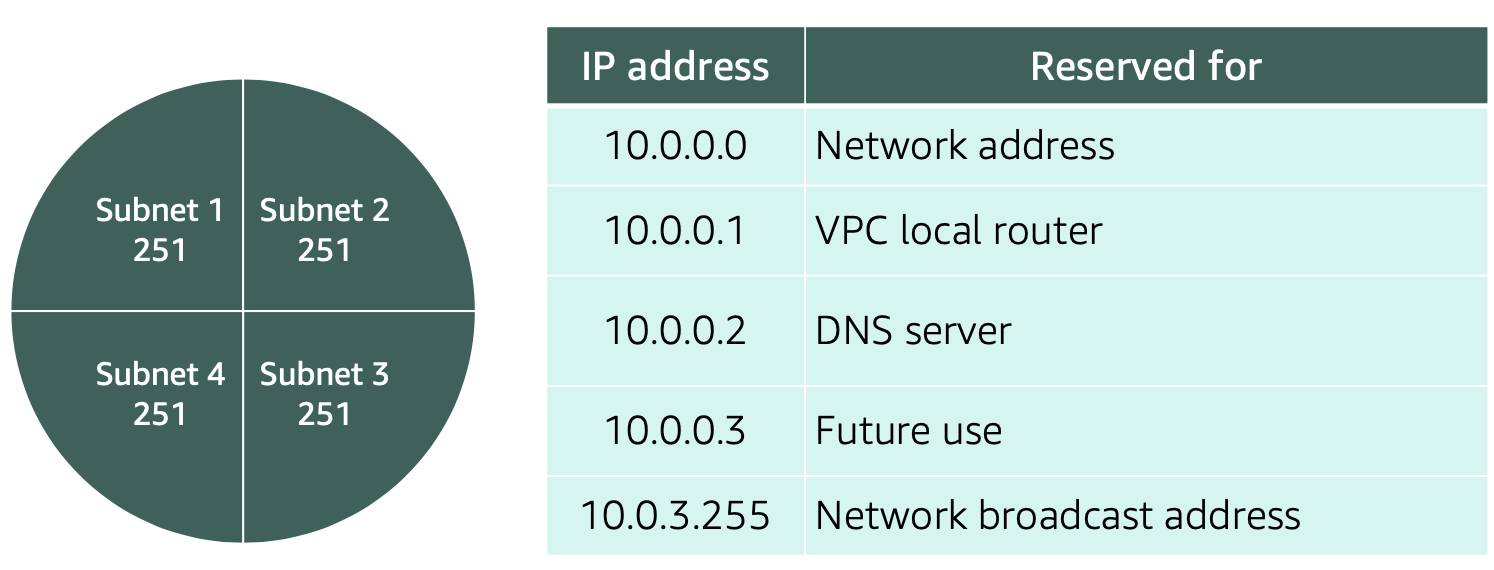
For AWS to configure your VPC appropriately, AWS reserves five IP addresses in each subnet. These IP addresses are used for routing, Domain Name System (DNS), and network management.
For example, consider a VPC with the CIDR range 10.0.0.0/22. The VPC includes 1,024 total IP addresses. This is divided into four equal-sized subnets, each with a /24 CIDR range with 256 IP addresses. Out of each of those CIDR ranges, there are only 251
IP addresses that can be used because AWS reserves five.

Since AWS reserves these five IP addresses, it can impact how you design your network. A common starting place for those who are new to the cloud is to create a VPC with a CIDR range of /16 and create subnets with a CIDR range of /24. This provides a large amount of IP addresses to work with at both the VPC and subnet level.
Wrap Up
In this unit, you learned how to create a VPC for your cat photo application and how to group your application resources by using subnets. In the next unit, you learn how to route traffic between your application resources inside your VPC.