Review Your Work and Publish Your Listing
Learning Objectives
After completing this unit, you’ll be able to:
- Describe how to fix an AppExchange publishing prework error.
- Explain how to run a Listing Builder precheck using Listing Status.
- Find and update in-progress and published listings.
- Respond to an alert.
- Understand available listing analytics and their business purposes.
Review Your Work-to-Date
Before you send that super important email to your boss, you proofread it, right? Right! It’s always a good idea to review your work.

So, next, Leung reviews her Cloudy Health listing’s progress—everything that she’s added to her listing so far.
If you’re not on Listing Status already, from the Partner Console home page:
- Click your listing.
- Click Listing Status.

When you click Listing Status, the validation engine runs a bunch of validation checks in the background. The results of your checks display in Remaining Tasks where you could see the following kinds of information:
- What portion of your Listing Builder work is complete
- If your solution’s security review is incomplete
- If the link to your solution is missing
- If your listing plan is pending approval
In Cloudy Health’s Remaining Tasks, Leung sees that she must update visuals and resources, and select a solution.

Leung receives a notice that she has to update visuals and resources. She clicks Include Visuals, and updates her images. She clicks Save & Exit one more time.
Preview Your Listing
Awesome! The Cloudy Health listing is now complete and ready to publish. As tempting as it is to publish immediately, Leung is an AppExchange pro: She previews her listing first.
From the Partner Console home page:
- Click your listing tile.
- Click Save & Preview.

Your listing preview opens in a new tab.

While previewing your listing, be sure to review carefully the following.
- Your pricing plan, including tiers if you have them, appears as expected. Make sure the pricing tiers help your customers understand how your solution is priced.
- Your media, from demo videos to images, look sharp and are easy to consume.
- Any links to items like your trial template or test drive work properly.
Publish Your Listing
Leung’s listing preview looks good. Great, in fact. She closes the preview tab and returns to the tab with her Listing Status. All of Leung’s work has been submitted and all approvals gained.
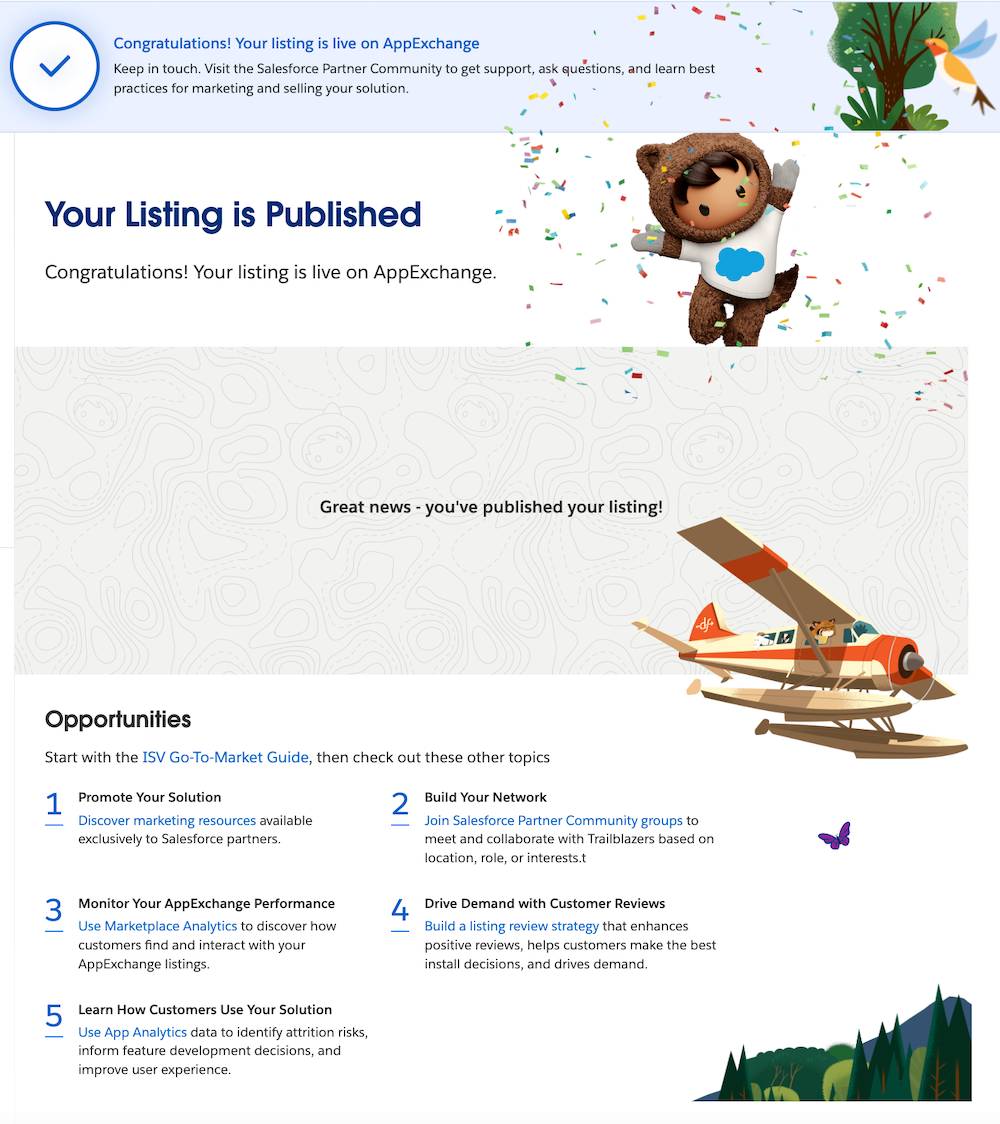
She’s ready. Leung clicks Publish. Woohoo!

View Your Live Listing on AppExchange
There’s one more fun task to do: Leung logs in to AppExchange.

Why? She wants to see her listing live on AppExchange, to see exactly what her potential customers see. And to review her images, videos, and demos in real life. Your listing is available approximately 30 minutes after you click Publish.
In the Search AppExchange search bar, Leung enters and selects Cloudy Health.

Looks great, doesn’t it? Leung browses around and makes sure her images are sharp, the wording clear, and that links to all contacts, free trials, and demos work. It’s all working well!
Keep Your Listing Fresh
Leung’s work on the Cloudy Health listing is done. Or is it?
After you have a consultant or solution listing on AppExchange, your work is never really done. There are many ways to keep your listing fresh and up-to-date.
Update a Published Listing
Leung’s Marketing department creates a new video to showcase the Cloudy Health app. To update the listing, Leung returns to the Partner Console and selects the Cloudy Health listing.
By now, everything looks familiar to Leung. She sees the Listing Builder and all of the steps.

- Click Add Details.
- Click Include Visuals.
- In Screenshots and Videos, click Add Video.

- Select your Video Provider, add your Video ID, and your Video Caption.

- Click Add +.
- Click Save & Exit.
What if you make a mistake and want to remove a video? Simply click the X on your video thumbnail.

Respond to a Notification
Leung juggles many responsibilities at Get Cloudy Consulting, and she’s been helping her colleague, Chinua Toure, on a couple of other in-progress listings. Chinua’s working on the Cloud Calculator and Health Analytics listings and is currently on PTO.
Leung logs in to the Partner Console and sees an alert: She needs to set up lead capture for Cloud Calculator.

No problem, Leung’s a Partner Console expert now so she knows how to resolve this notification.
- In the notification, click the link. Leung clicks Set Up lead capture.
- In Grow Your Business, scroll to Leads.

- Add your Lead Org ID.
- Fill out the Lead-Generating activities section
- Click Save & Exit.
Leung clicks Home. She sees that the Notifications section is now clear. Awesome!

View Analytics
Get Cloudy Consulting manages its products through a data-driven approach, so Leung is keen to view metrics for the Cloudy Health listing. She has some key analysis questions in mind.
- Are potential customers viewing the listing?
- Are they clicking available media?
- How many people are using the trial?
- How effective is her SEO strategy?
Leung can answer all of these questions and more in View Analytics.
- From the Partner Console home page, click View Analytics.

- In the Marketplace Analytics Select Listing box, search for and select your listing.

Leung sees that Cloudy Health has had 194 visitors, 11 lead events, and 21 installs. It’s only been live on AppExchange a short while—very cool.
Leung wants to learn more about her Lead Events. On the Lead Event Timeline, she clicks Lead Type and selects the types that interest her. Each chart changes dynamically with her selections.
Wrap It Up
Great! Leung has successfully published a new listing, and she’s helped an in-progress listing cross the finish line. You learned a lot along the way with Leung, too. You learned:
- About different types of solutions and packages
- How to navigate the Partner Console and what the Listing Builder steps are
- How to create a listing and respond to notifications
- How to connect different technologies
Impressive! But don’t stop now. Complete the Build Apps as an AppExchange Partner and the Meet Your Business Needs with AppExchange trails to continue learning about the possibilities AppExchange affords partners and consultants.