Get Started with Integration Procedure Designer
Learning Objectives
After completing this unit, you’ll be able to:
- Launch the Integration Procedure Designer and explore its interface.
- Explain how to test and activate an Integration Procedure.
Tour the Integration Procedure Designer
The Integration Procedure Designer is a visual, drag-and-drop tool in Omnistudio that helps you build reusable processes for data handling and streamlined server actions. You can define server-side logic and data integration processes declaratively, without writing code.
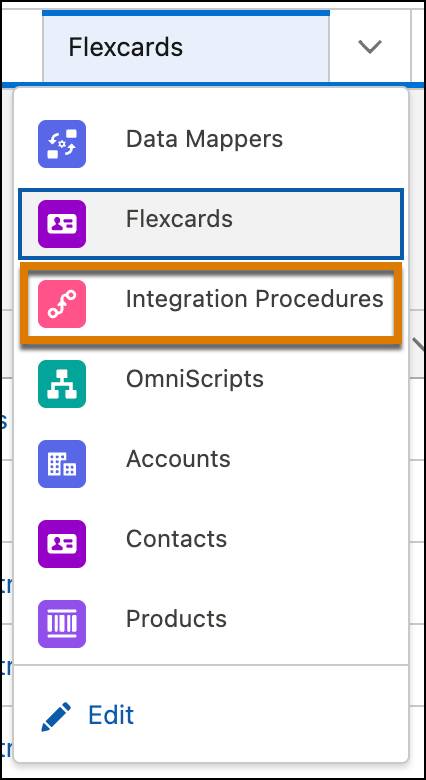
To open the Integration Procedure Designer, click  , then find and select Integration Procedures. Alternatively, from the App Launcher, find and select Omnistudio. Then, from the app navigation menu, find and select Integration Procedures.
Omnistudio components are available as part of the Salesforce standard list view page. On the Integration Procedures list view page, either select an existing Integration Procedure or create one to open it in the designer.

Let’s take a tour of the designer layout.
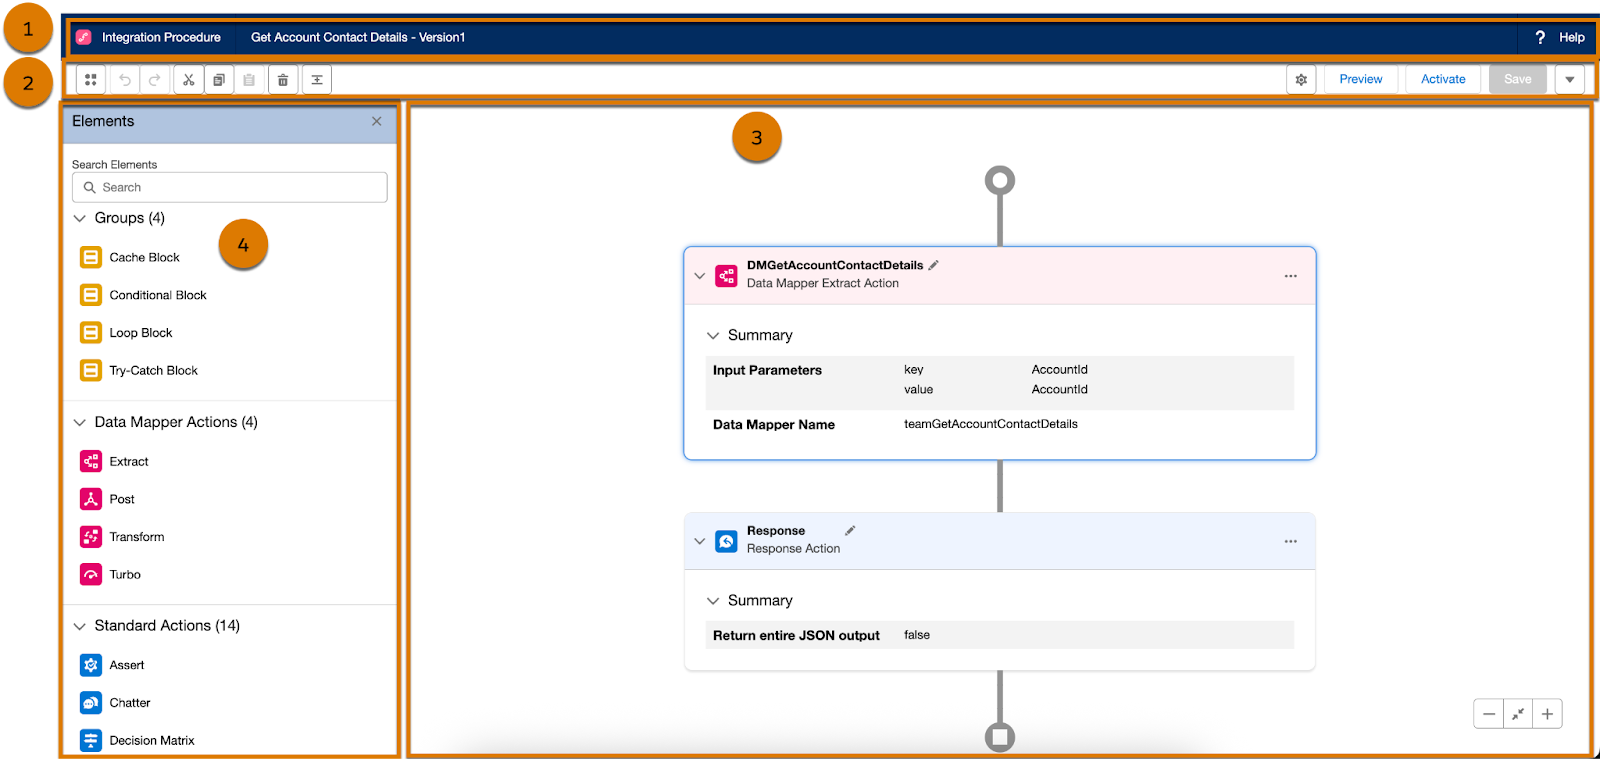
The Integration Procedure Designer layout consists of these sections.
- The header (1) shows an Integration Procedure’s name and version. Select the name to quickly switch between versions.
- The toolbar (2) includes icons to show and hide elements, undo and redo changes, cut elements, copy elements, delete elements, expand elements, and open the Properties panel in the designer. It includes buttons to save, preview, and activate the Integration Procedure. It also has a dropdown menu with the option to create a version.
- The canvas (3) is where you build your Integration Procedure. Drag elements into the canvas, then click
 on an element to modify, duplicate, and delete step elements.
- The Elements panel (4) is where you find all of the elements that you can use to build your Integration Procedure. Click
 to show or hide the elements panel. You simply drag the elements onto the canvas and position them in the sequence you want.
- The Properties panel (not shown in the image) is where you configure the details and settings to specify your Integration Procedure’s behavior. Click
 to show or hide the properties panel. In the Integration Procedure Designer, both the elements and properties panels appear on the left when you select the respective buttons. You can define a logic for the Integration Procedure by configuring the cache and setting chain limits.
Now that you’re familiar with the Integration Procedure Designer interface, explore how you can preview, test, and activate an Integration Procedure.
Test and Activate an Integration Procedure
As you build your Integration Procedure, you can use a few built-in features in the designer to help you get more information and test the Integration Procedure.
First is the in-product help feature. Each field on the property panel contains a  icon. Move your cursor over the icon to access inline information about specific properties.
Second is Preview mode. Select Preview in the toolbar to test an Integration Procedure’s functionality before you activate it. You can also debug your Integration Procedure's runtime options.

In the Preview mode, enter data in the Key and Value fields under Input Parameters to test your Integration Procedure with real or sample data. Click Edit as JSON to use a sample JSON for testing, and Execute to see the results for the specific input parameters.
The center pane shows the steps that are successfully executed and if any step has errors. In the Error/Debug Output pane, the Debug Log tab shows the output from the execution of each step in the Integration Procedure. And the Error tab shows you errors that have come up during execution.
After your configuration and testing is complete, click Activate in the toolbar to activate the Integration Procedure.
What’s Next
In this unit, you got an overview of Omnistudio Integration Procedure Designer, and the steps to preview, test, and activate an Integration Procedure.
In the next unit, learn about the various elements you can use to build Integration Procedures. And find out the best practices to follow before using Integration Procedures.