Explore Advanced Ways to Use AMP
Learning Objectives
After completing this unit, you’ll be able to:
- Use GTL and AMPscript in AMP emails.
- Create an AMP form email using Code Resources.
- Add CORS headers for security.
Get Coding
Now that you have the basic components and tools, this unit provides tips, code samples, and best practices to help you with your development of AMP emails. Finally, we cover a more advanced use case featuring an interactive form. Let’s start with a few more tips for coding with AMP.
Using HTML and CSS in AMP
It’s often helpful to start with your fallback HTML email in the AMP playground. In fact, AMP has very good support for modern CSS and HTML. Here are some tips and tricks for converting your HTML emails to AMP emails.
- Include AMP attribute in HTML
<html ⚡4email lang="en"> - Include data-css-strict attribute to improve CSS validation
<html ⚡4email data-css-strict lang="en"> - Include AMP
<script>elements - Only use a single style block
<style amp-custom>and remove any!importantstatements from the CSS - Wrap your content in
<article>element, don’t use <main> - Replace
<img>with<amp-img>
Using AMP with AMPscript or GTL
More good news. You don’t have to strip your perfectly crafted emails of Marketing Cloud Engagement scripting languages: AMPscript and Guide Template Language (GTL). But if you are copying an HTML email that uses either AMPscript or GTL into the AMP playground, you need to be aware of a few caveats.
- ContentBlockBy functions don’t work with AMP.
- Validation errors:
- Content Builder code snippets may produce AMP validation errors.
- The AMP Playground validator won’t recognize AMPscript or GTL.
Also, to send an inbox test within Marketing Cloud Engagement, change GTL Delimiters{{={<>}=}}at message level to avoid conflict with AMP Mustache. Let’s discuss this a bit more.
Mustache Care
Both Guide Template Language (GTL) and AMP Mustache templates use the same delimiters (double curly braces {{ and }}).
This means that when sending AMP emails containing Mustache templates via Marketing Cloud Engagement you need to add a snippet of code at the top to change the GTL delimiters.
<!-- {{={< >}=}} -->
This snippet changes the delimiters from {{variable}} to {<variable>}.

Test It Out
You can test this in Marketing Cloud Engagement by using the following AMP for Email code. Test one email with the code below and another that removes <!-- {{={< >}=}} --> to see what happens when you do not account for the delimiter conflict.
<!-- {{={< >}=}} -->
<!doctype html>
<html ⚡4email>
<head>
<meta charset="utf-8">
<script async src="https://cdn.ampproject.org/v0.js"></script>
<script async custom-element="amp-list" src="https://cdn.ampproject.org/v0/amp-list-0.1.js"></script>
<script async custom-template="amp-mustache" src="https://cdn.ampproject.org/v0/amp-mustache-0.2.js"></script>
<style amp4email-boilerplate>body{visibility:hidden}</style>
</head>
<body>
Check out these latest deals from our store!
<amp-list src="https://amp.dev/static/samples/json/cart.json" layout="fixed-height" height="80">
<template type="amp-mustache">
<div id="cart">
<!-- These items (and their prices) can be updated dynamically. -->
{{#cart_items}}
<div class="cart-item">
<span>{{name}}</span>
<span>{{price}}</span>
</div>
{{/cart_items}}
{{^cart_items}}
There are no featured products available. Please check back again later.
{{/cart_items}}
</div>
</template>
</amp-list>
</body>
</html>
Storing Data
AMP for Email allows for complex emails that include web-like forms. But as mentioned in the previous unit, you need to plan in advance for data collection. Before you create an AMP email that includes form functionality, you need to be familiar with Code Resources, a feature within CloudPages. By creating a code resource in CloudPage, you can store and execute snippets of code in various types—including JSON, JavaScript, and XML. AMP for Email specifically uses the JSON code resource to create a custom data source that stores the data collected from AMP emails at the time of open.
Create a Form Using AMP
To help you understand how Code Resources work with AMP, let’s review a more advanced use case for Northern Trail Outfitters (NTO). The NTO team would like customers to fill out a form directly in their email for delivery instructions. Here are the high-level steps to complete this task.
- Create a data extension to store your data.
- Create a JSON Code Resource in CloudPages.
- Create your email in both HTML and in AMP.
- Add the Code Resource URL to your form code.
Let’s follow along as Michele Hansley, NTO’s technical marketer, completes these steps.
Create the Data Extension
Within Contact Builder, Michele creates a new data extension with the following configuration.
- Name: NTODeliveryForm
- External Key: amp-NTODeliveryForm-de
- Attributes: nothome, drivernote, phone (All strings, drivernote 500 character length, others 50 character length)
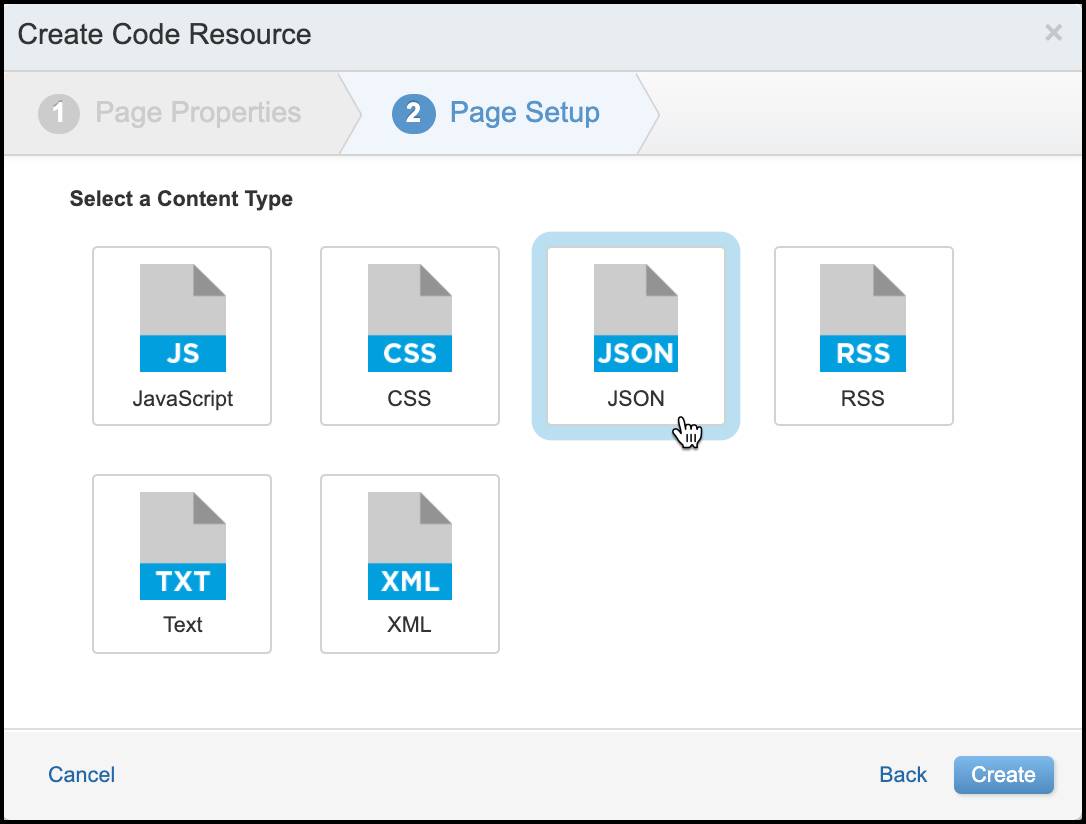
Create a JSON Code Resource
Next Michele navigates to CloudPages under Web Studio.
- She begins by clicking Create Collection.
- She names her collection, Delivery Email CR.
- She opens the collection and then clicks Add Content to create a content type.
- She selects Code Resource.
- She names the resource Delivery Email, adds a description, and selects the NTO URL.
- She clicks Next.
- She selects JSON and clicks Save.
- Michele pastes the needed code into the editor.
- Next she updates the senderAddress to NTO’s AMP Approved address.
Var isAllowed = {senderAddress: ['amp@gmail.dev','retail@email.nto.com'
Schedule and Publish
- She clicks Save.
- Then she clicks Schedule/Publish.
It’s important to copy and save the published URL to use in your email.
Code Your Email
Next Michele works on the HTML fallback email version in Content Builder and saves the content block.
Delivery Email AMP Code
Like before, Michele opens the AMP for Email playground website to work on the AMP version of the delivery email.
Here is what the fallback version and the interactive form version look like—as a static image, of course. To see the real deal, you can paste the provided code into the AMP playground to see the interactivity.
Pretty nifty, right?
A Word on Security
AMP for Email uses the CORS (Cross-Origin Resource Sharing) method to secure requests made from the email to outside services. CORS is a mechanism that uses HTTP headers to tell browsers which origins are allowed access to a resource using XHR, but CORS can be implemented for email as well. AMP for Email extends this mechanism by adding HTTP headers that similarly tell email clients which senders are allowed access to these resources. This coding should be implemented inside of a Code Resource using JavaScript.
Follow Best Practices
As you use AMP for Email, we encourage you to create a list of your code elements and save them as content blocks. Lastly, we’ve gathered a few tips and reminders so that you get the most out of your interactive content.
- Be sure to create content for all three MIME types: plain text, HTML, and AMP.
- All email types allow for only one subject line and one preheader.
- Design your emails using familiar website functionality to create an easy, user-friendly experience.
- Use the built-in state options provided by AMP.
- Test your content with the playground validator and in multiple email clients.
Email wizard, you are on your way to developing interactive content with AMP for Email!