Use Dataloader.io to Export Data
Follow Along with Trail Together
Want to follow along with an instructor as you work through this step? Take a look at this video, part of the Trail Together series on Trailhead Live.
(This clip starts at the 11:50 minute mark, in case you want to rewind and watch the beginning of the step again.)

Introduction
The next hot rod in your collection is Dataloader.io (powered by Mulesoft). This tool allows you to bulk import or export data in a few simple steps. Featuring a more robust engine than import wizards, you can use it to insert, update, delete, export, or upsert Salesforce records for both standard and custom objects.
The free edition of Dataloader.io allows for up to 10,000 records per month and file size limits of 10MB... more than enough to complete this project. Visit https://dataloader.io/pricing to learn about the Professional and Enterprise editions.
Extract Data with Dataloader.io
Time to use Dataloader.io to extract data from Accounts so it can be updated later.
- From Setup, enter
Dataloader.ioin the Quick Find box, then select Dataloader.io. - Click Launch dataloader.io.
- Click the Confirm button.
- Click Login with Salesforce.
- Ensure the Login with Salesforce window has the following selections:
I have a custom Salesforce domain
uncheck
Environment
Production
I agree to the Terms and Conditions
check
- Click Login.
- If necessary, click Allow.
The next step is to select the Account object, rename the file to be extracted, and save it to the desktop.
- Click NEW TASK and select EXPORT.

- Leave the Connection selection as is and select Account from the Object list.
- Click Next.
- From the Fields menu, select Account ID, Account Name, and Account Site from the Account options.

- Click SOQL Query to expand the menu.
- To complete the where clause to your query, copy and paste:
WHERE Type LIKE '%Customer%'in the text box so your query looks like this:- Select Id, Name, Site FROM Account WHERE Type LIKE '%Customer%'
Note: Make sure there is a single space between Account and WHERE. Note: If an Oops! pop-up opens, click Close.
- Select Id, Name, Site FROM Account WHERE Type LIKE '%Customer%'
- Click Next.
- Click Save & Run.
Note: If the Love your Dataloader? pop-up appears, click Not now, let me load more data.
Next, export the extracted records to a CSV file and view it in Excel or Numbers.
- Click 11 successes next to the Task Run number. The CSV file should now be downloaded.
- Open the CSV file in either Excel or Numbers.
- Leave the Dataloader.io browser tab open while viewing the file.
- Sort the account name column A-Z and save the file (Windows & Mac instructions below).
Windows users:
- In Excel, click B to select the NAME column.
- Click the Data tab.
- Click the Sort button.
- Ensure Expand the selection option is selected on the Sort Warning pop-up.
- Click Sort.
- Add a check next to My data has headers to ensure column headings are not included in the sort.
- Ensure the column sort by is populated with Name.
- Click OK.
- The spreadsheet should now be sorted by Account Name.
Note: Your Id numbers for each Account Name will be different than the example below.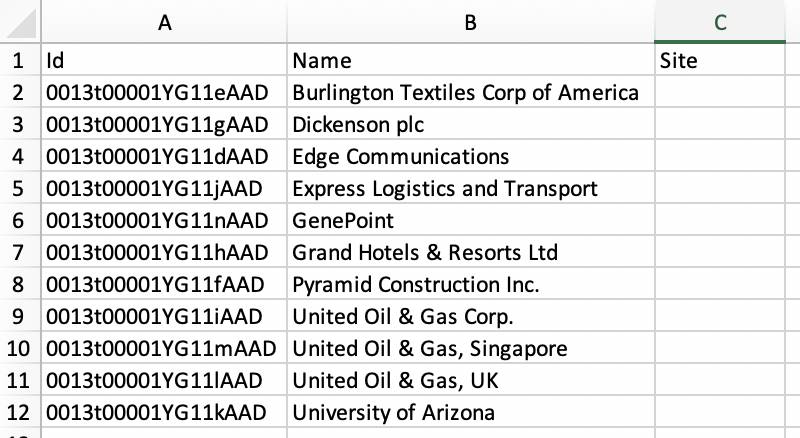
- Click File and Save As.
- Keep the file type CSV (Comma delimited) (*.csv).
Note: If you are using an international computer the CSV file generated on Excel will most likely not be delimited with commas. You can check if your CSV file delimiter is a comma by opening it with the Notepad app (or equivalent) on your computer. Additionally, the file can also be saved as txt tab-delimited. - Change the filename to
Accounts Export. - Click Save and save the file to your desktop. If needed, click Yes from the pop-up window.
- Leave the file open as it will be used in the next step.
Mac users:
- Locate the CSV file you have just created, then open it by double-clicking.
- In Numbers, click B to select the NAME column.
- Roll the cursor over the B column label and click the down arrow and select Sort Ascending.
- The spreadsheet should now be sorted by Account Name.
Note: Your Id numbers for each Account Name will be different than the example below.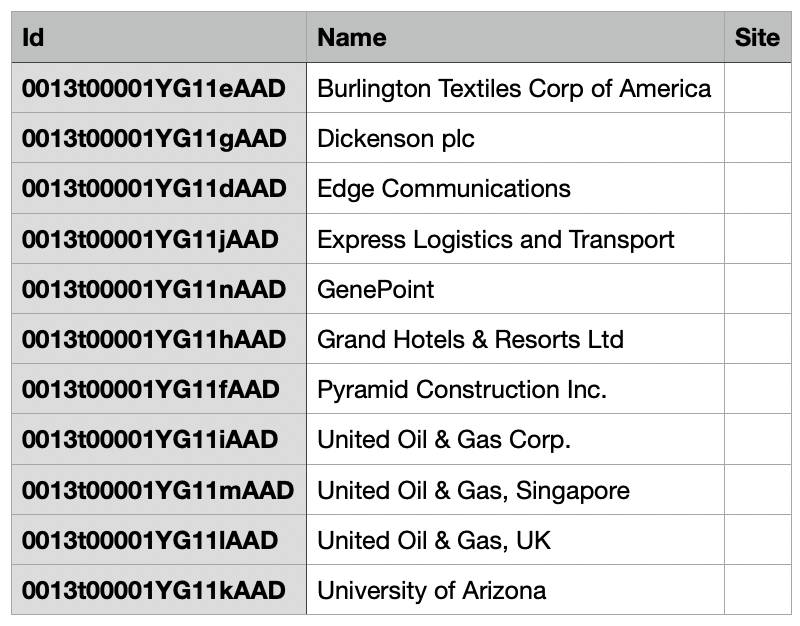
- Save this spreadsheet as a CSV: File > Export To > CSV…
- Click Next…
- Save As:
Accounts Export. - Where: Desktop
- Click Export.
- Leave the file open as it will be used in the next step.
You’ve zipped through import and export, but you still have some distance to cover. Cruise on to the next step, and use Dataloader.io to update the data you’ve just extracted.