Get Started with Xcode
Learning Objectives
After completing this unit, you'll be able to:
- Explain how to use the project navigator.
- Navigate the debug area.
- Explain how to use the assistant editor and version editor.

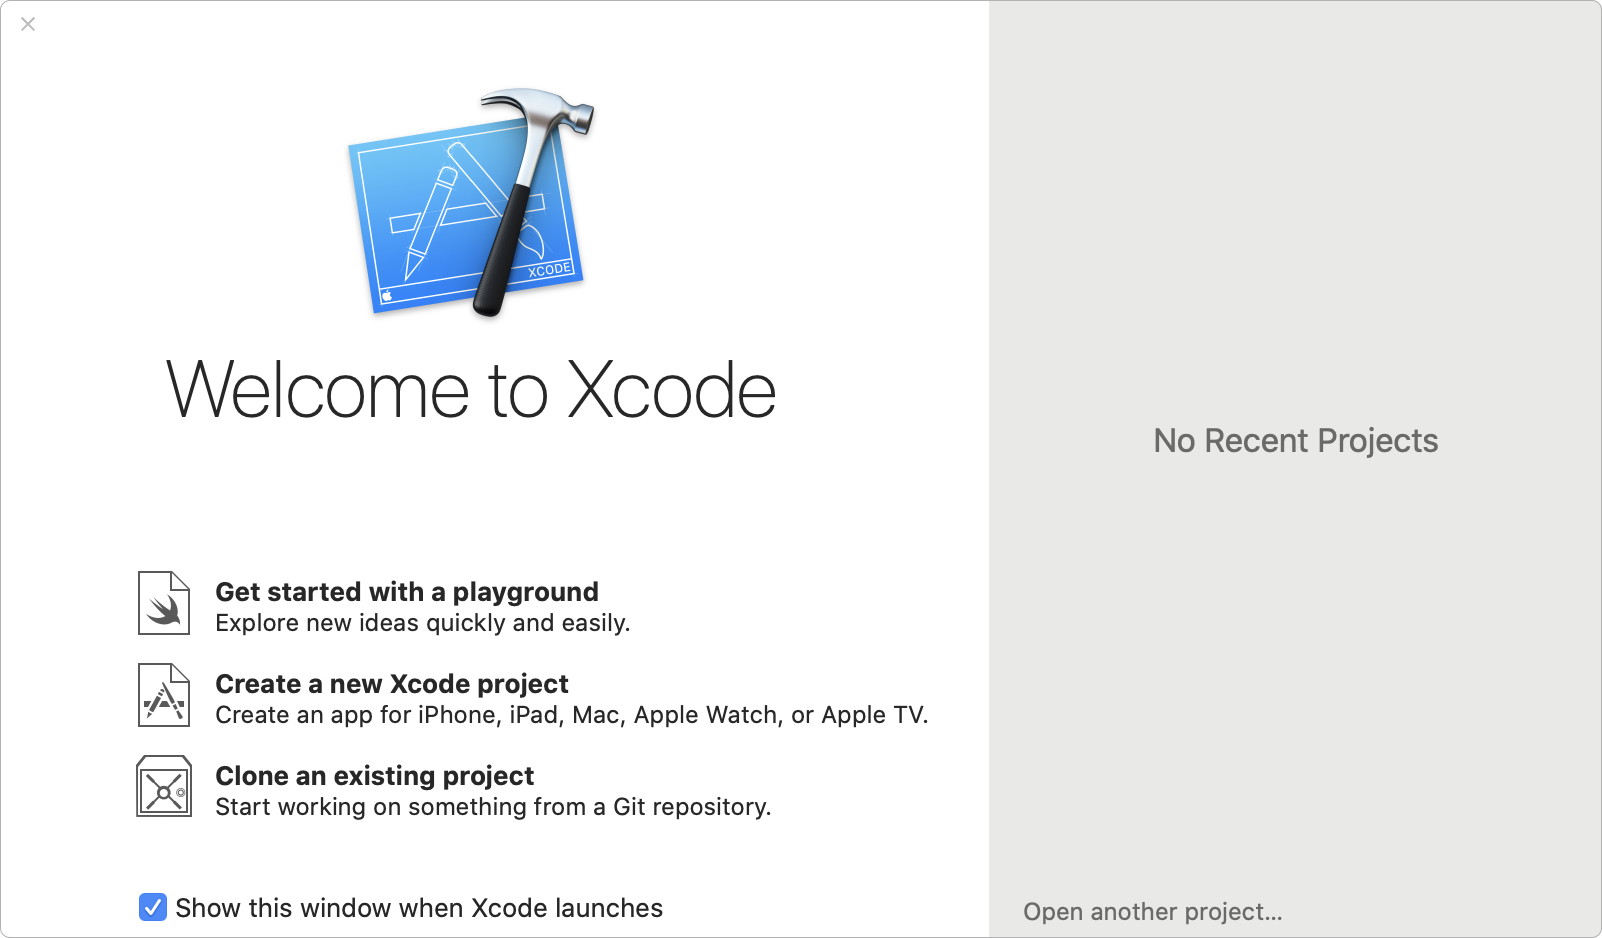
In this unit, you'll learn to create a basic iOS app and become familiar with the interface and capabilities of Xcode. Download it from the Mac App Store if you need it.
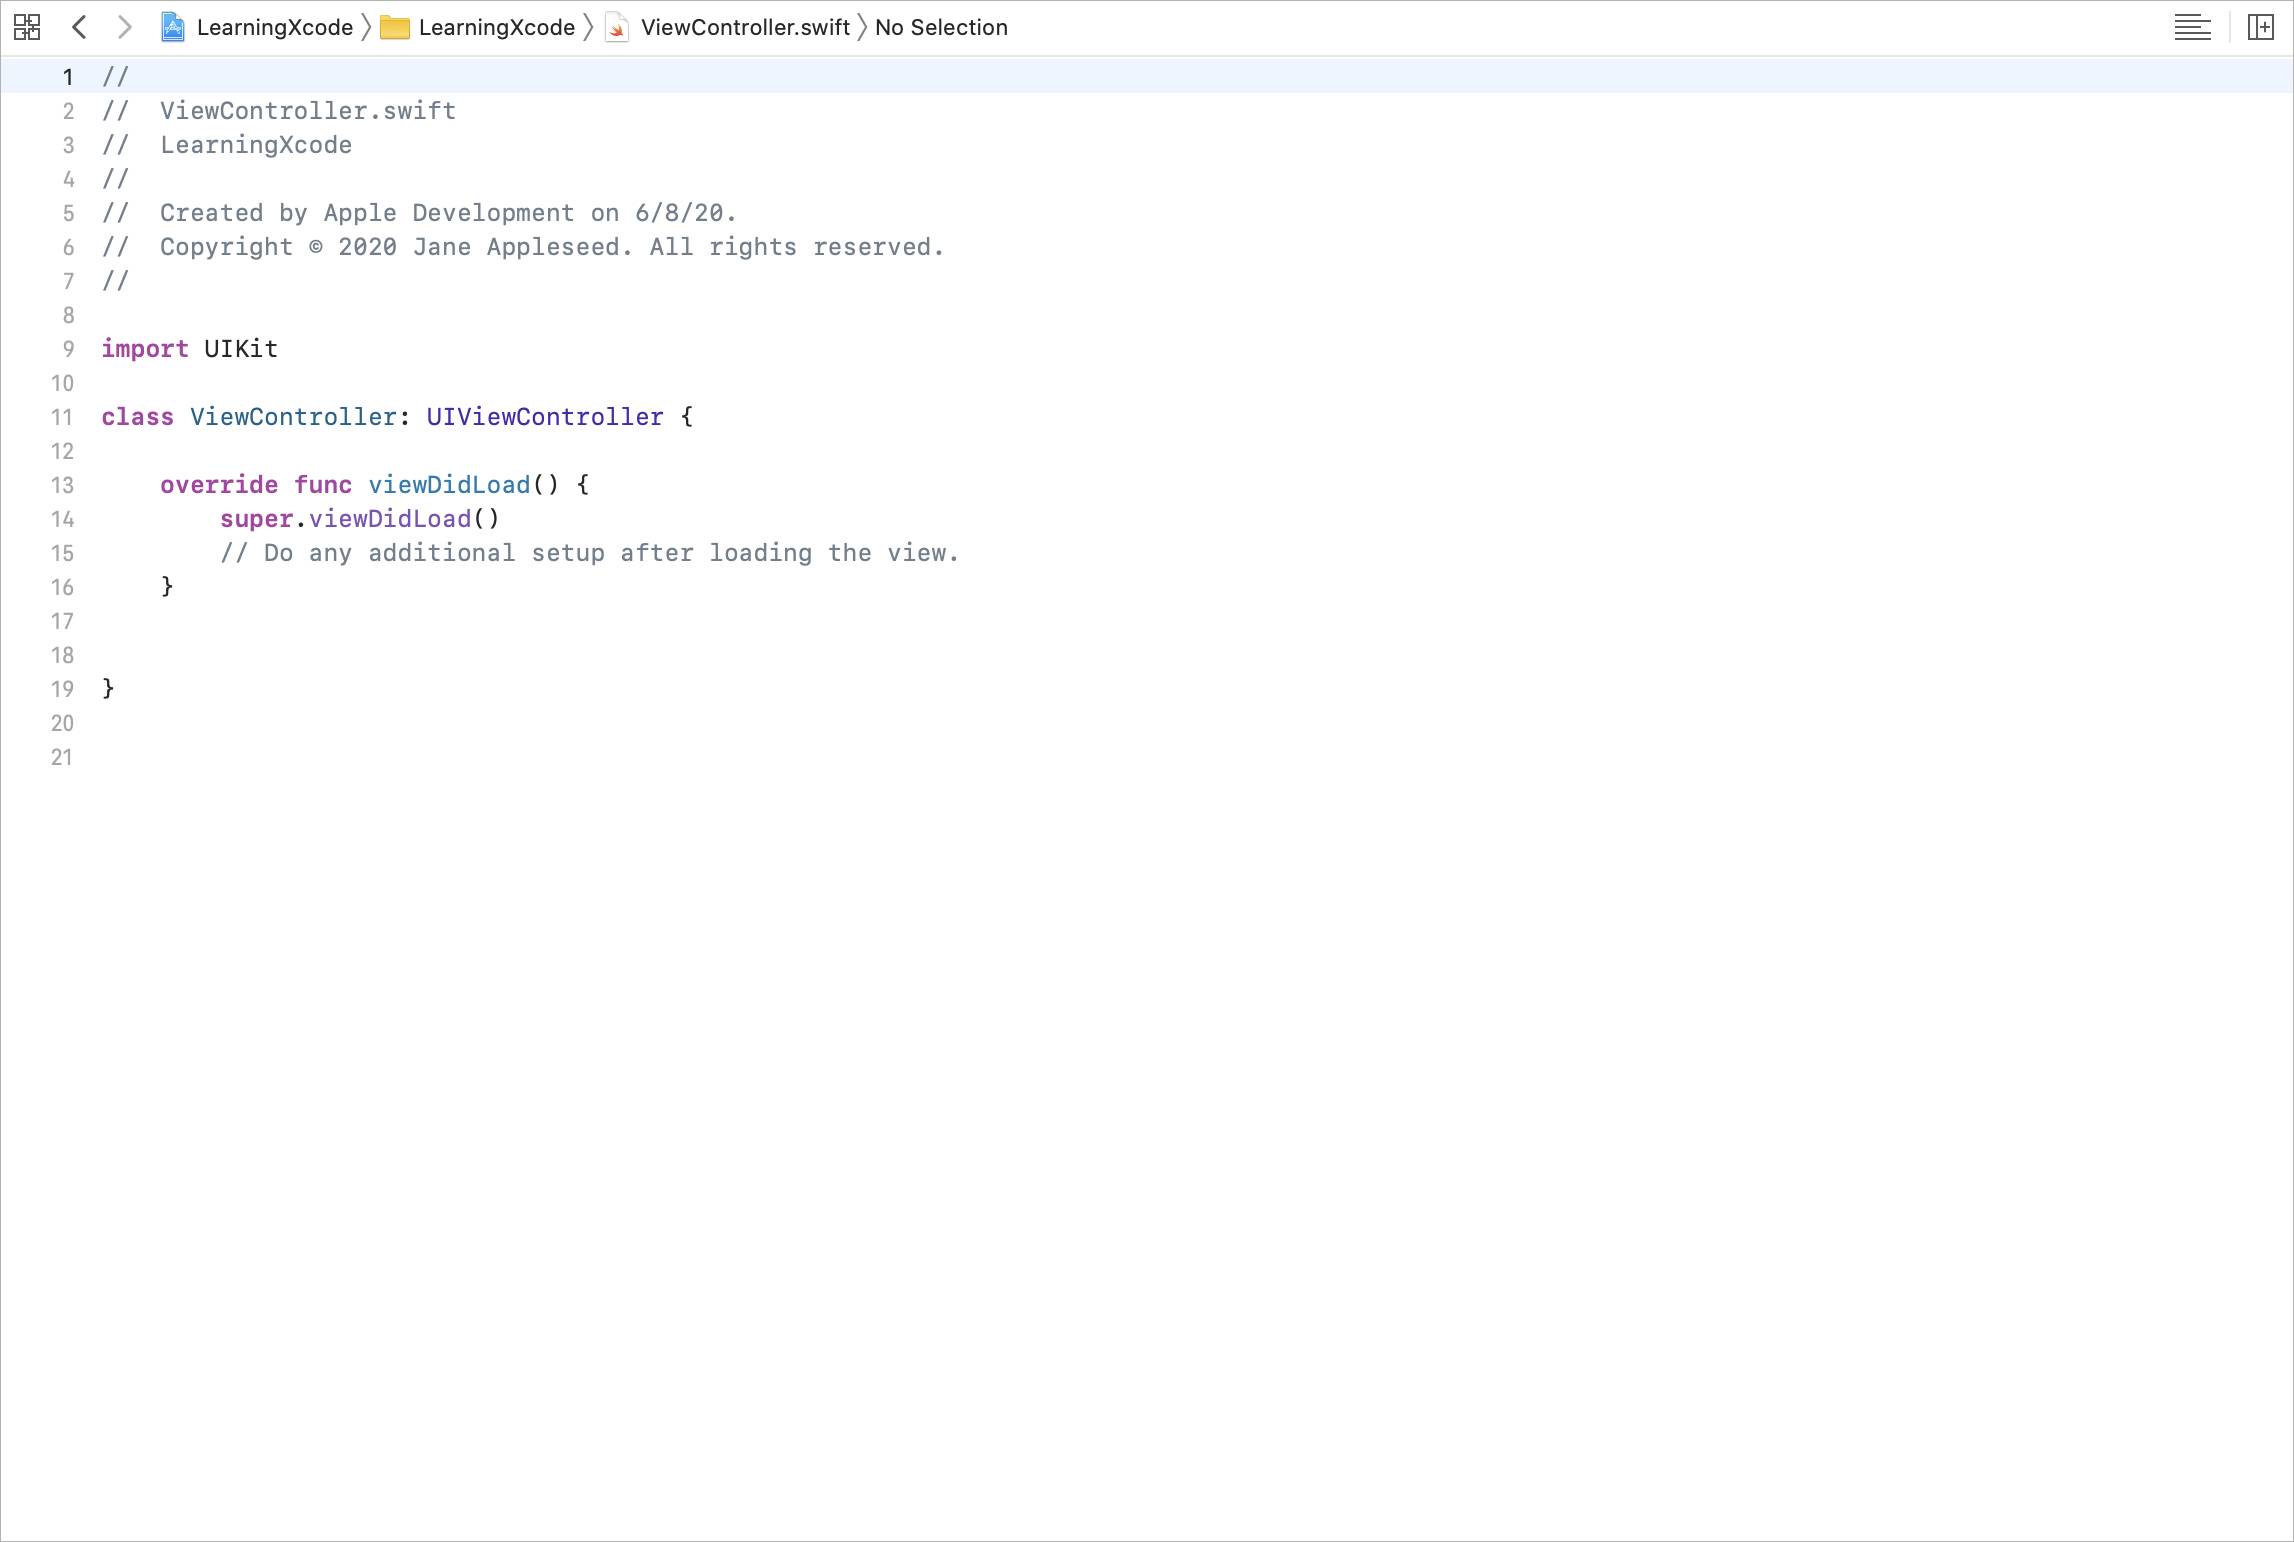
To begin your exploration of the Xcode IDE, create a new project. Open Xcode and select Create a new Xcode project.
On the next screen, notice that Xcode provides many starting templates for creating new applications, organized according to the platforms that Xcode supports: iOS, watchOS, tvOS, and macOS. Select the iOS Single View App template. Click Next.

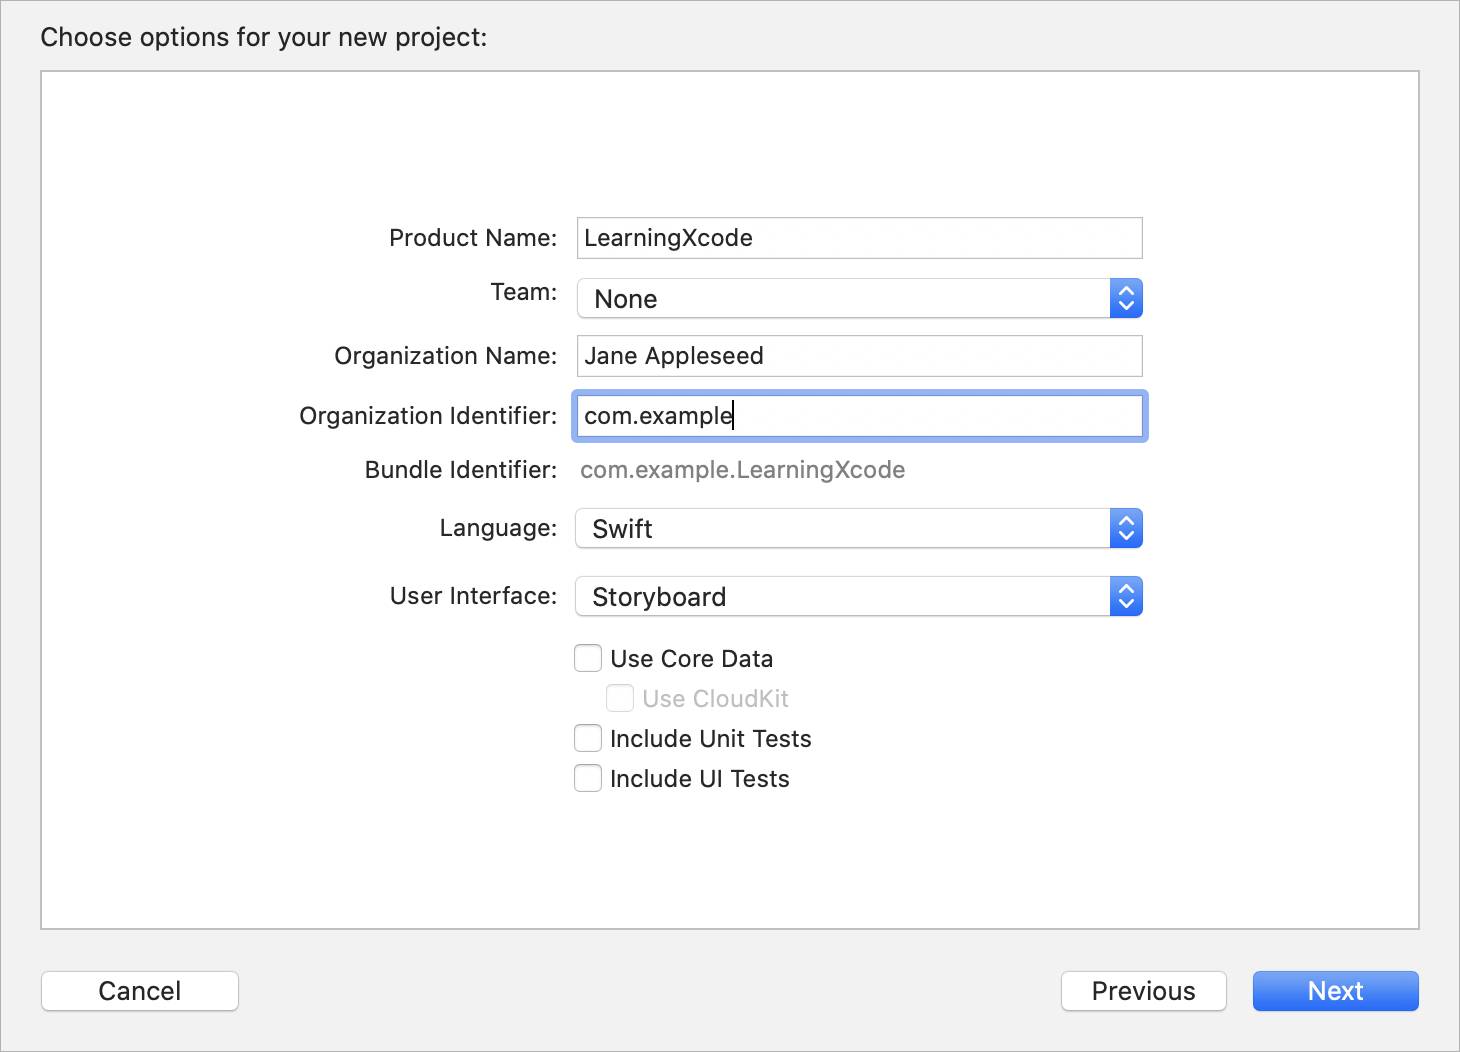
In the Product Name field, enter: LearningXcode. Xcode uses this name for your project and your app. Under Organization Identifier, you may specify your organization's identifier, or another identifier that's unique to you, like your initials,
the date, and .example. Ensure the checkboxes are deselected for Use Core Data, Include Unit Tests, and Include UI Tests. Click Next.
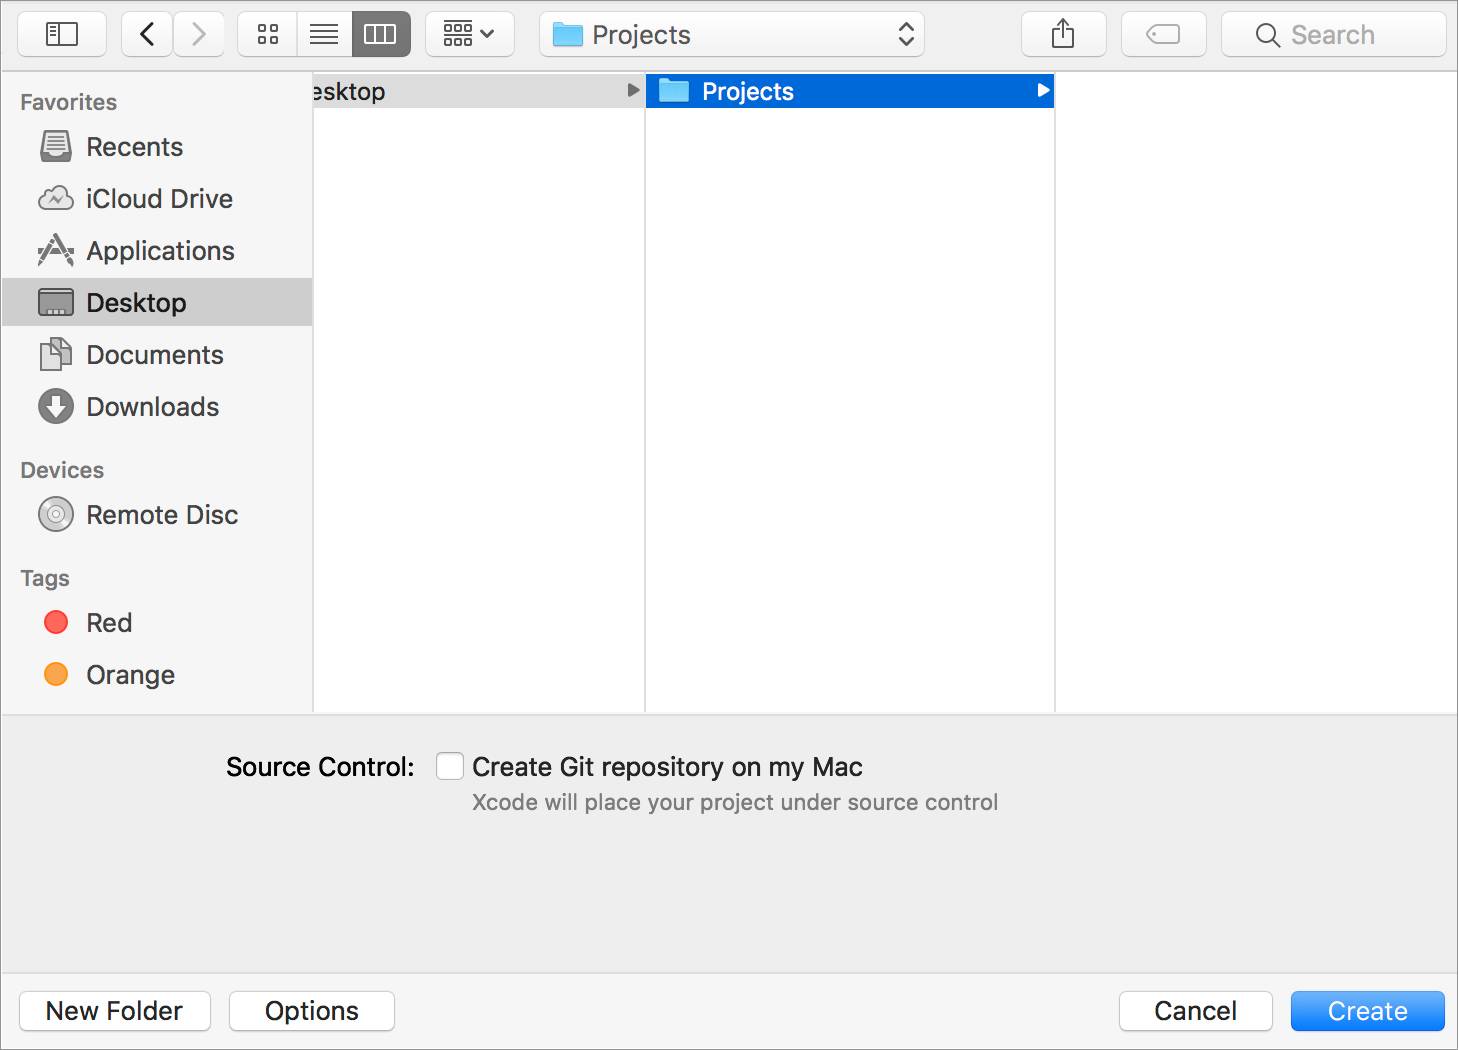
Select a location for saving your project. Make sure the checkbox named Create Git repository on my Mac is NOT selected. Click Create.
Now that you've created the project, you'll arrive at the main interface of Xcode. Notice that the interface takes up a lot of space. You might want to resize the window to fill the majority of your desktop—or view Xcode in full screen by clicking the green (third) circle in the upper-left corner of the window or using the Control-Command-F keyboard shortcut.
Xcode Interface
The Xcode workspace has five main sections.
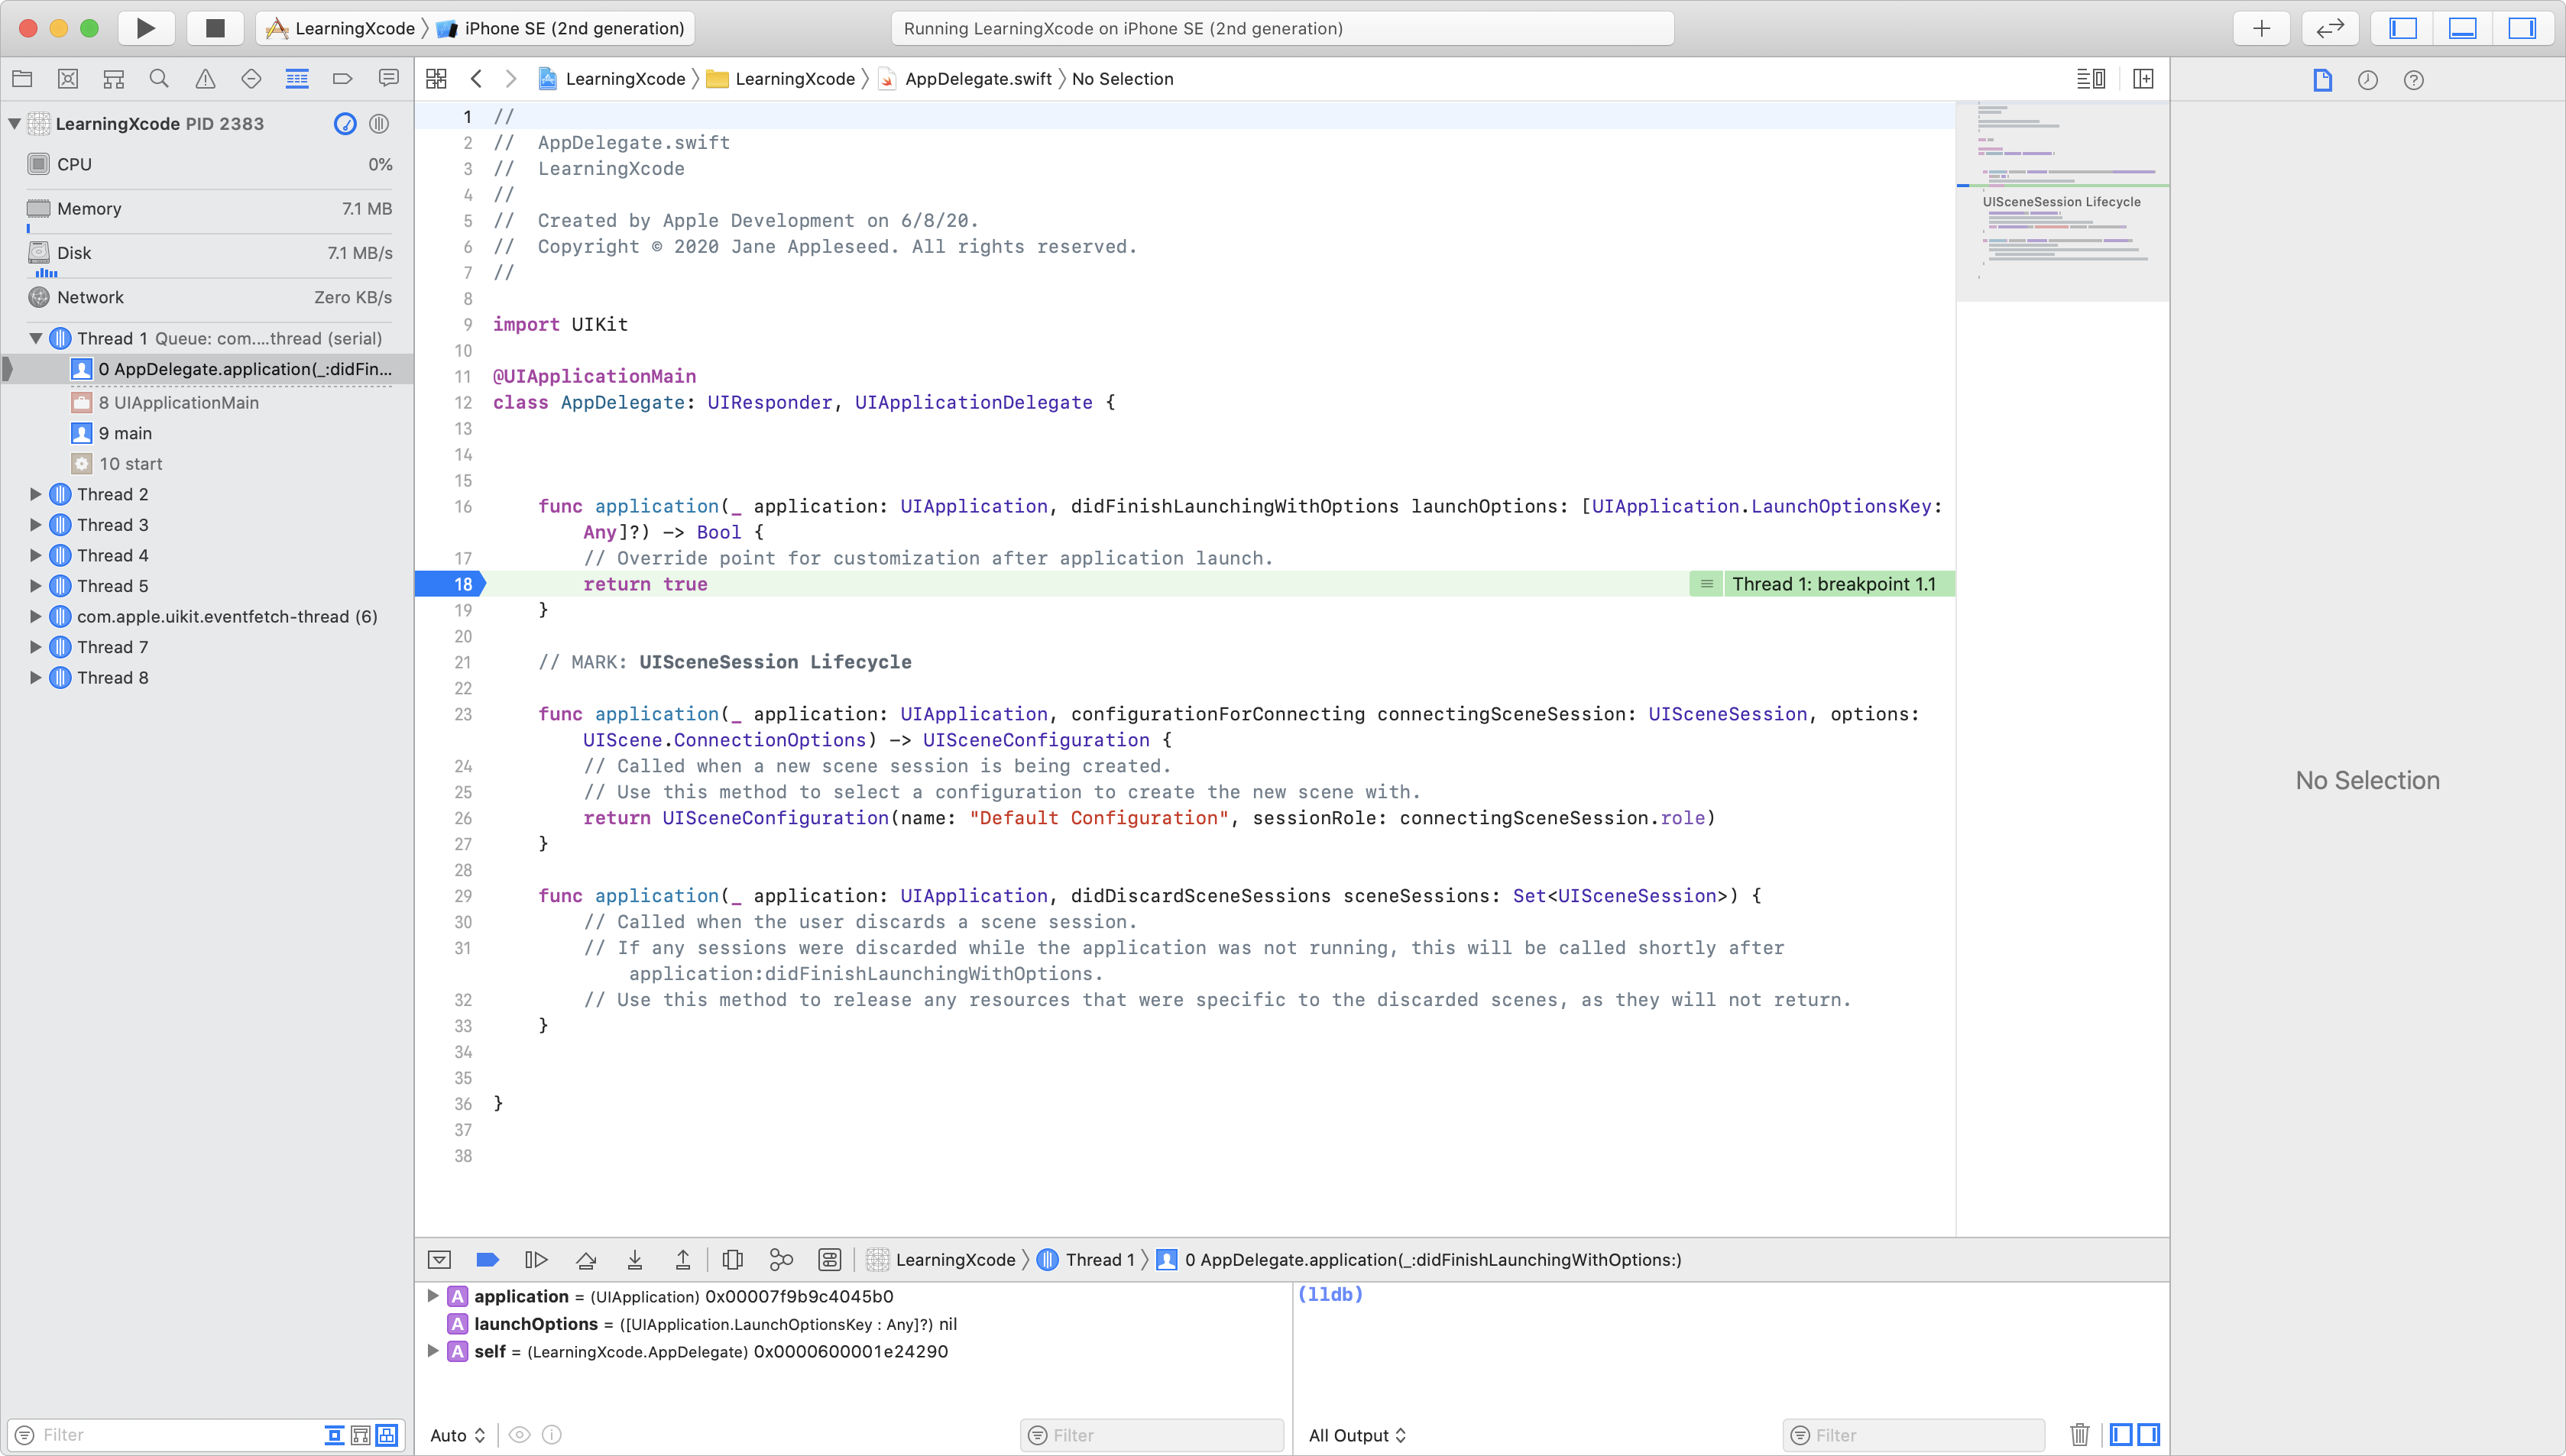
The first main section is the editor area, where you spend most of your time writing Swift code and building UIs using Interface Builder. The file that you select in the project navigator column on the left determines what the editor area displays.
Next is the toolbar, which spans the top of the Xcode workspace.

Moving from left to right are the following buttons:
-
Build and run
 . Verifies that all of your code is correct and, if so, executes your app on the specified device.
 -
Stop
 . Stops the app from running.
 -
Active scheme (two separate buttons)
 . A single Xcode project can create multiple apps, for example, an iOS app and a watchOS app. If you click on the left side, a pull-down menu allows you to choose which of these apps you want to run. Click on the right side to choose the device or
simulator that you want to run the app.
. A single Xcode project can create multiple apps, for example, an iOS app and a watchOS app. If you click on the left side, a pull-down menu allows you to choose which of these apps you want to run. Click on the right side to choose the device or
simulator that you want to run the app. -
Library. The Library button dynamically changes depending on which editor you are in.
-
Code Snippets Library
 . Displays predefined code that you can drag and drop into your editor. Colored tags highlight placeholder values. You can also create your own code snippets for code that you frequently use.
 -
Objects Library
 . Displays UI elements, such as buttons, navigation bars, and views, that you can drag and drop to design screens
in Interface Builder.
. Displays UI elements, such as buttons, navigation bars, and views, that you can drag and drop to design screens
in Interface Builder.
-
Code Snippets Library
-
Standard editor
 . Switches the editor area to only view the file selected in the project navigator.
 -
Assistant editor
 . Splits the editor area into two halves. The left side contains the primary document, and the right side displays files that are relevant to the primary document. For example, if you're editing Main.storyboard, the right side can display the source
code that relates to the interface that you're editing.
. Splits the editor area into two halves. The left side contains the primary document, and the right side displays files that are relevant to the primary document. For example, if you're editing Main.storyboard, the right side can display the source
code that relates to the interface that you're editing. -
Version editor
 . Displays side-by-side views of the current version and previous versions if you're using a source control system, such as Git, to manage your Xcode files.
 -
Toggle area (three buttons)
 . Hides or shows the navigator area, debug area, or utilities area.
The third section is the navigator area, a narrow column on the left. At the top of the column is the navigator bar, where you can select the navigator you want to display.

Moving from left to right are buttons for the following navigators:
- Project navigator. Lists all files that are associated with your project.
- Symbol navigator. Lists all the symbols, or data types, that you've defined in your project. Since a single file can contain multiple symbol definitions, use this navigator when you're unsure which file a symbol defines.
- Find navigator. Allows you to perform a search for specified text throughout your project, with the option to also replace the text.
- Issue navigator. Displays all the warnings or build errors that were encountered the last time that your app was built.
- Test navigator. Lists all the tests that you've written for your application and allows you to run each test individually.
- Debug navigator. Displays the order in which the code was executed when you're actively debugging an app.
- Breakpoint navigator. Lists all the breakpoints that you've added to your project and makes it easy to enable or disable them individually.
- Report navigator. Provides a detailed log of each build of your project.
At the bottom of the Xcode window is the fourth main section: the debug area.

To the left of this area is the variables view, which lists the value of each variable while you're actively debugging an app. To the right is the console pane, which displays any print statements that you or the system has output. Each of
these views can be shown or hidden using the button in the bottom-right corner
![]() .
.
Finally, the utilities area is a context-sensitive pane that displays details about any selected file in the project navigator, such as the file's location on disk or the apps in which the file is included. When you're using Interface Builder, you'll find this area is particularly useful for adjusting the attributes of your UI elements, including position, size, and color.
Xcode File Types
Xcode knows how to work with a variety of files that span across multiple programming languages. For now, you'll learn about files that are related to projects written in the Swift language.
At the top of the project navigator, notice a file with a tiny blue Xcode icon. Click the file to open it in the editor area. This is the .xcodeproj file, which includes all the settings for your project and its targets. Each target is a
product that Xcode can build from the project. For now, the targets you build are executable apps. Later, you may use targets to build frameworks, different versions of a particular app, or versions for different platforms like watchOS or tvOS.
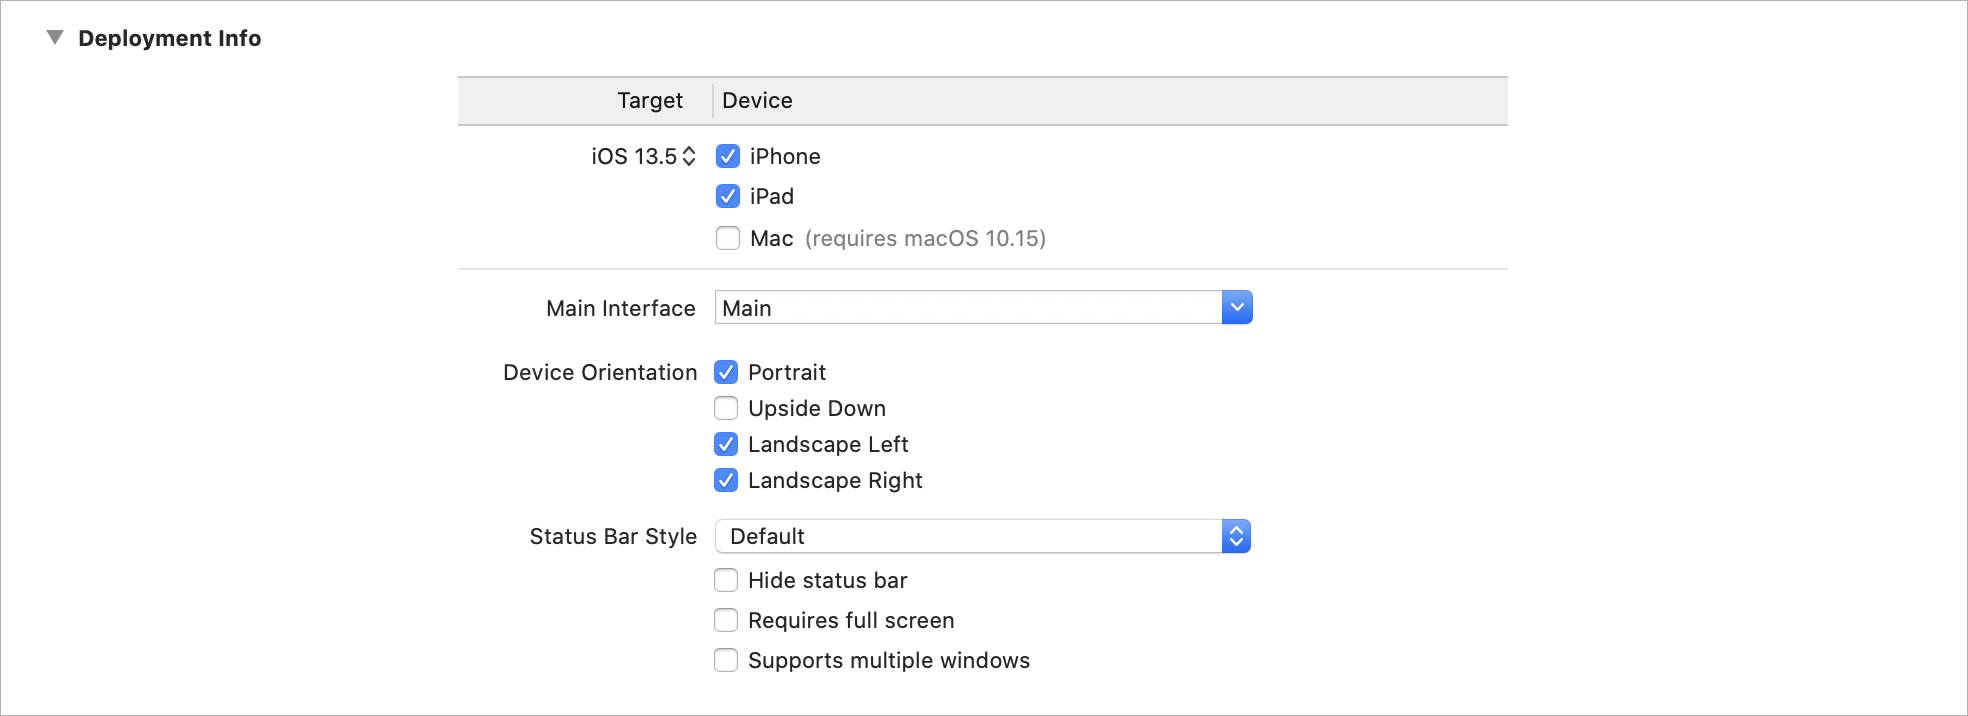
The particular project that you're working on has only one target: an iOS app. Within the project file, you can change all the details of a particular target. For example, under Deployment Info, you can specify which version of iOS your code must support, identify compatible devices for your app, or show/hide the status bar.
Select Signing & Capabilities at the top of the pane, then click + Capabilities to enable different features within the selected target. For example, if your application needs to accept push notifications, move the
on/off switch from off to on, and Xcode configures everything necessary for your app to receive notifications from the Apple Push Notifications service. Click the triangle
![]() that is next to each capability to read more information about how each capability affects your target.
that is next to each capability to read more information about how each capability affects your target.

Files that include the .swift extension contain Swift code, as you'd expect. When you build your app, Xcode gathers all included .swift files and runs them through the Swift compiler, which converts the Swift code into a format
that your selected device understands.
All .storyboard files are unique to Interface Builder. These files contain information about the design of each scene within your app, as well as about how one screen transitions to another. You'll learn more about storyboard files in an
upcoming unit.
The .xcassets file makes it easy to maintain all your assets without working with individual icons and images. This asset catalog has two advantages.
- It reduces the list of items in the project navigator.
- It also shows images that devices of different screen sizes use, helping you quickly identify missing assets for a particular device.
The Info.plist file contains a list of properties and settings for your app. Earlier versions of Xcode required you to edit this file directly. But in newer versions, you can use the .xcodeproj file to edit many settings, including
app version, app icon, and device orientation.
Keyboard Shortcuts
As you become more proficient with Xcode, you'll discover that it's much faster to execute tasks using keyboard shortcuts. Make sure to learn the most common shortcuts:
- Command-B: Build the project.
- Command-R: Build and run the project.
- Command-/: Toggle comments on selected rows of code.
- Command-[: Shift the selected code left.
- Command-]: Shift the selected code right.
Refer to the Xcode Keyboard Shortcuts for a full list of shortcuts. (Clicking this link will automatically download the guide to your machine.)
Xcode Preferences
Xcode is a powerful tool with many options. As you work with Xcode, you'll learn more about what it can do and how you can customize it to work how you want it to. Check out the Xcode Preferences by navigating to Xcode > Preferences in the menu bar. You can use the Preferences to add developer accounts, customize navigation or fonts, choose certain behaviors when text editing, and more.
Open Xcode Preferences, and select the Fonts & Colors menu.
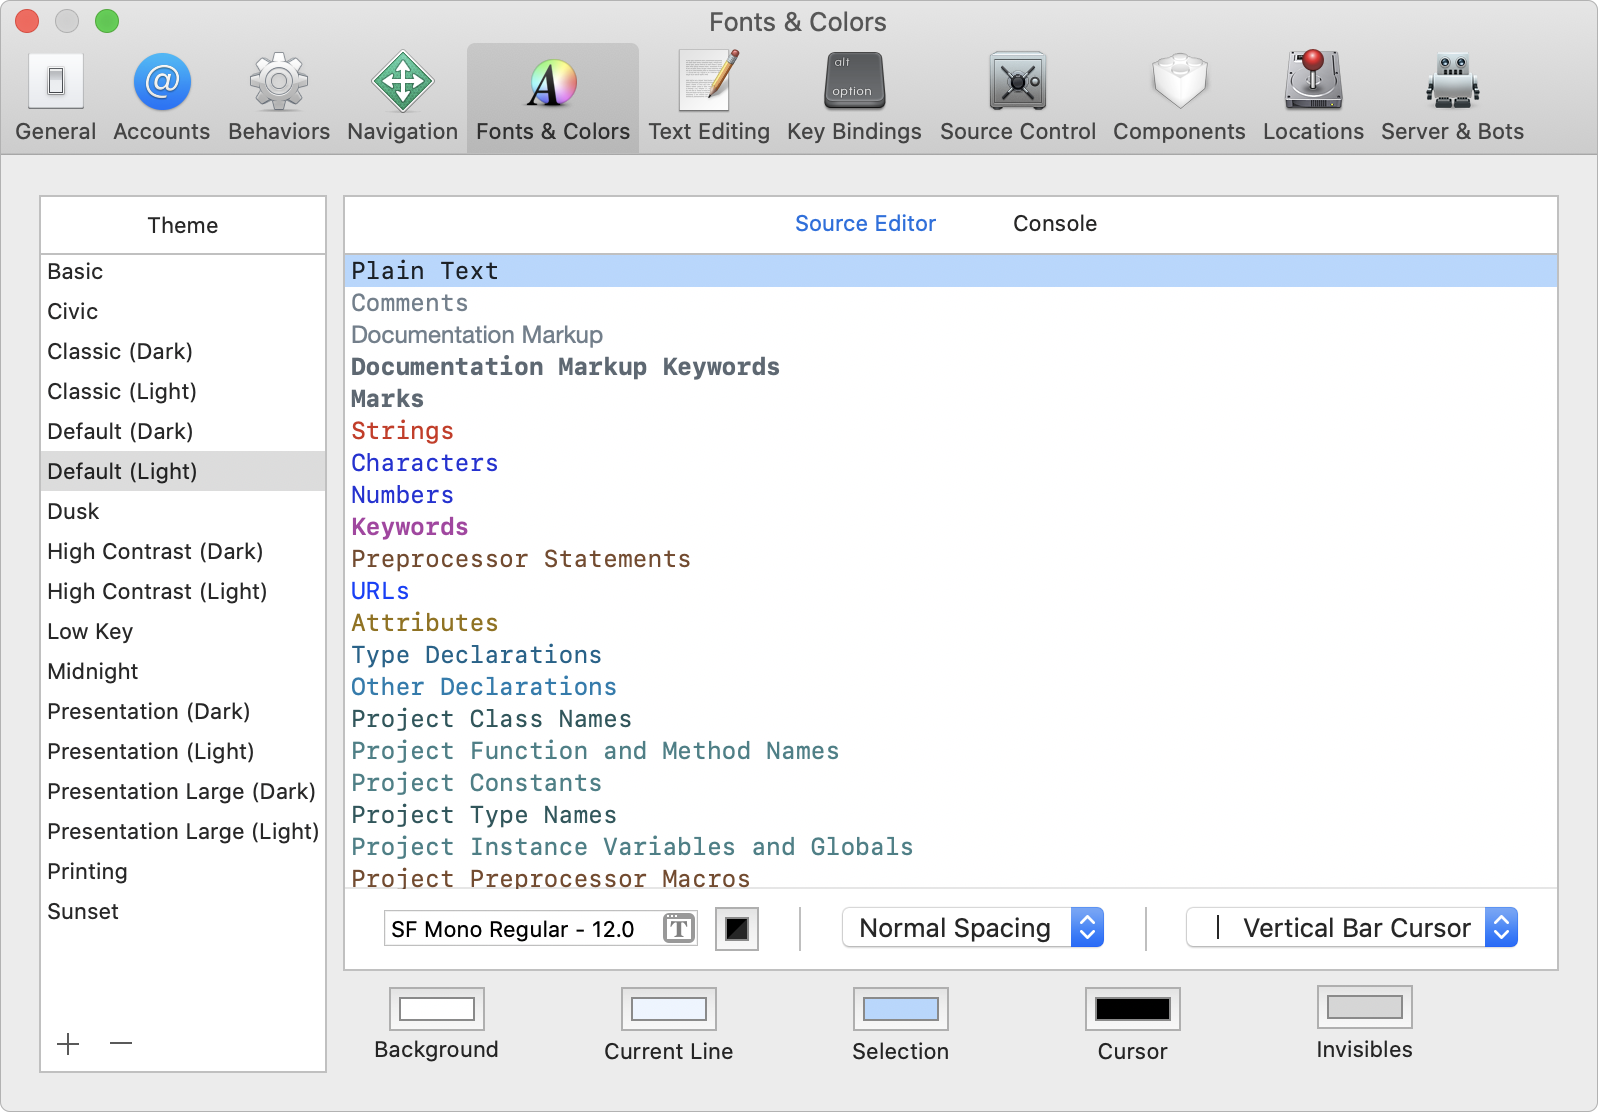
Choose a new theme by selecting different options in the list on the left. You may prefer the Civic theme as a dark editing mode, and the Presentation or Presentation Large options are useful when presenting code to a group.
You can read much more about Xcode and its various tools in the Xcode Help documentation by choosing Help > Xcode Help in the Xcode menu bar.