Improve the User Experience (Guided Project Light)
Step Four: Improve the User Experience
Think about your app’s design and how the user experiences the app. What can you improve?
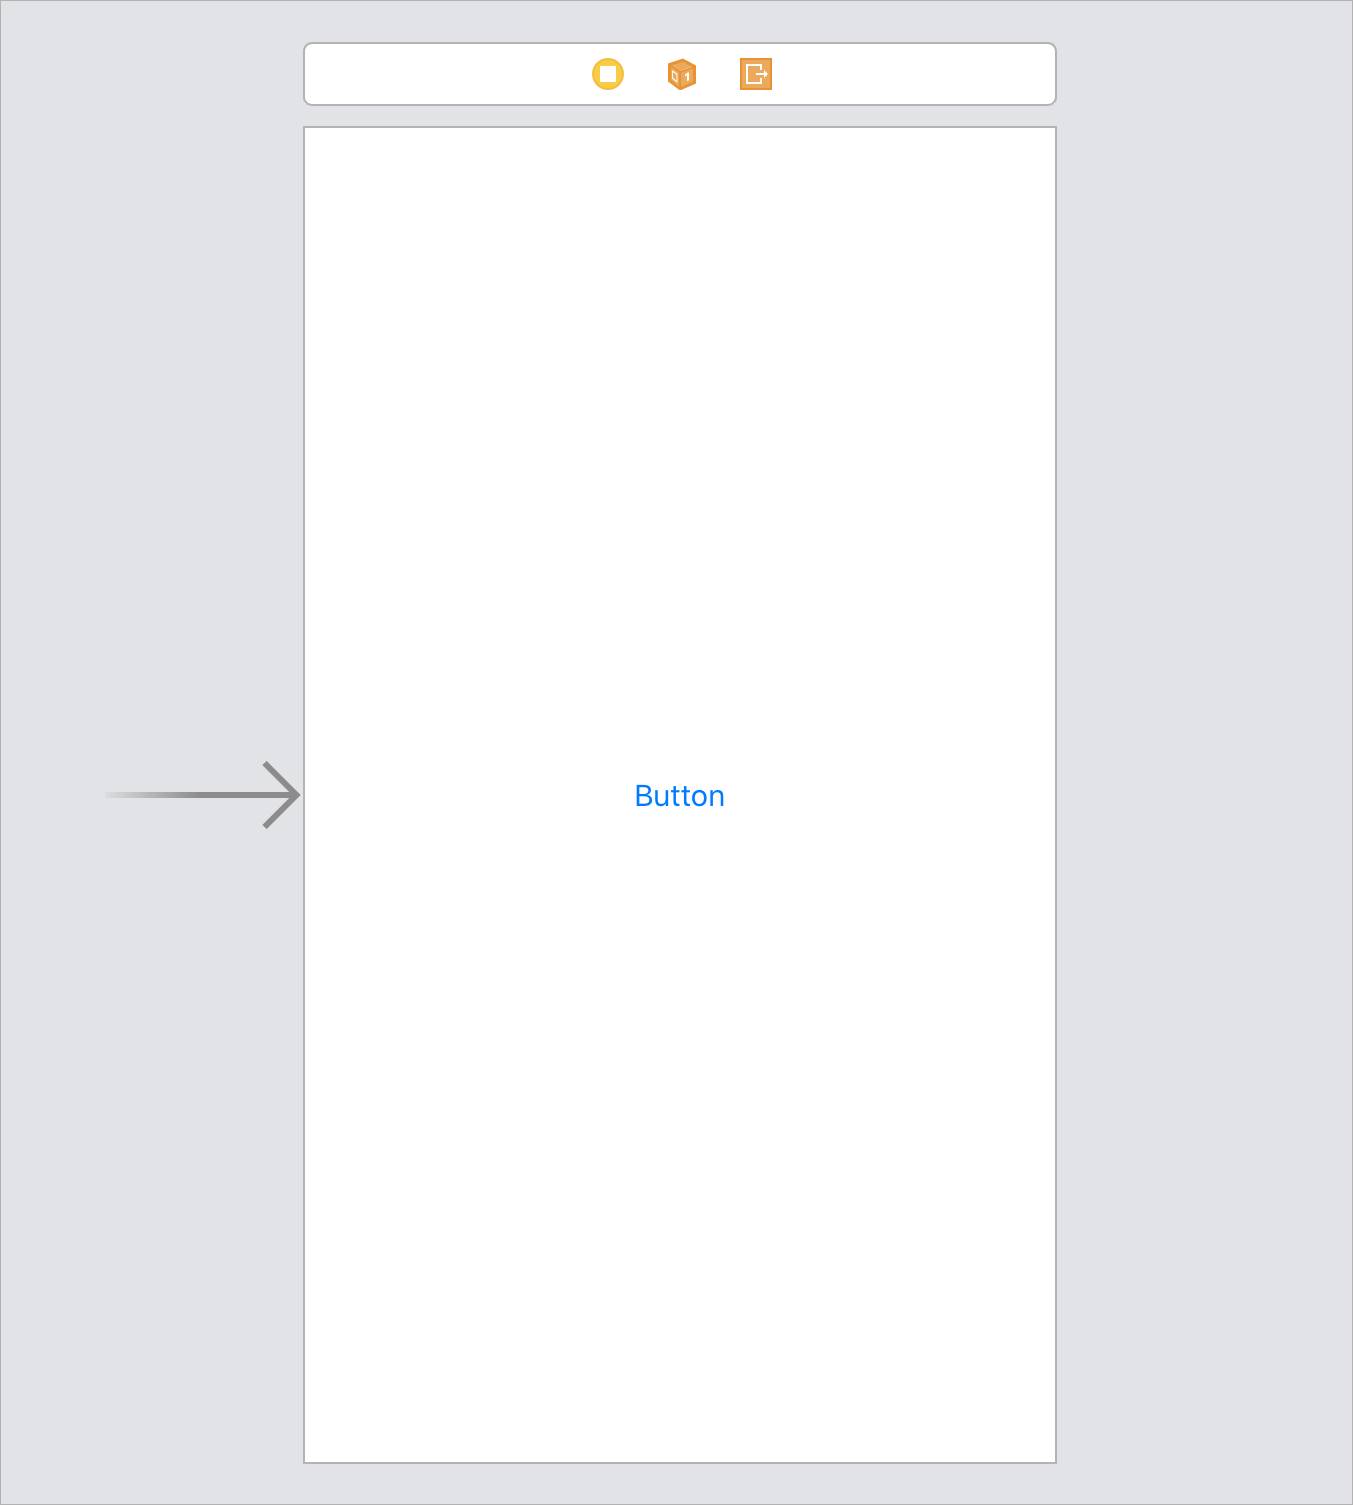
Looking at the button, you might realize that the text seems extraneous. The user can clearly see whether the light is currently on or off; the background color indicates the state of the light.
Does the user need to see the button text?
Does the button’s location on the screen affect the user experience (UX)? And don’t you think your app would be easier to use if the entire screen was tappable?
You may prefer to remove the text from the button and make the button fill the entire screen. With this approach, the user can tap anywhere on the screen to turn the light on and off. Building a quality app requires that you consider the small details and try to create an intuitive, simple, and powerful UI. In this example, the user can reasonably expect to tap anywhere on the screen to change the background color.
To begin, you'll need to resize the button to fill the screen:
1. Select the button in Interface Builder.
2. Drag the button's top-left and bottom-right corners, extending the button to cover the entire white view.
3. Remove the title text for the button.
The tappable area of the button performs as expected, but it now appears as though only the white view exists on the canvas.
4. Remove the lines of code in updateUI() that make changes to the button's title:
func updateUI() {
    if lightOn {
       view.backgroundColor = .white
    } else {
       view.backgroundColor = .black
    }
}
In this updated design, the button's properties don't need to change while someone uses the app. This update means the outlet that you created at the beginning of the project is no longer necessary.
As a developer, you should keep your code as clean as possible, so remove the connection between the button and the IBOutlet:
1. Select the button in Interface Builder.
2. Open the Connections inspector.
This inspector displays all the events and outlets that connect to a particular object.
3. Noticed that the button is tied to the buttonPressed: action and to the lightButton outlet.
4. Click the X next to the outlet to remove this connection.

Because you removed the connection between lightButton and the button on the storyboard, the little circle next to @IBOutlet is no longer filled in.

You can now safely delete the declaration of lightButton:
1. Build and run your app to test your design improvements.
You should now be able to tap or click anywhere on the screen to change the background color.
2. Because both lines in the if-else statement do the same action (set the backgroundColor), use a ternary instead to make the updateUI() method look cleaner:
func updateUI() {
view.backgroundColor = lightOn ? .white : .black
}
3. Build and run your application again to verify that the ternary operator works as intended.
For a refresher on how ternary operators work, check out the Swift Essentials unit, Learn About Control Flow.
Check the Solution if You Need It
Here is the entire Light project. You can compare it to how you set up your storyboard.
Project Wrap Up
You've successfully created an app that turns the screen on and off, similar to a flashlight. You've simplified the design of the app as well, making conscious decisions to improve the UX by removing the button title and filling the screen with a tappable area. Even though you have limited knowledge of Swift, you stepped through lines of code and referred to the documentation to complete this project.
Did you find it difficult to navigate Xcode or use Interface Builder? If so, you might want to revisit the previous units that discussed Xcode and Interface Builder in more detail.
Continue to Learn More
This was a brief introduction to iOS app development. You learned about Xcode, Interface Builder, and the environment you'll use to build apps, as well as some basic Swift concepts in the Swift Essentials module. You also built your first app!
What should you do next? Here are a few ideas to continue your learning:
- This introductory module is based on App Development with Swift. Get this iBook for a comprehensive introduction to iOS development, where you can learn more about Swift syntax and continue building more complex apps.
- Read through the Swift Language Guide for comprehensive documentation and reference material for Swift.
- Developers rely on peers, mentors, and community to enhance their skills. Join the Using Swift community forum to talk to other developers. You can also try searching for meetups in your area for Swift developers.
- How do you develop an app from an idea? Watch I Have this Idea for an App from the Apple Worldwide Developers Conference (WWDC) 2018 for a one-hour session that takes an app from concept to reality.
- How do you design apps with the Apple look and feel? Review the Human Interface Guidelines to learn about designing apps that integrate with Apple platforms.
- Apple cares deeply about making apps for everyone. Look at Accessibility for Developers and Build Apps for the World to understand the mission of making apps friendly for a broader audience.
Explore Apple Developer for other resources, such as videos and documentation.