Set Up B2B Marketing Analytics
Learning Objectives
After completing this unit, you’ll be able to:
- Confirm the Salesforce-Pardot verified connector.
- Set up B2B Marketing Analytics.
Get Cloudy is almost ready to start exploring their data. They want to determine top-performing campaigns to help drive conversion and ultimately close deals faster. Leung has a few more steps to go!
Verify the Connector
Get Cloudy is already using a verified Salesforce-Pardot connector, but let’s see how she confirms the version of a connector and verifies it.
To check the license she is using, she goes to Salesforce Setup | Company Information | Permission Set License field. To ensure she is getting all the newest insights, she installs the latest version of B2B Marketing Analytics and migrates any customizations that were created before February 11, 2019.
Leung’s now ready to prep her org to work with CRM Analytics. She can do that in the Marketing Setup app. From Setup, she searches for B2B, and under the B2B Marketing Analytics heading selects Getting Started.
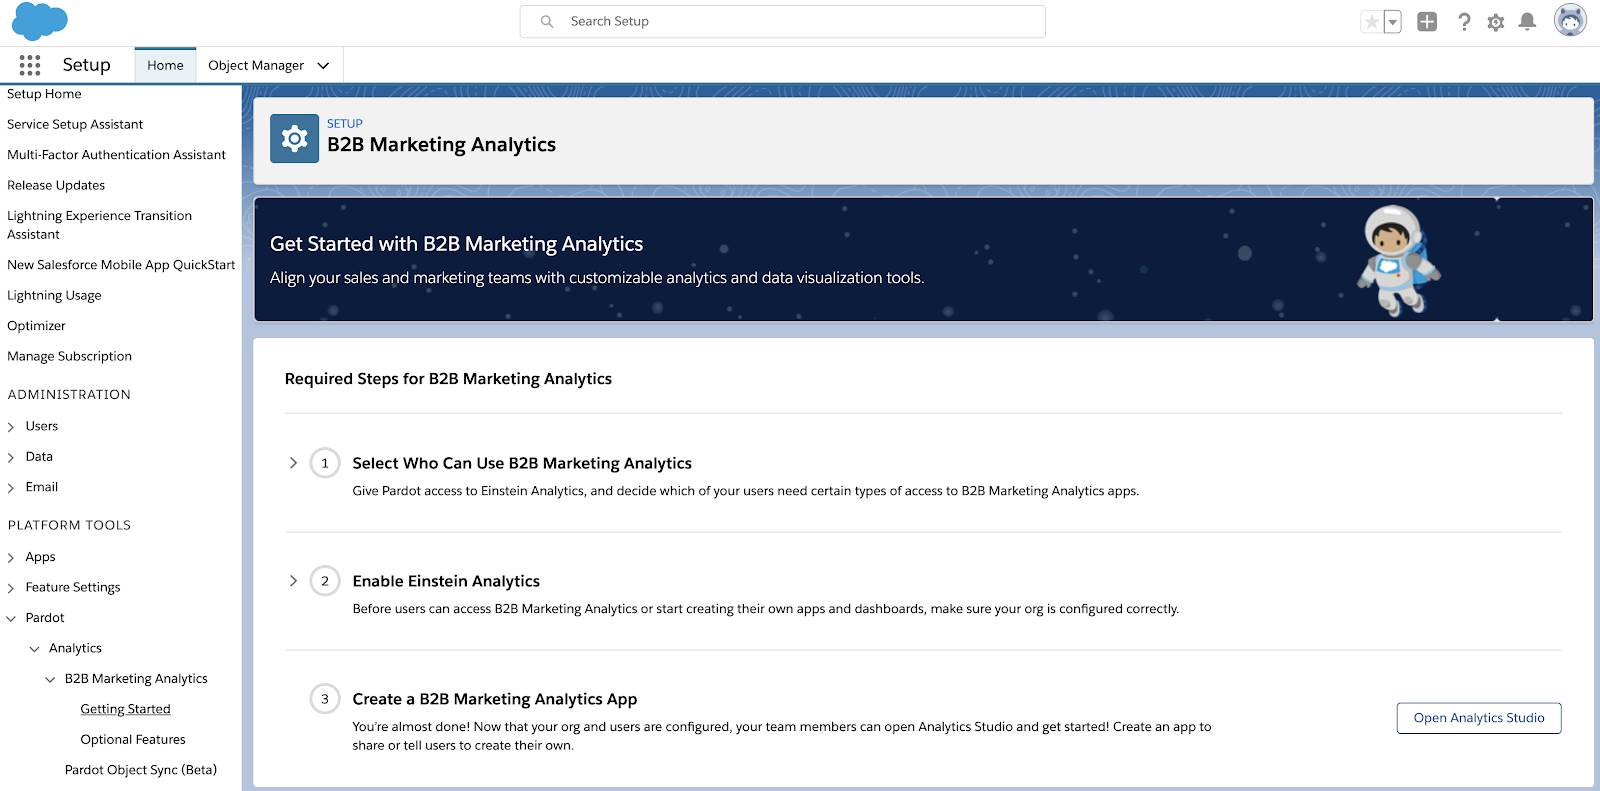 The setup screen walks her through the process—managing assignments, enabling Analytics, and other settings.
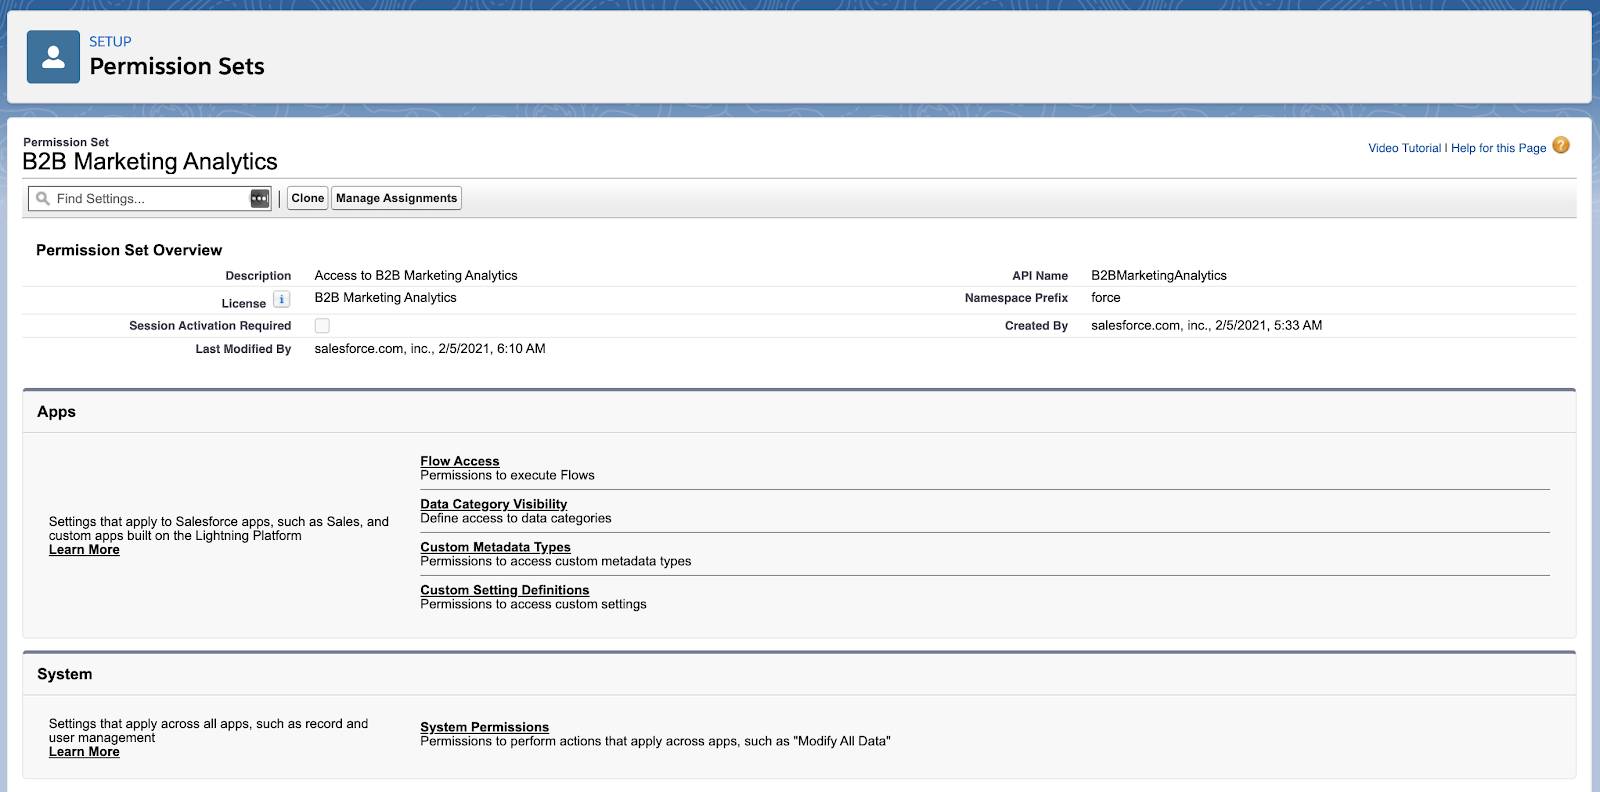
Leung is ready to assign the correct permission set license to users who need access to B2B Marketing Analytics apps. To assign the permission set license to users, all she has to do is assign it to the connector or integration user.
- From the Permission Sets page, click Manage Assignments.
- Click Manage Assignments and assign the permission set to the connector or integration user.
Next, she enables Einstein Analytics.
- From the Setup page, click Open Einstein Analytics Setup under the Enable Einstein Analytics step.
- Click Enable Einstein Analytics.
Leung also needs to enable the Analytics Templates and Data Sync.
- From the Setup wizard page, click Open Analytics Settings.
- Select Enable Data Sync and Connections.
- Click Save.
It’s highly recommended that she schedules data syncs to run regularly. She should schedule the data sync for each connection, where all objects under the connection sync at the specified time, and not each individual object. For best results, she schedules her future data sync operations in CRM Analytics Studio. Let’s look at how she does that.
- In CRM Analytics, click Data Manager.
- Click the Connect tab. This tab displays a list of objects enabled for sync, grouped by connection. If for some reason, she was not able to see the Connect tab, she would need to enable data sync in her org. Refer to the Enable Data Sync and Connections document in the resources section for more information.
- Click
 next to the connection to be scheduled and select Schedule.
 - Select the time to run the recipe by minute, hour, week, or month. CRM Analytics runs data syncs according to the time zone of the user who set the schedule.
- To schedule the recipe to run by the minute or hour, select Stop queuing at a specific time to stop the recipe from running during non business hours for example.
- Click Save.

We made it! It’s finally time to create a B2B Marketing Analytics app. Leung (and her consultants) can do this inside CRM Analytics Studio.
- In Salesforce, open the App Launcher and select CRM Analytics Studio.
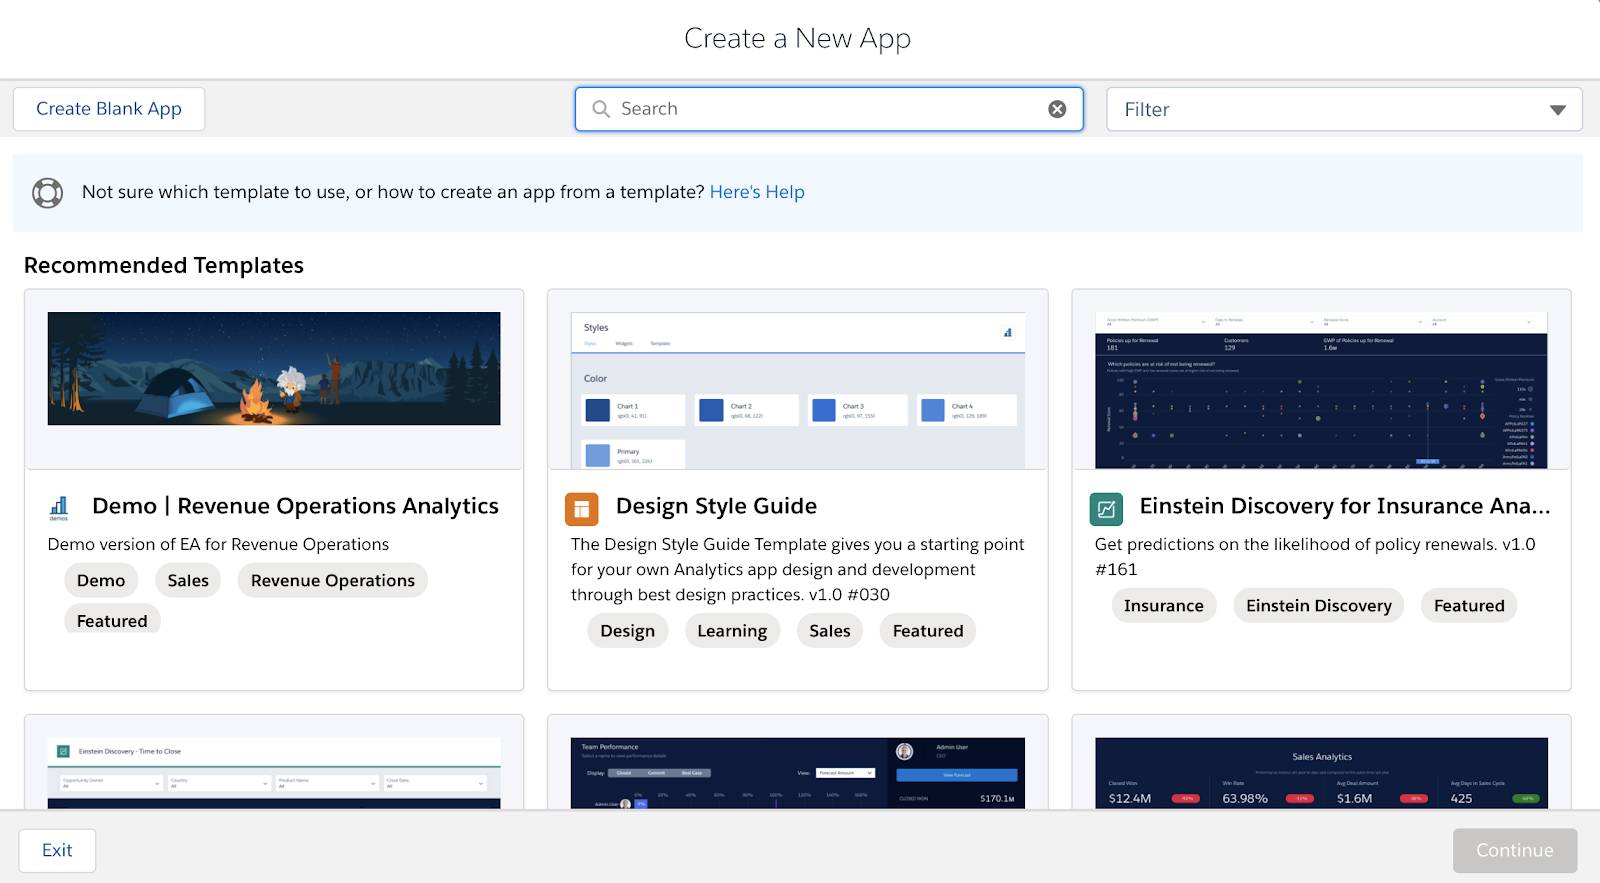
- Click Create and then select App.
- Click Start from Template, and then select B2B Marketing Analytics.
- Follow the prompts throughout the setup, and choose whether to enable any of the optional dashboards or datasets.
- Click Done.
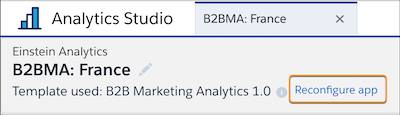
Leung can change the configuration of her app at any time. The process will overwrite the current configuration, so she’ll need to review these caveats first. If everything looks good, she clicks the Reconfigure app link in the toolbar.
That’s pretty much it! Data starts flowing into her app, and she can begin to analyze and report on it within no time at all.
Resources
- Salesforce Help: Enable Data Sync and Connections
- Salesforce Help: Understand What Happens When You Enable Replication
- Salesforce Help: Schedule, Run, and Monitor Data Sync
- Salesforce Help: Connecting Pardot and Salesforce
- Salesforce Help: Enable Analytics and Create Permission Sets
- Salesforce Help: Reconfigure B2B Marketing Analytics
- Salesforce Help: Upgrade B2B Marketing Analytics Template