Set Up Your Salesforce DX Environment
Introduction
The Salesforce Developer Experience (DX) is a set of tools that streamlines the entire development life cycle. It improves team development and collaboration, facilitates automated testing and continuous integration, and makes the release cycle more efficient and agile.
This Salesforce DX quick start begins with source code living in your version control system (VCS). It doesn't matter which VCS you use, only that you use one. In this quick start, we assume you're using Git and GitHub, as this is where we've stored the sample application, called the DreamHouse app.
What Is a Scratch Org?
Much of the setup you do for Salesforce DX enables you to use a new type of org called a scratch org. A scratch org is a dedicated, configurable, and short-term Salesforce environment that you can quickly spin up when starting a new project, a new feature branch, or a feature test.
What Is a Developer Hub Org?
A Developer Hub (Dev Hub) is the main Salesforce org that you and your team use to create and manage your scratch orgs.
Follow Along with Trail Together
Want to follow along with an expert as you work through this step? Take a look at this video, part of the Trail Together series.
Enable Dev Hub in Your Trailhead Playground
While you can enable Dev Hub in any paid org, it's always best to practice somewhere other than production. Instead, go ahead and enable Dev Hub in a Developer Edition org or Trailhead Playground to use with this project.
Get Your Trailhead Username and Password
You need your Dev Hub login credentials for this project. If you don't already know the username and password for the Developer Edition or Trailhead Playground org where you enabled Dev Hub, follow the steps in this article.
Install the Command Line Interface (CLI)
Use the Salesforce CLI to control the full application life cycle of your Salesforce apps. With it you can easily create environments for development and testing, synchronize source code between your orgs and VCS, and execute tests.
See the Salesforce CLI Setup Guide for complete installation instructions.
- Install the CLI from Salesforce CLI.
- Confirm the CLI is properly installed and on the latest version by running the following command from the command line.
sf update
Log In to the Dev Hub
Let's log in to your Dev Hub enabled org.
- Create an alias DevHub by using -a and make this the default org using -d. To authorize the Dev Hub, in the command window enter the web login flow. The following command opens the Salesforce login page in the web browser:
sf org login web -d -a DevHub
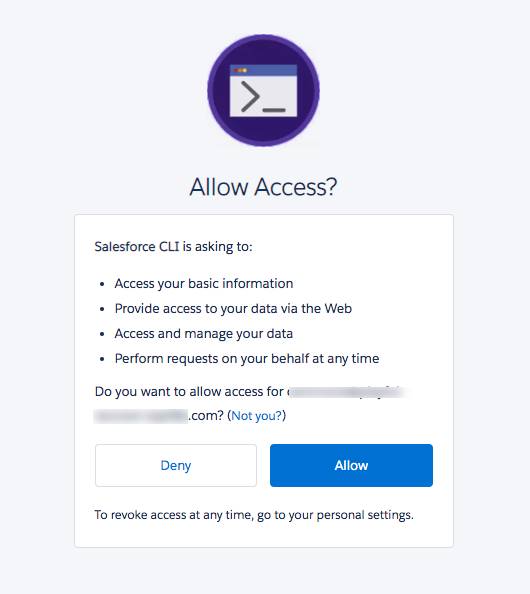
- Log in using your Dev Hub org credentials. Please note that this is a special org for Salesforce DX. You must use a Dev Hub enabled org for this project.
- Click Allow.
- After you authenticate in the browser, the CLI remembers your Dev Hub credentials. You see something like this in the Terminal:
Successfully authorized rraodv@salesforcedx1.com with org id 00D1I000000n3H5UAI
Now you can close the Dev Hub org web page and continue to work. Typically, you start your development work by creating a scratch org that's part of this Dev Hub and use the scratch org for your Salesforce DX projects—we do this in a subsequent step.
But up next, we set up a project on our local machine to test out the next step in developing with Salesforce DX.

Click Verify Step to confirm your hands-on org has authorized Salesforce CLI.