Place an Outlet Attribute into a Feature
A Feature Premier
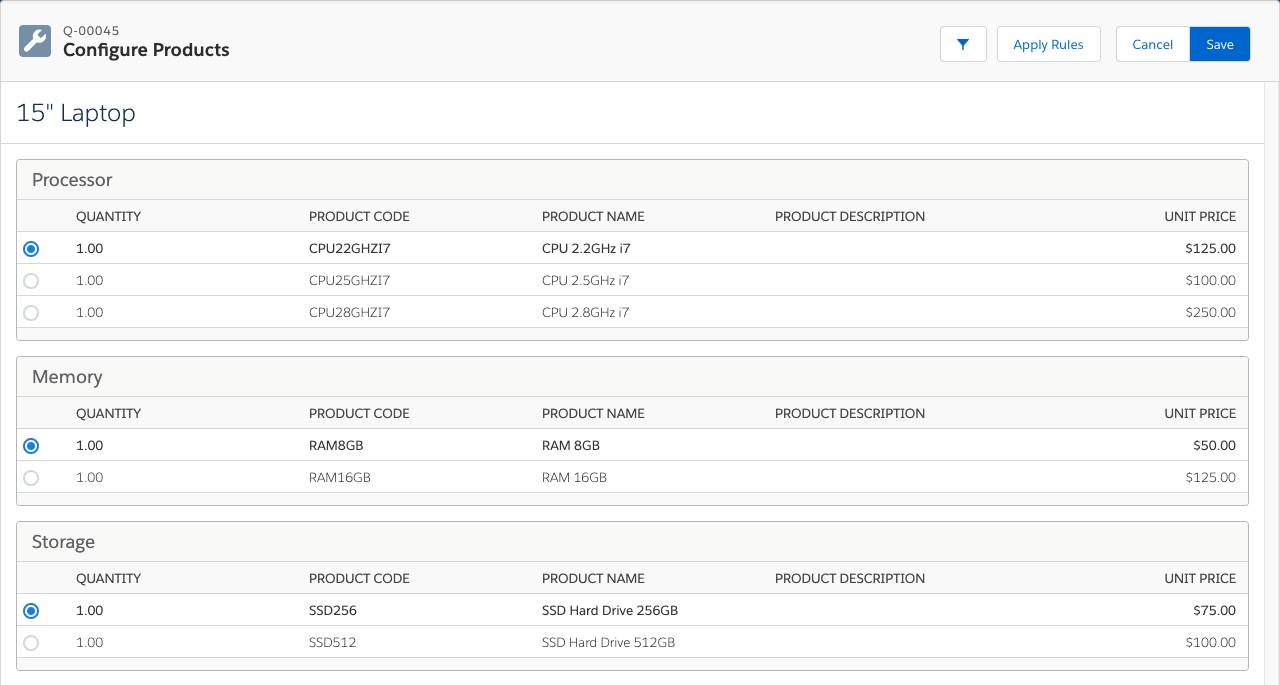
As you learn in Configurable Bundles in Salesforce CPQ, features are a way to organize options in a bundle so that it’s easier to tell which products are related. For example, a laptop bundle can have three features: Processor, Memory, and Storage.
Sometimes, a configuration attribute is closely related to options in a specific feature. For example, our Smartwatch bundle has a feature for charging options. AW Computing wants to offer wall chargers to customers located across the globe, but that means supporting a variety of outlet standards.
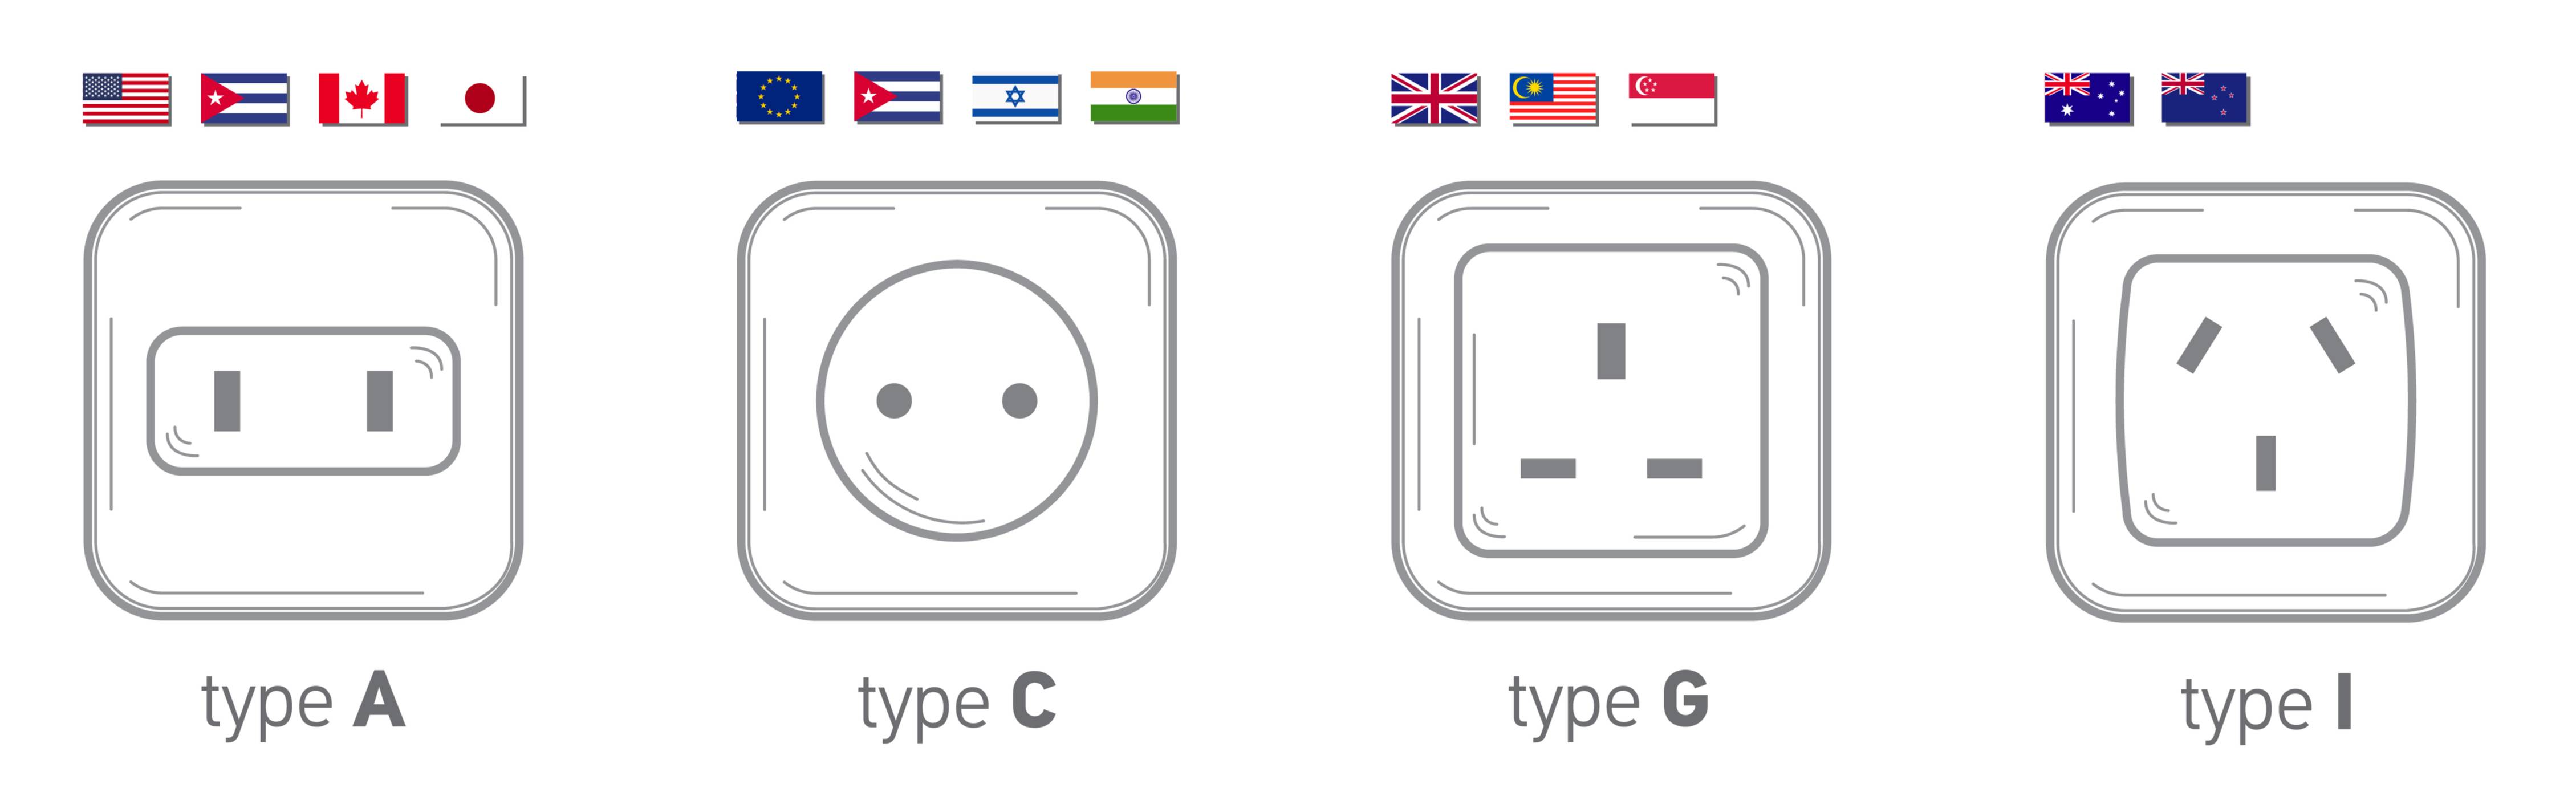
One option is to create a bunch of additional charger SKUs, one for North America, one for Germany, and so on. Or, the company can create one SKU and use a configuration attribute to identify the outlet standard. Since the configuration attribute is closely related to the charging options, we put it into the Charging Options feature.
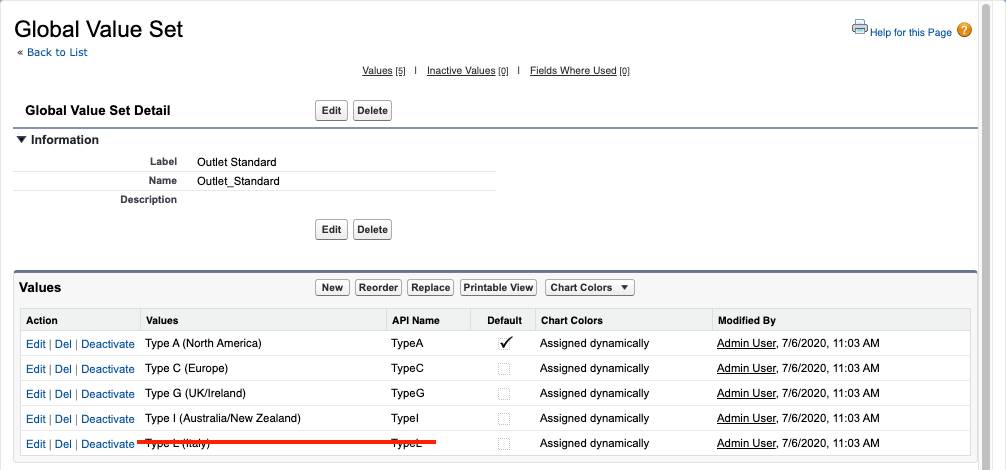
As part of this project you are going to repurpose an existing Global Picklist Value Set for outlet standards. We already created this value set for you, so you just have to use it when creating the underlying field for the Outlet Standard attribute. There’s one value in the set we don’t want to use (Type L), but you learn how to exclude it later.
You start by navigating to the Product Option object to make a new field.
- Click
 and click Setup. The Setup page opens in a new tab.
 - Click Object Manager.
- Click Product Option.
- Click Fields & Relationships.
- Click New.
- Click Picklist.
- Click Next.
- For Field Label, enter
Outlet Standard. - For Values, choose Outlet Standard.
This is the Picklist Value Set that we made for you. It includes five picklist choices already. The value set name happens to match our Field Label, but that’s not a requirement. We just named it that way to simplify this project. Also, note that the Field Name should be Outlet_Standard. This is important because it contributes to the API name of the field, which we reference later. - Click Next.
- Click Next to keep field-level security as is.
- Click Save.
Now that you created the field, it’s time to add the API name into the Target Field on the Configuration Attribute object.
- Click Object Manager.
- Click Configuration Attribute.
- Click Fields & Relationships.
- Click Target Field.
- In the Values list, click New.
- Enter
Outlet_Standard__c. - Check the box next to Record Type Name.
- Click Save.
Close the Setup tab to get back to the Salesforce CPQ tab.
OK, now you’re ready to make the configuration attribute. Let’s do it!
- In the navigation bar, click Products.
- Click Smartwatch.
- Click the Related tab.
- In the Configuration Attributes related list, click New.
- Click Next to leave the record type as Configuration Attribute.
- For Attribute Name, enter
Outlet Standard. - For Target Field, choose Outlet_Standard__c.
- Check Required.
Once again, this is an attribute needed by the AW Computing fulfillment team, so you need to be sure the sales rep chooses a value. Note: CPQ bases its behavior on this field, and ignores the Required property of the underlying product option field. - For Row Order, enter
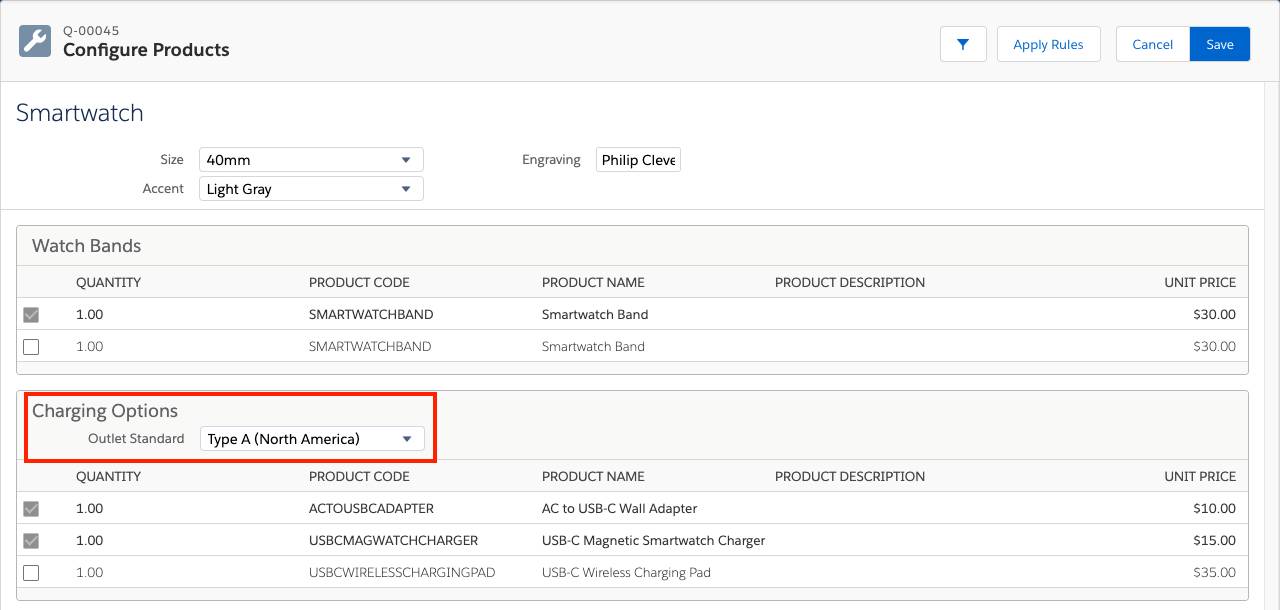
10. - For Feature, find and choose Charging Options.
This is how you tell CPQ that the Attribute should appear in the box dedicated to the Charging Options feature. - For Hidden Values, enter
TypeL.
This is the API name of one of the values in the premade picklist value set. For this example, you should exclude Type L because it’s only used in Italy, and they can use the compatible Type C plug that’s common throughout Europe. - Click Save.
Excellent, your admin work is done, and sales reps now see the Outlet Standard attribute in the Charging Options feature. You can test your work by returning to Q-00045 and adding the Smartwatch again. You’ll find that you must choose a value, and that Type L is not present in the list of choices.
In this example we decided to use the Hidden Values field to identify which values shouldn’t be available in the picklist. You can instead list the values that can be viewed with the Shown Values field.
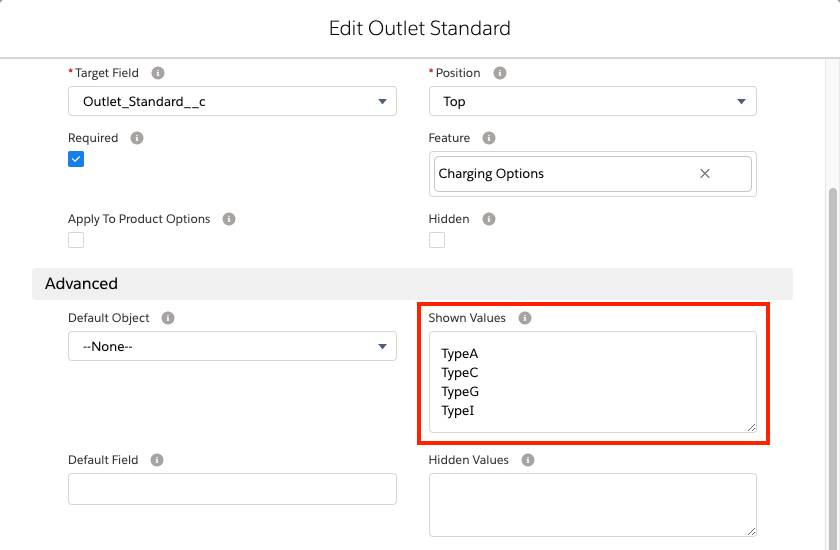
If you have lots of values that are selectable with only a few that shouldn’t be, you’ll probably want to use Hidden Values for the exceptions. If you have a limited number of values that you want to allow, and future additions to the picklist value set should not be included, you want to use the Shown Values field.
You can only use one or the other. If you try to use both at the same time, CPQ will default to the Hidden Values field.

You’ve done an excellent job creating a variety of configuration attributes to collect information relevant to the Smartwatch bundle. In the next unit you learn how to create global attributes so we can give customers the option to customize their watch bands.