Customize Your Site
Make It Look Good
Much like a beach-goer needs some trendy shades and a cool sun hat, the Ursa Major Solar partner site needs an Ursa Major Solar look. In this step, add a company logo, adjust the layout, and create a new audience variable.
- Download this image for use in this project.
- From Service Setup, enter
All Sitein the Quick Find box and select All Sites. - Click Builder to the left of Ursa Major Solar Partner Site.
Note: If necessary, click the x to close the Welcome to Experience Builder pop-up. - Click the Theme icon
 then click Colors to expand the colors menu.
 - Click the color circle to the right of Action Color.
- Delete the current rgb value and replace it with
rgb(47, 151, 55). - Click < to the left of Colors to collapse the Colors menu.
- Click Images to expand the images menu.
- Click Upload Image
 under Company Logo.
 - Click Upload Image.
- Select the PartnerLogo.png file you just downloaded, and click Open.
- Click Preview to see your changes.
Customize the Page Layout
Continue the customizing by adjusting the layout of the Home Page.
- In Experience Builder, hover on Business Summary and click the Tabs component (under the geometric purple and blue image).
- From the Tabs menu on the right, click the X next to Business Summary to remove this tab.
- Click Delete.
- Click X to close the Tabs menu.
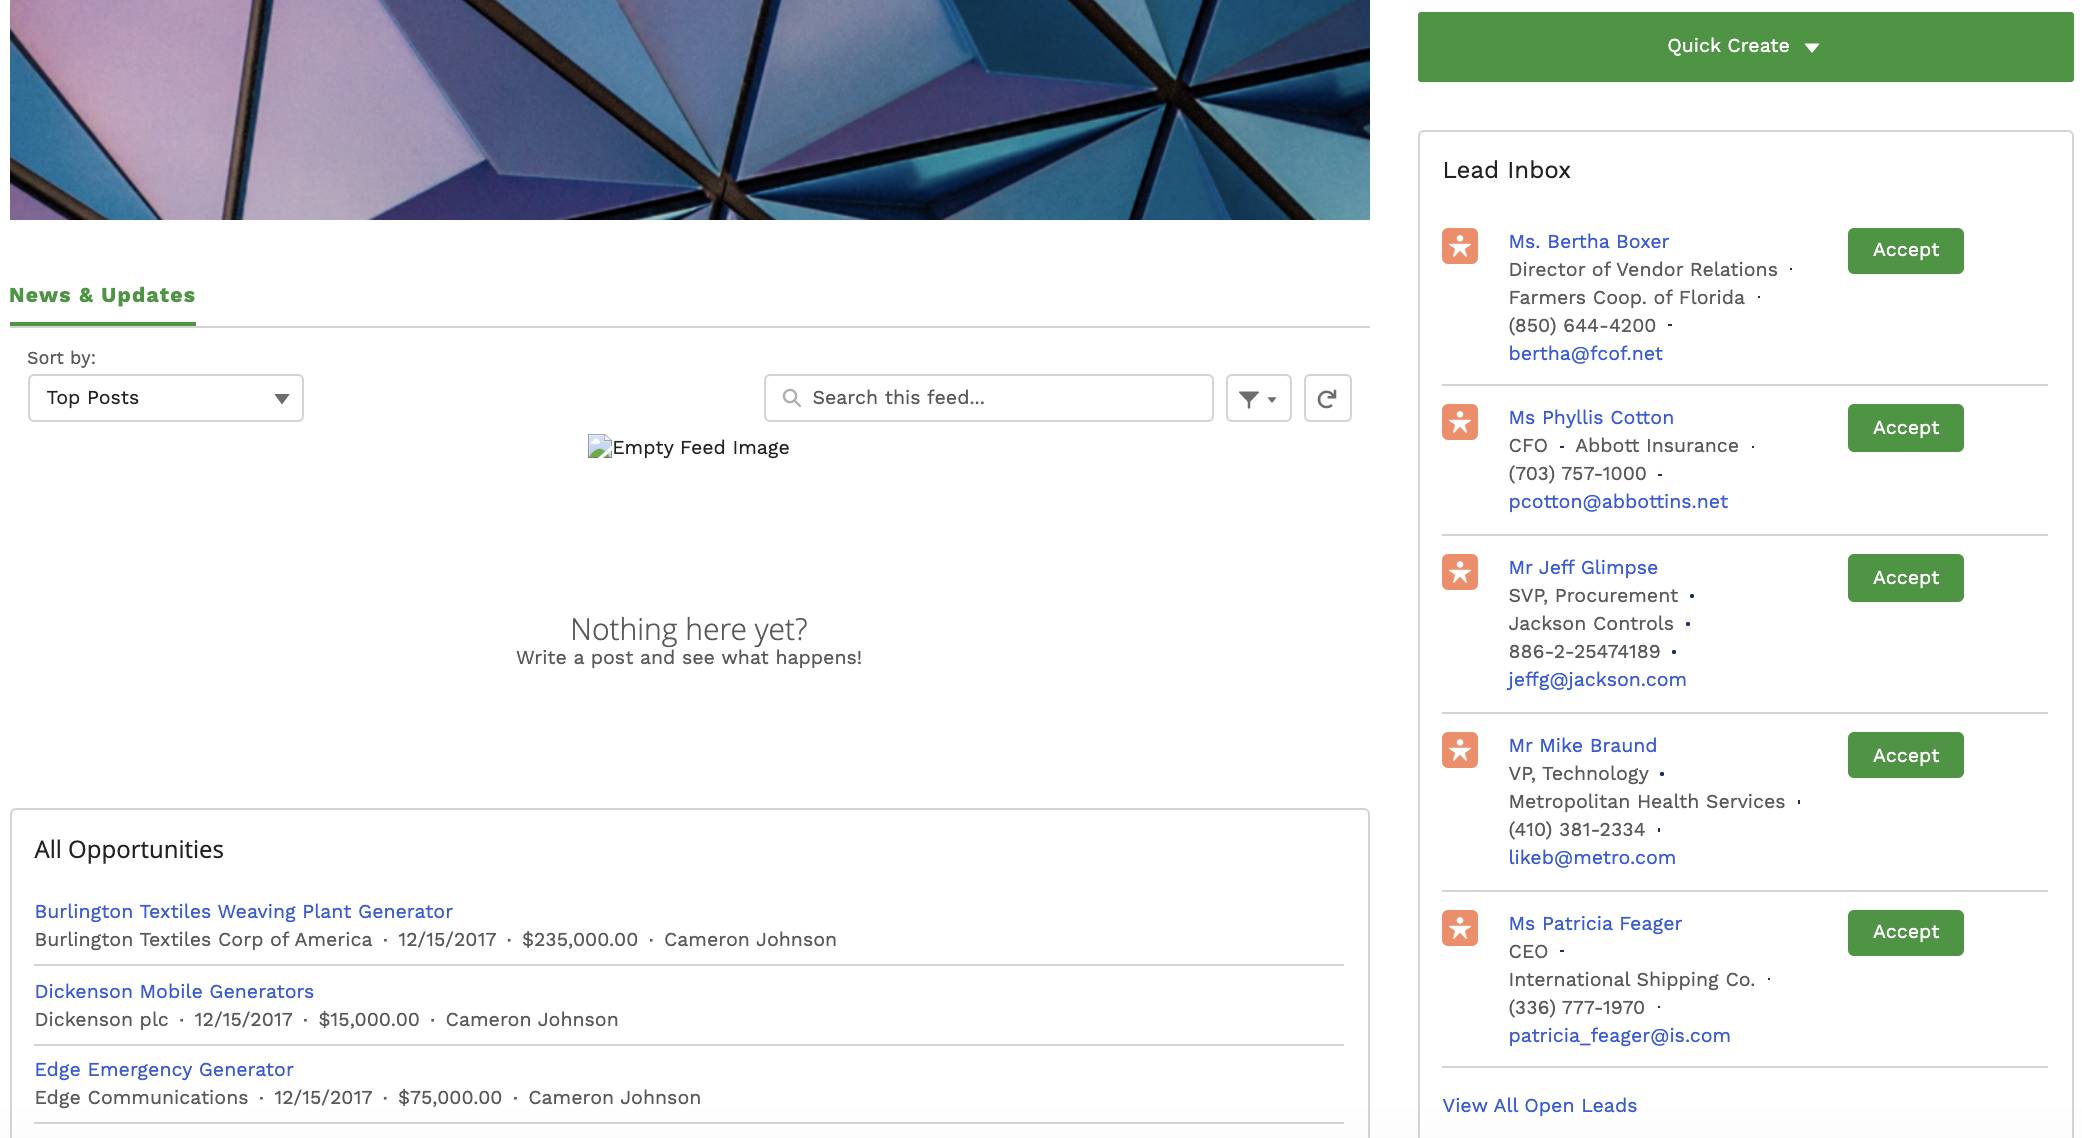
- Scroll down and hover over the My Opportunities component. Click Record List.
- From the Record List menu, select All Opportunities under Filter Name.
- Click X to close the Record List.
- Click and drag the All Opportunities component to the bottom of the News & Updates component.
Note: A green box appears around the News & Updates component to assist in component placement. - Click Preview to see your page layout changes.
Add a Lightning Component
Next, create a new Lightning Component that will be applied to a specific segment of members.
- In Builder, click the Components icon
 .
. - Search
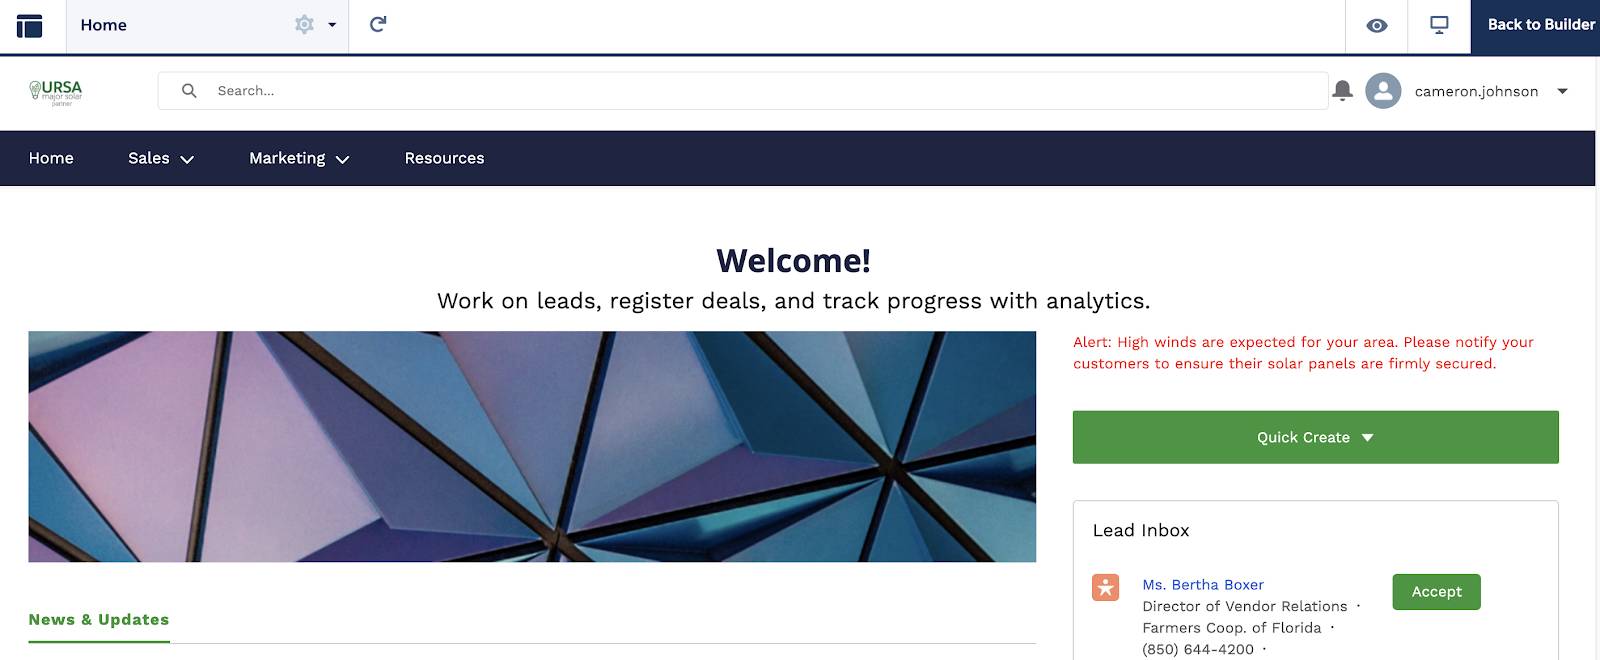
Rich Content Editor. - Click and drag the Rich Content Editor component to the top of the Quick Create button to place the Content Editor component above the Quick Create button.
Note: A green box will appear around the Sidebar component to assist in component placement. - From the Rich Content Editor menu, click Edit Content.
- Delete the existing text and replace with
Alert: High winds are expected for your area. Please notify your customers to ensure their solar panels are firmly secured. - Click Preview to see your new component.
Create New Audiences
Audiences are sets of criteria used to define site member segments. The Audience features keeps members engaged by offering them personalized, relevant content. Audiences can be assigned to specific components, pages, and more.
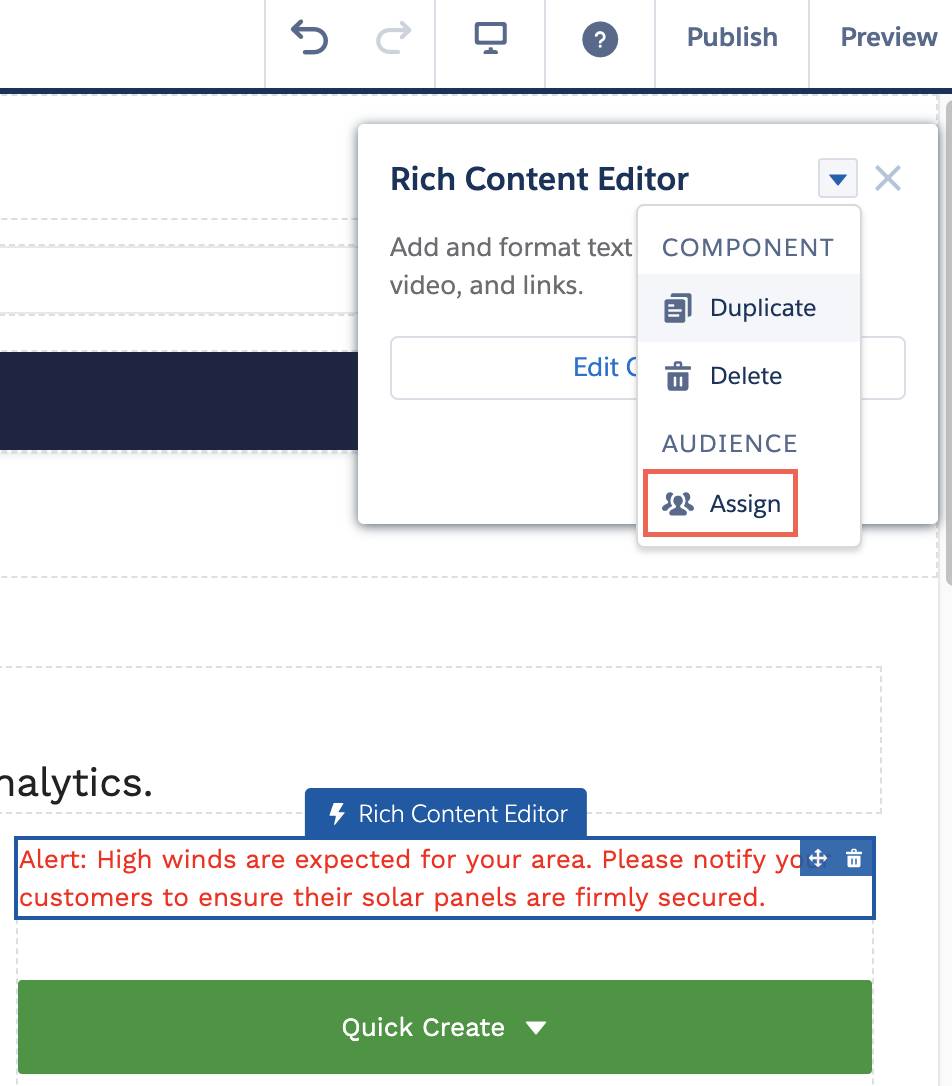
- Click the Alert: High winds... component that was just added.
- From the Rich Content Editor menu, click the down arrow to the right of the menu title.
- Click Assign.
- Click New Audience.
- Enter
San Diegoas the Audience Name. - In the Audience Criteria section, ensure All Conditions Are Met is selected.
- Click in the Select Criteria Type… text box and select User, then select City.
Operator
equals
Value
San Diego
Note: Press Enter after keying in the city name

- Click Save (not Save & Assign, there’s more work to do).
- Click Assign.
- Click New Audience.
- Enter
sForceas the Audience Name. - In the Audience Criteria section, ensure All Conditions Are Met is selected.
- Click in the Select Criteria Type… text box and select User, then select Company Name.
Operator
equals
Value
sForce
Note: Press Enter after keying in the company name
- Click Save (not Save & Assign).
Note: This audience will be assigned later in this project. - Click Done.
Note: If not already selected, click to select the the high wind alert component. It should now be highlighted in purple. This signifies that the component is only visible to specific audiences.
- Click Publish.
- On the Publish confirmation screen, click Publish, then Got It.
See the Audience Feature in Action
Time to test the adjustments. Do the new sunglasses and sun hat look good?
- Click the Settings icon
 from the menu on the left.
 - From the General menu, click the Published URL under Published Status to see the new published site. You will not see the high winds alert text component as “San Diego” has not been designated as your (admin) mailing address city.
Note: If you see a Salesforce login screen, click Are you an employee? Login here and you will be directed to the published site. The login screen will not appear again when accessing this published site. - Click the down arrow next to your name.

- Select My Profile.
- Click Edit.
- Update the City listed in your profile to
San Diegoand the Company tosForce. - Click Save.
- Click the Home tab.
Note: The high winds alert message should now be visible. If not, refresh the page.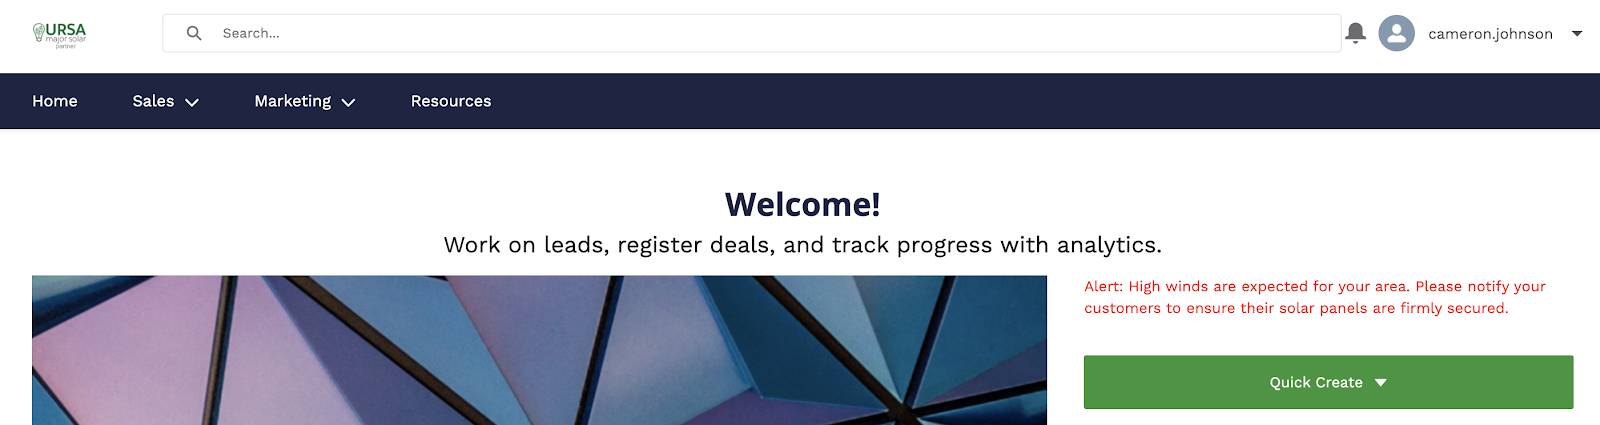
You’ve been busy! You added some branding to the Ursa Major Solar site, adjusted the page layout, and successfully created a new Lightning Component that only appears for users in the San Diego service area. In the next step, continue using the Audience feature to add a page variation to your site.