Customize Your Site
Accessibility
This unit requires some additional instructions for screen reader users. To access a detailed screen reader version of this unit, click the link below.
Open Trailhead screen reader instructions.
In the previous step, you created a basic site that you can use to build out your personal portfolio. Speaking of personal, one of the most important tips for Trailblazers joining the Salesforce ecosystem is to be yourself! The best way to do that is to customize your home page. It is the first thing everyone sees when they visit your public site.
To prepare, create an image that represents you, your values, or your interests. Be sure to pick something that shows off your personality, but keep it professional. Use your favorite image or photo editing app to do this.
Follow these guidelines.
- Use a personal photo or a creative graphic that you create.
- Properly format the image. If you include text in your image, like your name, ensure that the text stands out from the background.
- Be sure that you have permission to use an image that isn’t yours.
- The image should be 1,800 pixels wide by 200 pixels tall if you want it to span across the whole page, or you can use a combination of a picture and text, which is what you use in our example.
- Name the file
portfolio_headerand ensure it is of the type "jpg".

Create a Heading for Your Portfolio
If you’re not already on the All Sites page in Setup, enter Digital Experiences in the Quick Find box, select All Sites, then select your site from the list.
- Click Builder. The Experience Builder launches in a new tab.
- Hover over the existing image on the page, and click in the Rich Content Editor on the image.
- Click Edit Content in the popup window
- Highlight the image and press the Delete key.
- Click the image icon in the rich text editor's menu bar and upload the image named
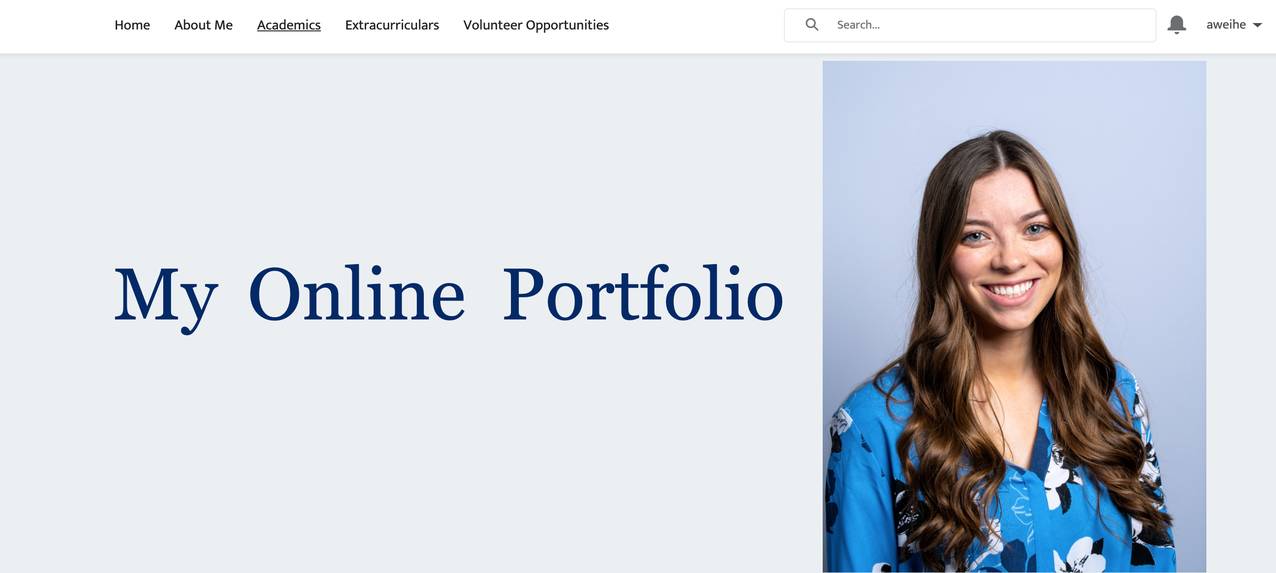
portfolio_header.jpg. - If your image doesn’t span across the whole page, also add some text such as: My Online Portfolio.
Great! Your cool new banner displays on the page. If you want to see how it looks, click Preview. When you’re done admiring your work, click Back to Builder.
Choose Your Colors
Next, update the theme to your favorite color scheme. Colors stand out and help define brands. Think about how you want your portfolio to look. Do the colors complement your header image?
- In Experience Builder, open the Theme panel and click Colors.
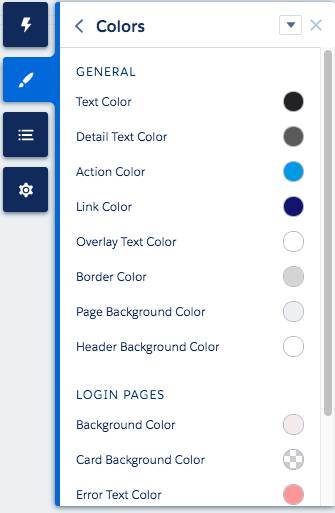
- Change the colors for Action Color, Detail Text Color, and Page Background Color.
Review the Language Options
Are you creating a site in your native language? Let’s ensure that your site’s language is set to support your chosen language.
- Open the Settings panel and click Languages.
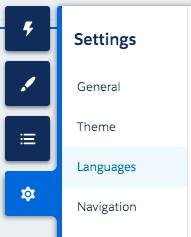
- For this project, leave English (US) as the default language.
Preview Your Portfolio
Before you publish your content, check and make sure that it looks nice and everything displays the way you want it to.
- Click Preview (depending on your browser window, it might be displayed as an icon).
- When you’re done previewing, click Back to Builder.
Publish Your Changes
Changes are always saved, but you can determine when to publish them. Ready to introduce yourself to the world?
- Click Publish (depending on your browser window, it might be displayed as an icon).
- Click Publish again.
- Click Got It.