Configure a Web Deployment
Now that chat is enabled and configured, the next step is to allow Category 1 Biking customers to message agents on an experience or commerce site. To begin, create and publish a web deployment.
Publish a Deployment
- From Service Setup Quick Find, search for and select Domains.
- Copy the Domain Name associated with the Experience Cloud Sites Domain. Note: The alphanumeric code associated with your Experience Cloud Sites Domain will vary.

- In Quick find, search for and select Embedded Service Deployments.
- Click New Deployment.
- Select Enhanced Chat and click Next.
- Select Web as the deployment type and click Next.
- For Domain, paste the domain from the Experience Cloud Sites Domain that you copied.
- Name the deployment
Category 1 Biking Deployment.
- For the Messaging Channel, select Category 1 Biking Support Channel.
- Click Save. Note: this may take a few minutes to deploy.
- Click Publish. Note: The change can take up to 10 minutes to process but go ahead and proceed to the next section.
Set Security Protocols
- In Quick Find, search for and select All Sites.
- Copy the URL from the Category 1 Biking site. Note: Your exact URL will vary.

- In Quick Find, search for and select CORS.
- Click New.
- Paste the Category 1 Biking URL you just copied.
- Click Save.
- In Quick Find, search for and select Embedded Service Deployments.
- Click Category 1 Biking Deployment.
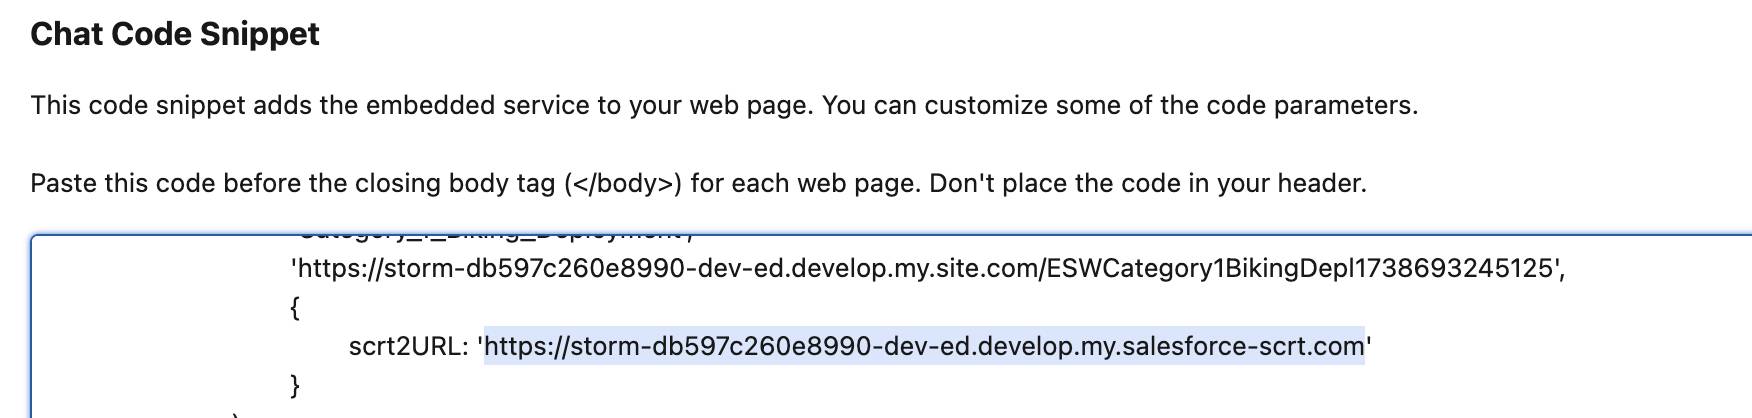
- In the Code Snippet tile, click Install Code Snippet.
- In the Chat Code Snippet, scroll and copy the scrt2URL (without the apostrophes).
- Click the setup gear
 and select Setup.
- In Quick Find, search for and select Trusted URLs.
- Click New Trusted URL.
- For the URL field, paste the link from scrt2URL that you just copied.
- For API Name, enter
SCRT_URL.
- For CSP Context, select Experience Builder Sites.
- Add a check to all six checkboxes under CSP Directives.
- Click Save.
Add Chat to Your Experience Cloud Site
Next up, add the chat component to the Category 1 Biking Experience Cloud site so customers can communicate with the Category 1 Biking staff right from the site.
- In Quick Find, search for and select All Sites.
- Click Builder next to Category 1 Biking. If necessary, click OK.
- Click the Components icon
 .
.
- Search for
Embedded Messaging.
- Drag Embedded Messaging to the Template Footer section.
- From the Embedded Messaging menu on the right, change Chat Button Visibility to Always Visible. (Leave everything else as is.)
- Click the Settings icon
 .
.
- Click General
- Add a check to Guest users can see and interact with the site without logging in.
- Click Publish.
- Click Publish again. If necessary, click Got It.
Create a Messaging Session Record Page
- Click the Builder icon
 and select Salesforce Setup.
- In Quick Find, search for and select App Manager.
- Click edit next to Service Console app (dropdown button on far right).
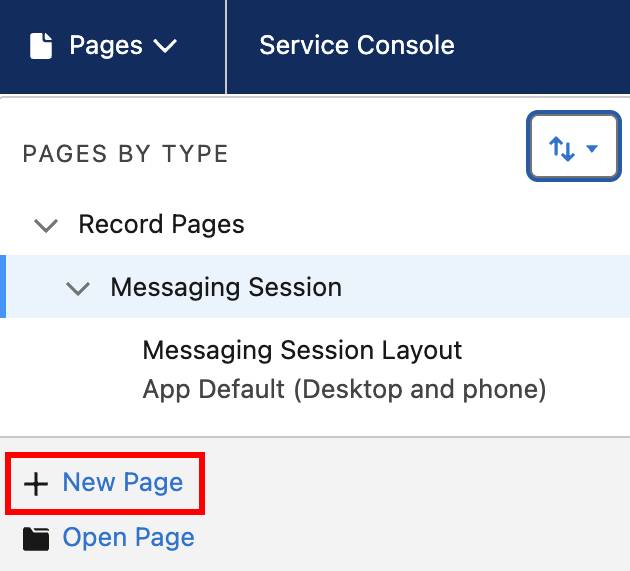
- Click Pages at the top and select + New Page.
- Select Record Page and click Next.
- Enter these details:
- Label:
Messaging Session Lightning Record Page
- Object: Messaging Session
- Label:
- Click Next.
- Click the Clone Salesforce Default Page tab and click Done.
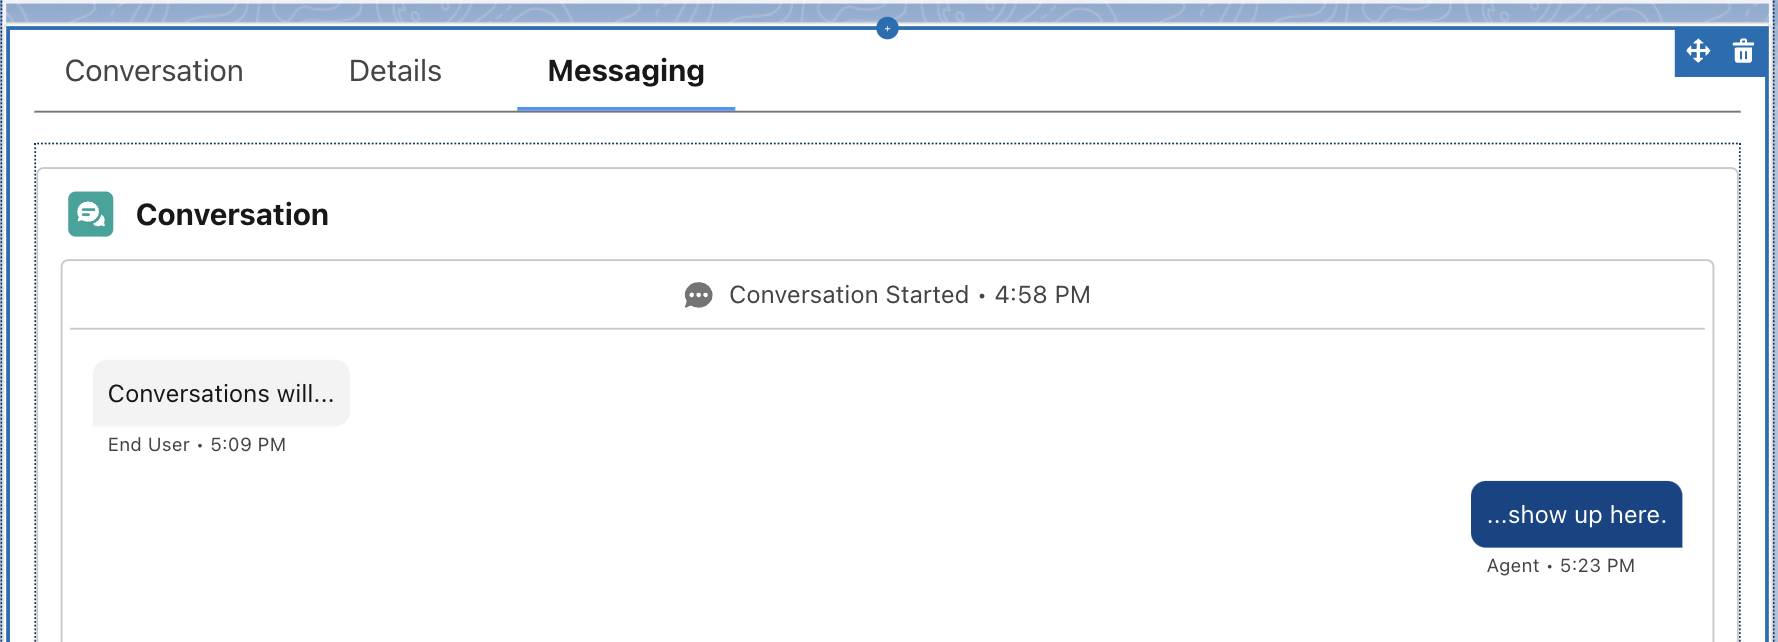
- In the canvas, click the Details tab (next to Conversation).
- Click Add Tab from the Tabs menu on the right.
- Click Details on the new tab and select Custom. Note: Custom is at the very top of the list.
- For Custom Label, enter
Messaging.
- Click Done.
- From the Components menu on the left, search for
Enhanced Conversation.
- Drag and drop Enhanced Conversation under the Messaging tab.
- Click Save.
- Click Activate.
- Click Assign as Org Default and select Desktop and phone.
- Click Next.
- Click Save.
- Click the back arrow in the upper left corner to return to Setup.