Create Validation Rules
Learning Objectives
After completing this project, you’ll be able to:
- Enforce data integrity with validation rules.
- Create roll-up summary and formula fields.
- Automate business processes with workflow tools.
Introduction
Within the Salesforce Platform there are a number of features and tools that let you streamline and automate your business processes. For example, if users are supposed to check the Out-of-State box every time they submit an out of state travel request, wouldn’t it be nice if that step was done automatically? How about an approval process? Your application might not be adopted if users still have to send an email for approval from their manager and other executives. As you discover in this project, the Salesforce Lightning Platform makes business process automation a snap and doesn’t require any code.

Launch Your Trailhead Playground
You complete this hands-on project in your own personal Salesforce environment, called a Trailhead Playground. Get your Trailhead Playground now by first logging in to Trailhead, and then clicking Launch at the bottom of this page. Your playground opens in a new browser tab or window. Keep the playground window open while you do this project. After you complete the project steps in your playground, come back to this window and click Verify step at the bottom of this page.
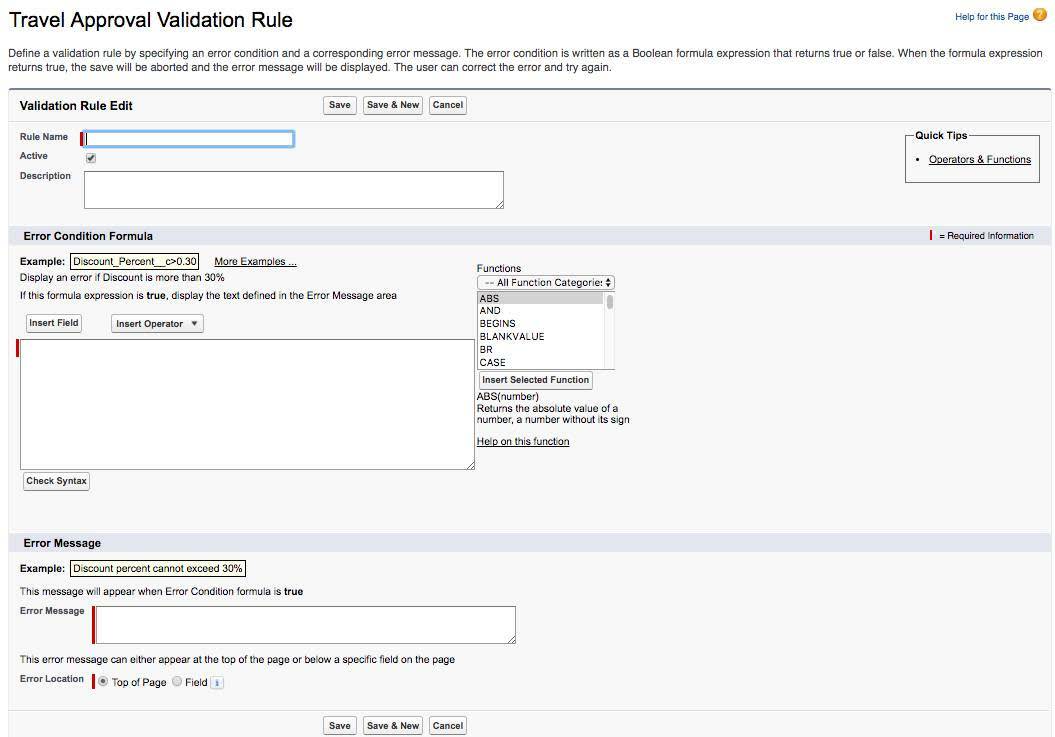
Create Validation Rules
Let’s start with validation rules. Validation rules let you set up business-specific criteria to prevent users from saving invalid data in one or more fields. A validation rule evaluates a formula when a record is saved. If a rule’s criteria aren’t met, users see a custom error message and the record doesn’t save. If a rule’s criteria are met, the record saves. Use validation rules to improve data quality by applying conditions, ensuring proper formatting, and enforcing consistency.
Let’s create a validation rule to enforce that a trip end date must always be greater than (>=) or equal to the trip start date.
- Click
 and select Setup.
- Click Object Manager and then click the
 icon. This provides a list of recent objects you’ve edited.
- Select Travel Approval to open the configuration page for the Travel Approval object.
- Click Validation Rules.
- Click New.
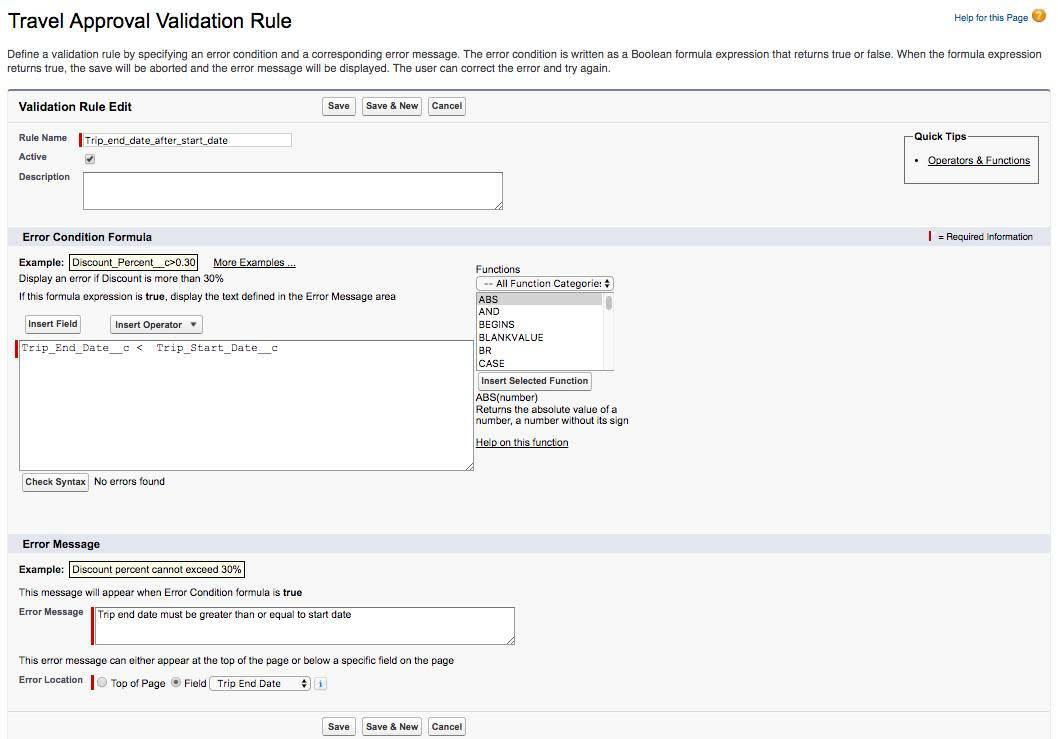
- Enter the following values.
- Rule Name:
Trip end date after start date
- Active: Make sure to keep this selected/checked.
- Condition Formula: When writing a validation rule, your condition formula should return “true” for your error condition.
Trip_End_Date__c < Trip_Start_Date__c
- Error Message:
Trip end date must be greater than or equal to start date
- Error Location: Select Field and pick Trip End Date as the location for the error
- Rule Name:
- If everything looks good, click Save.
- Next, click the Back to Travel Approval link.
Great job! You added a validation on the Travel Approval object to ensure the trip end date is after the trip start date. In the next section, you add a roll-up summary field to total up the trip expense items.