Build Your Survey and Select Default Settings
Learning Objectives
After completing this unit, you’ll be able to:
- Create a survey and specify its style.
- Customize the Welcome and Thank-You pages.
- Insert images.
- Insert response from a previous question.
- Preview the survey.
Build Your Survey
Erin is excited to see Surveys on the App Launcher.

Her first survey is going to be about the experience of using solar panels.
She creates a survey.
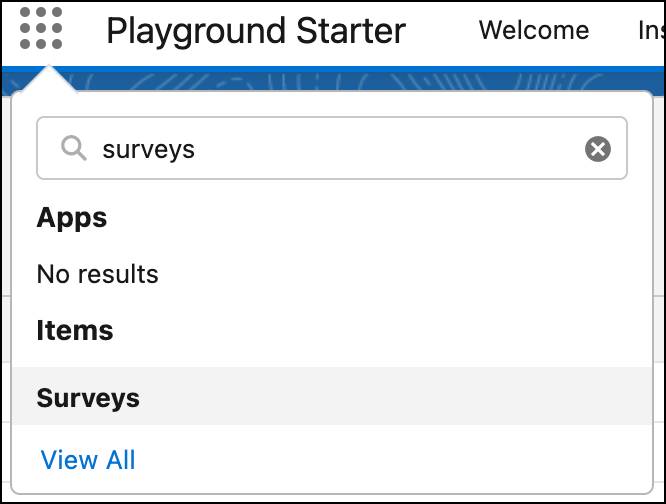
- From the App Launcher, find and select Surveys.
- To open the Survey Builder, click New.
- Name:
Customer Review of Solar Panels - Click Continue.
Erin likes the look of the survey in Survey Builder, but she wants to make sure it reflects Ursa Major’s brand and style. She moves to the Branding panel and gets to work.
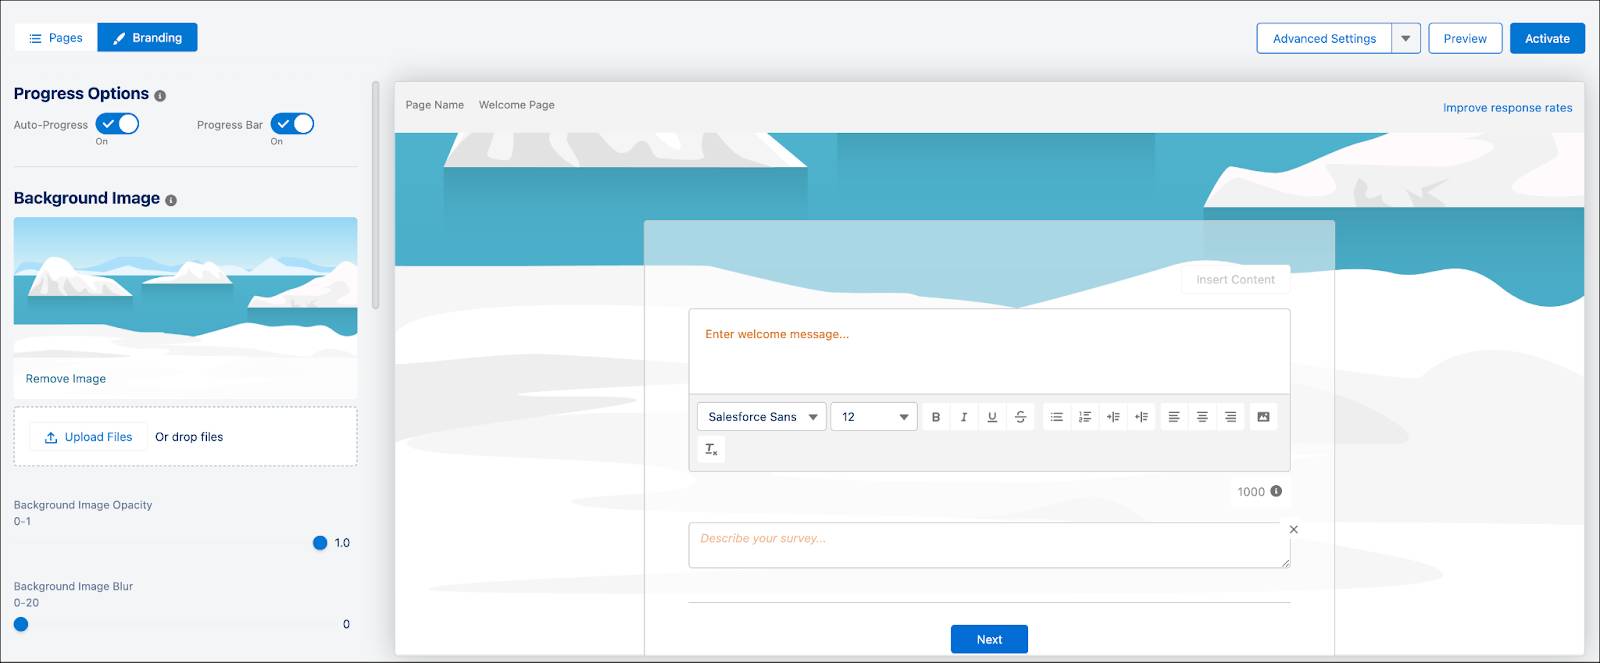
- Click Branding.
- Turn on Auto-Progress to let participants automatically move to the next page after they respond to the final question on a page. The Progress Bar is enabled by default. When enabled, it lets participants view their survey completion status.
- Open this image and save it to your desktop.
- In the Background Image section, click Upload Files and select the image you just downloaded.
- Select the survey-background.png image.
- Click Open.
- Open this image and save it to your desktop.
- In the Logo section, click Upload Logo and select the image you just downloaded.
- Select the company_logo.png image.
- Click Open.
- Use the Logo Alignment options to center align the logo.
- Set the Logo Background opacity to 0.5.
- Set the Content Card opacity to 0.5.
- Change the question’s hexadecimal value to #DB7114.
Here’s a peek at Erin’s survey styles.
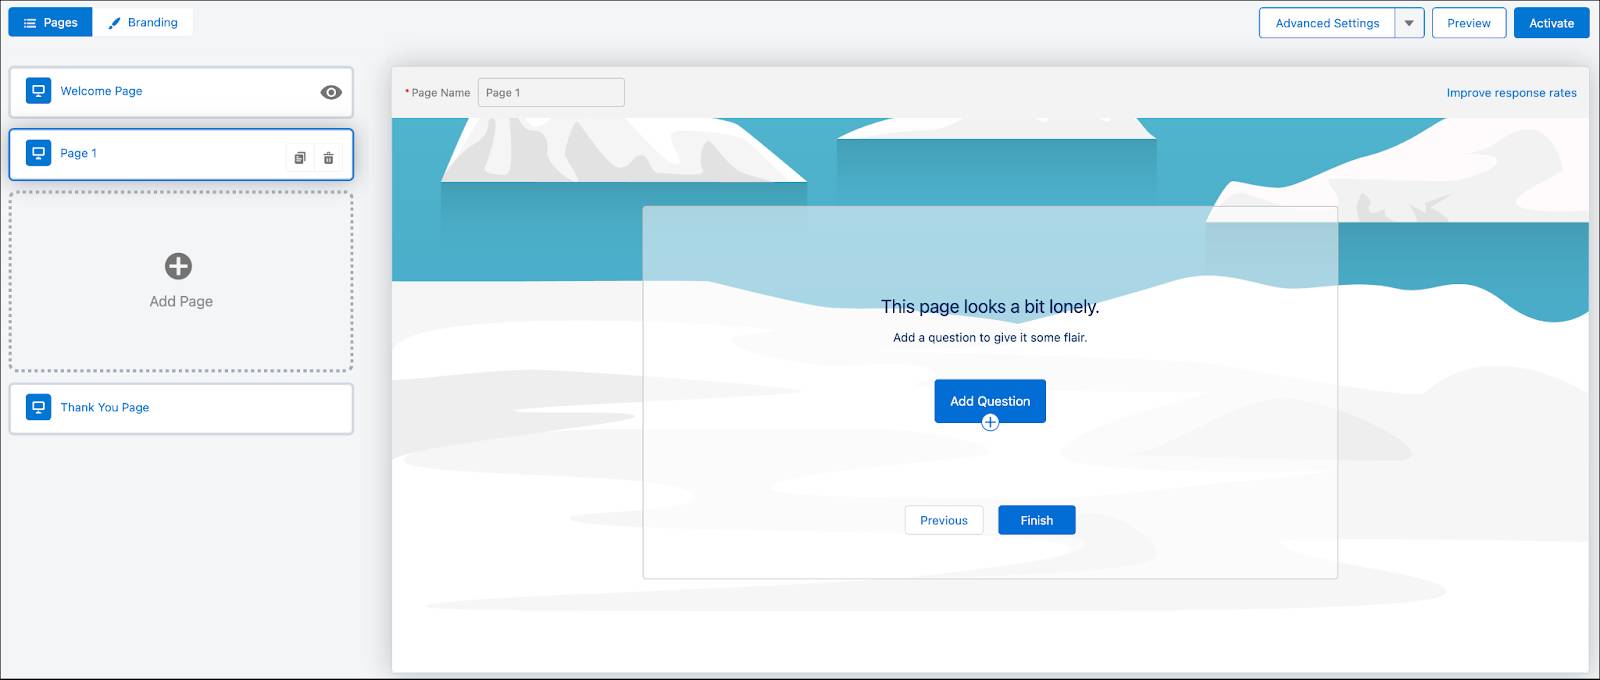
Erin has created a brand identity for her survey. Now she’s ready to start adding questions. She switches to the Pages tab to display all the pages of the survey.
-
Welcome Page—Click to view and edit the welcome page. The Welcome Page is the first page participants see when they start your survey. Be sure to make them feel welcome.
-
Add Page—Click to add a page. A page can contain one or more questions.
-
Thank You Page—Click to view and edit the thank-you note. This is the last page that participants see before they finish your survey. Send them off on a happy note.
-
Add Question—Click to add a question on a page and select the question type.
Welcome Your Participants
Erin is ready to get this survey started! She keeps it simple for now and can always add more features later.
- To view the survey pages, click Pages.
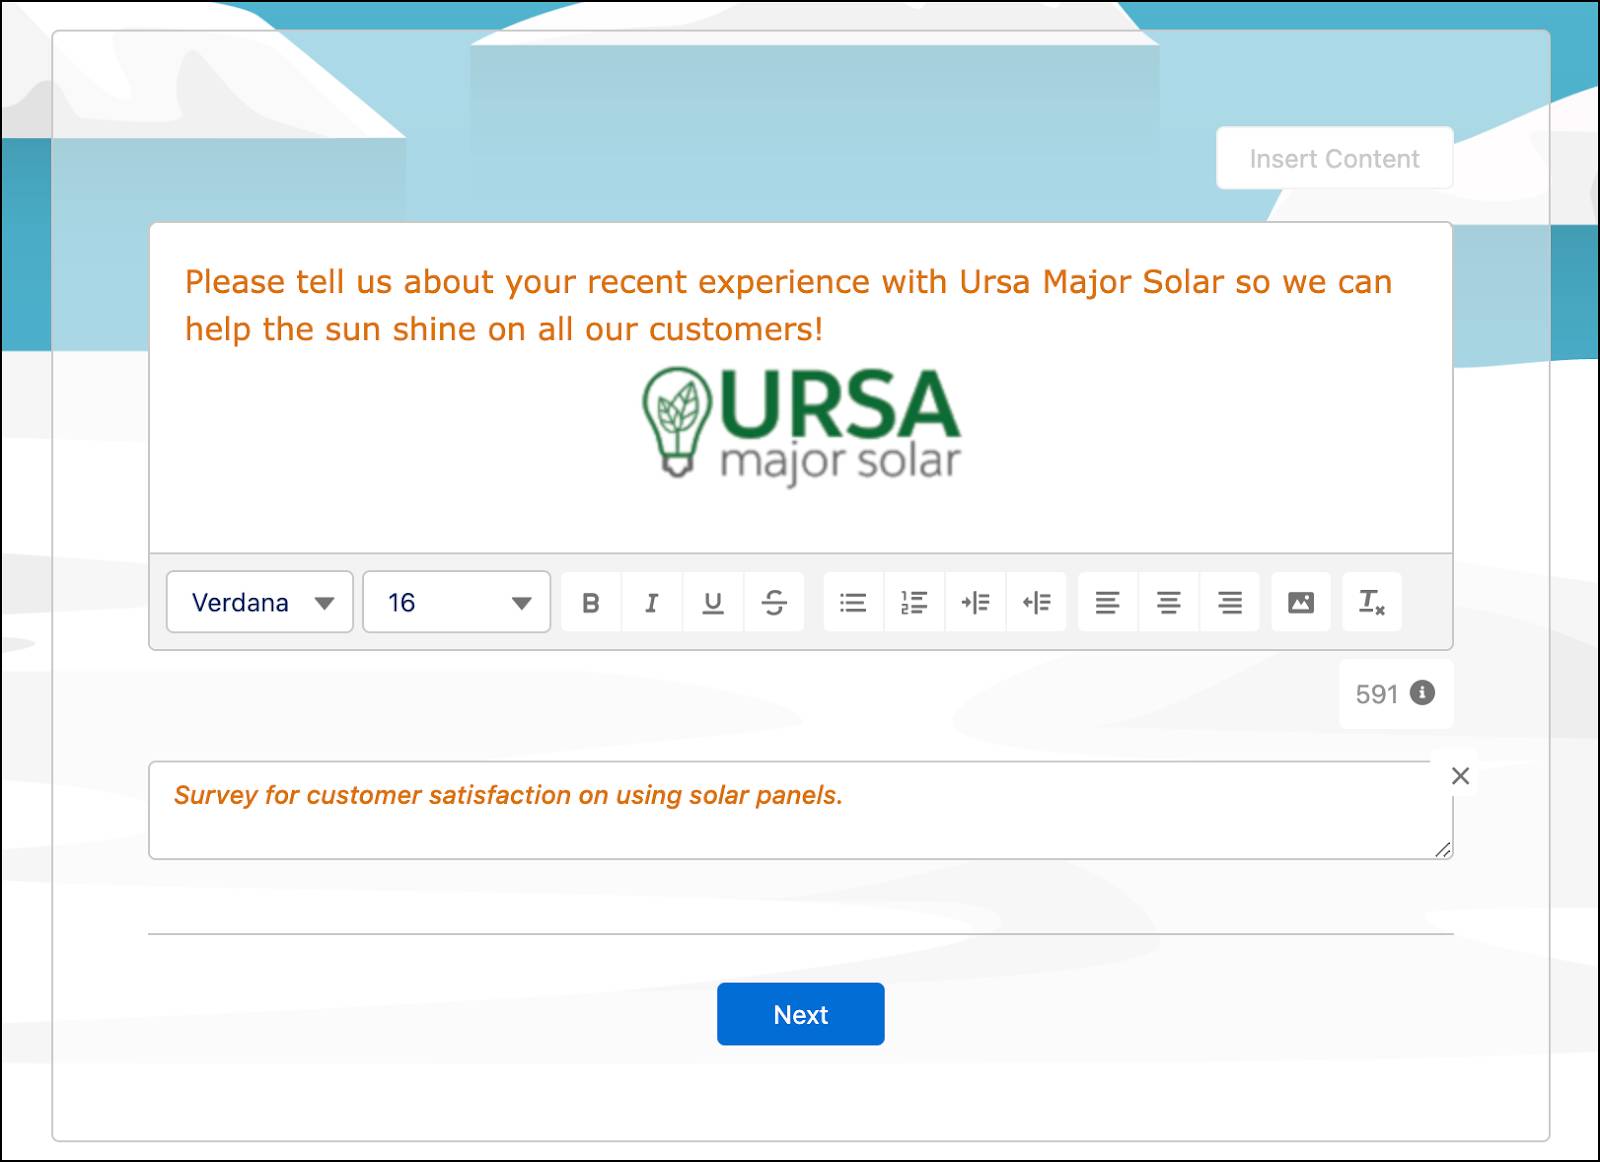
- Enter a welcome message:
Please tell us about your recent experience with Ursa Major Solar so we can help the sun shine on all our customers! - Change the font type to Verdana and the font size to 16.
- Enter a description:
Survey for customer satisfaction on using solar panels
Here’s how the Welcome Page looks.
You can disable the Welcome Page for participants by clicking  .
.
Ask Away
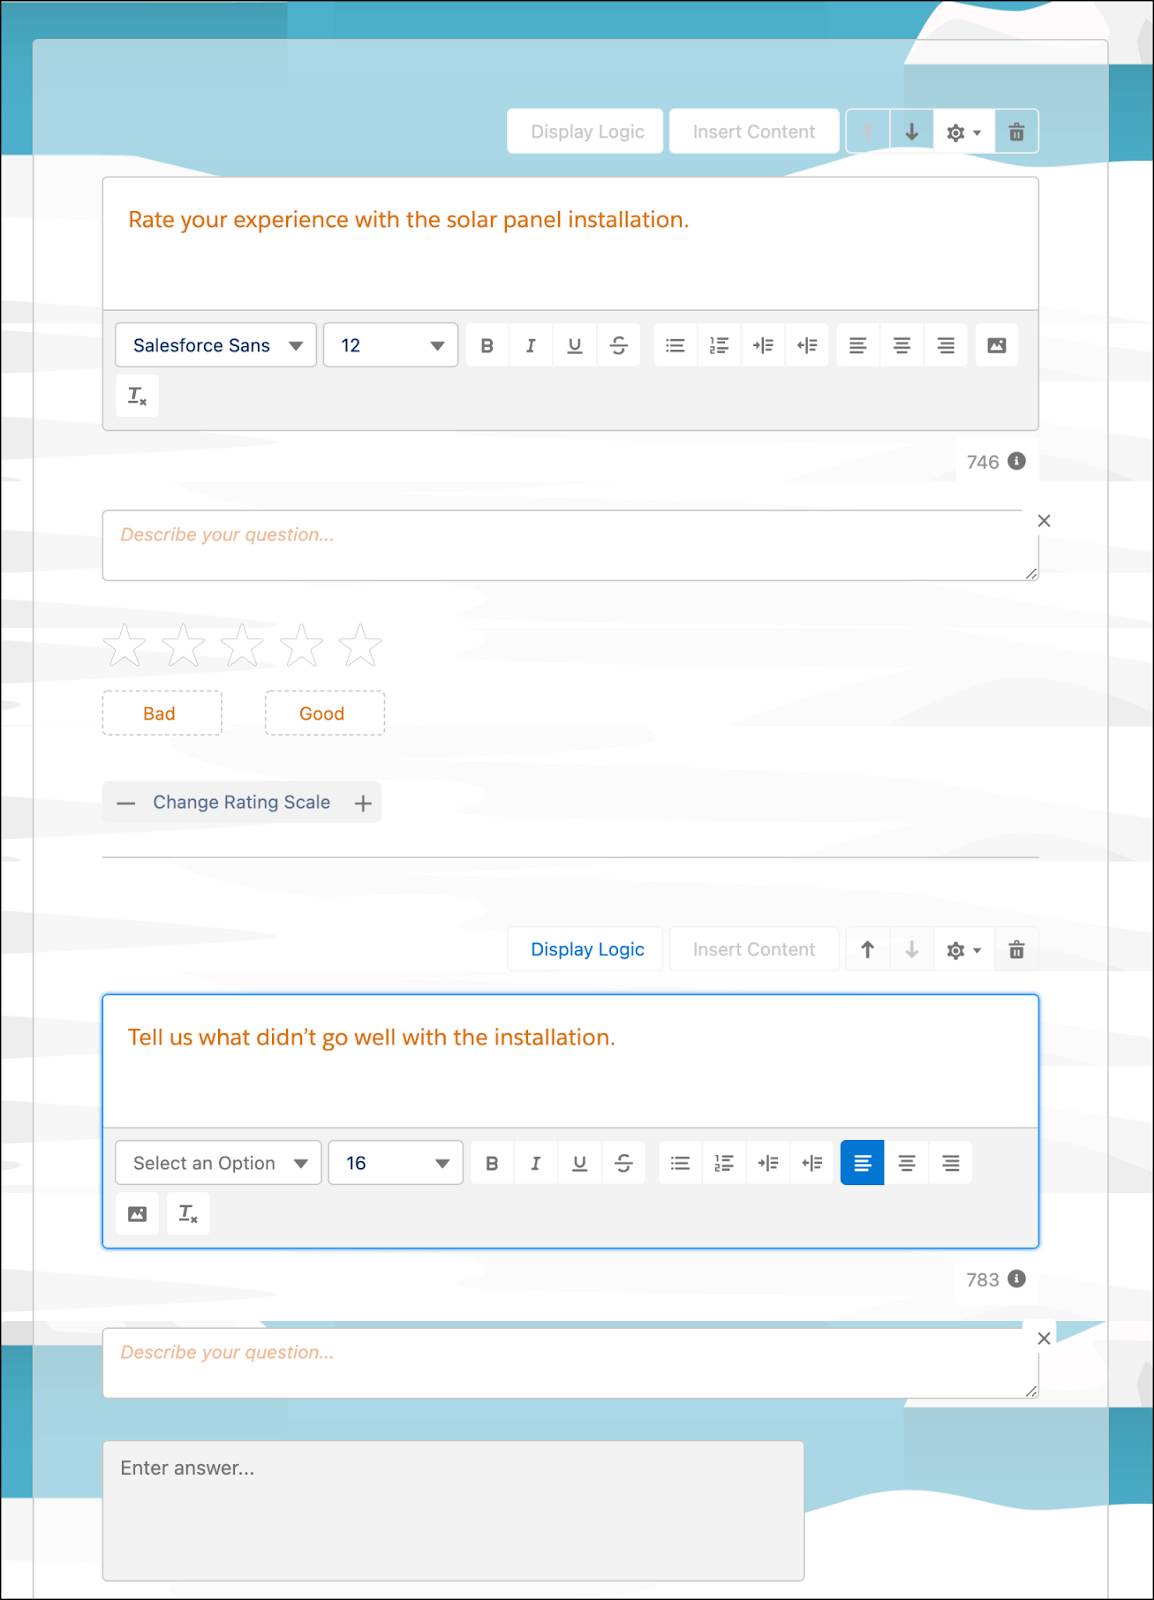
Erin starts with six basic questions, but she worries that the participants might lose interest if the survey runs into multiple pages. So she decides to keep more than one question on two of the pages. Here’s how she does it.
- Click Add Page.
- Enter the page name:
Solar Panel Setup(if you don't see the page name field, scroll up)
- Click Add Question.
- Select Rating.
- Enter the question:
Rate your experience with the solar panel installation - Set the scale because it's a rating question. In this instance, keep the default scale of five stars.
- Click Add Question.
- Select Long Text.
- Enter the question:
Tell us what didn’t go well with the installation
Here’s what Erin ends up with.
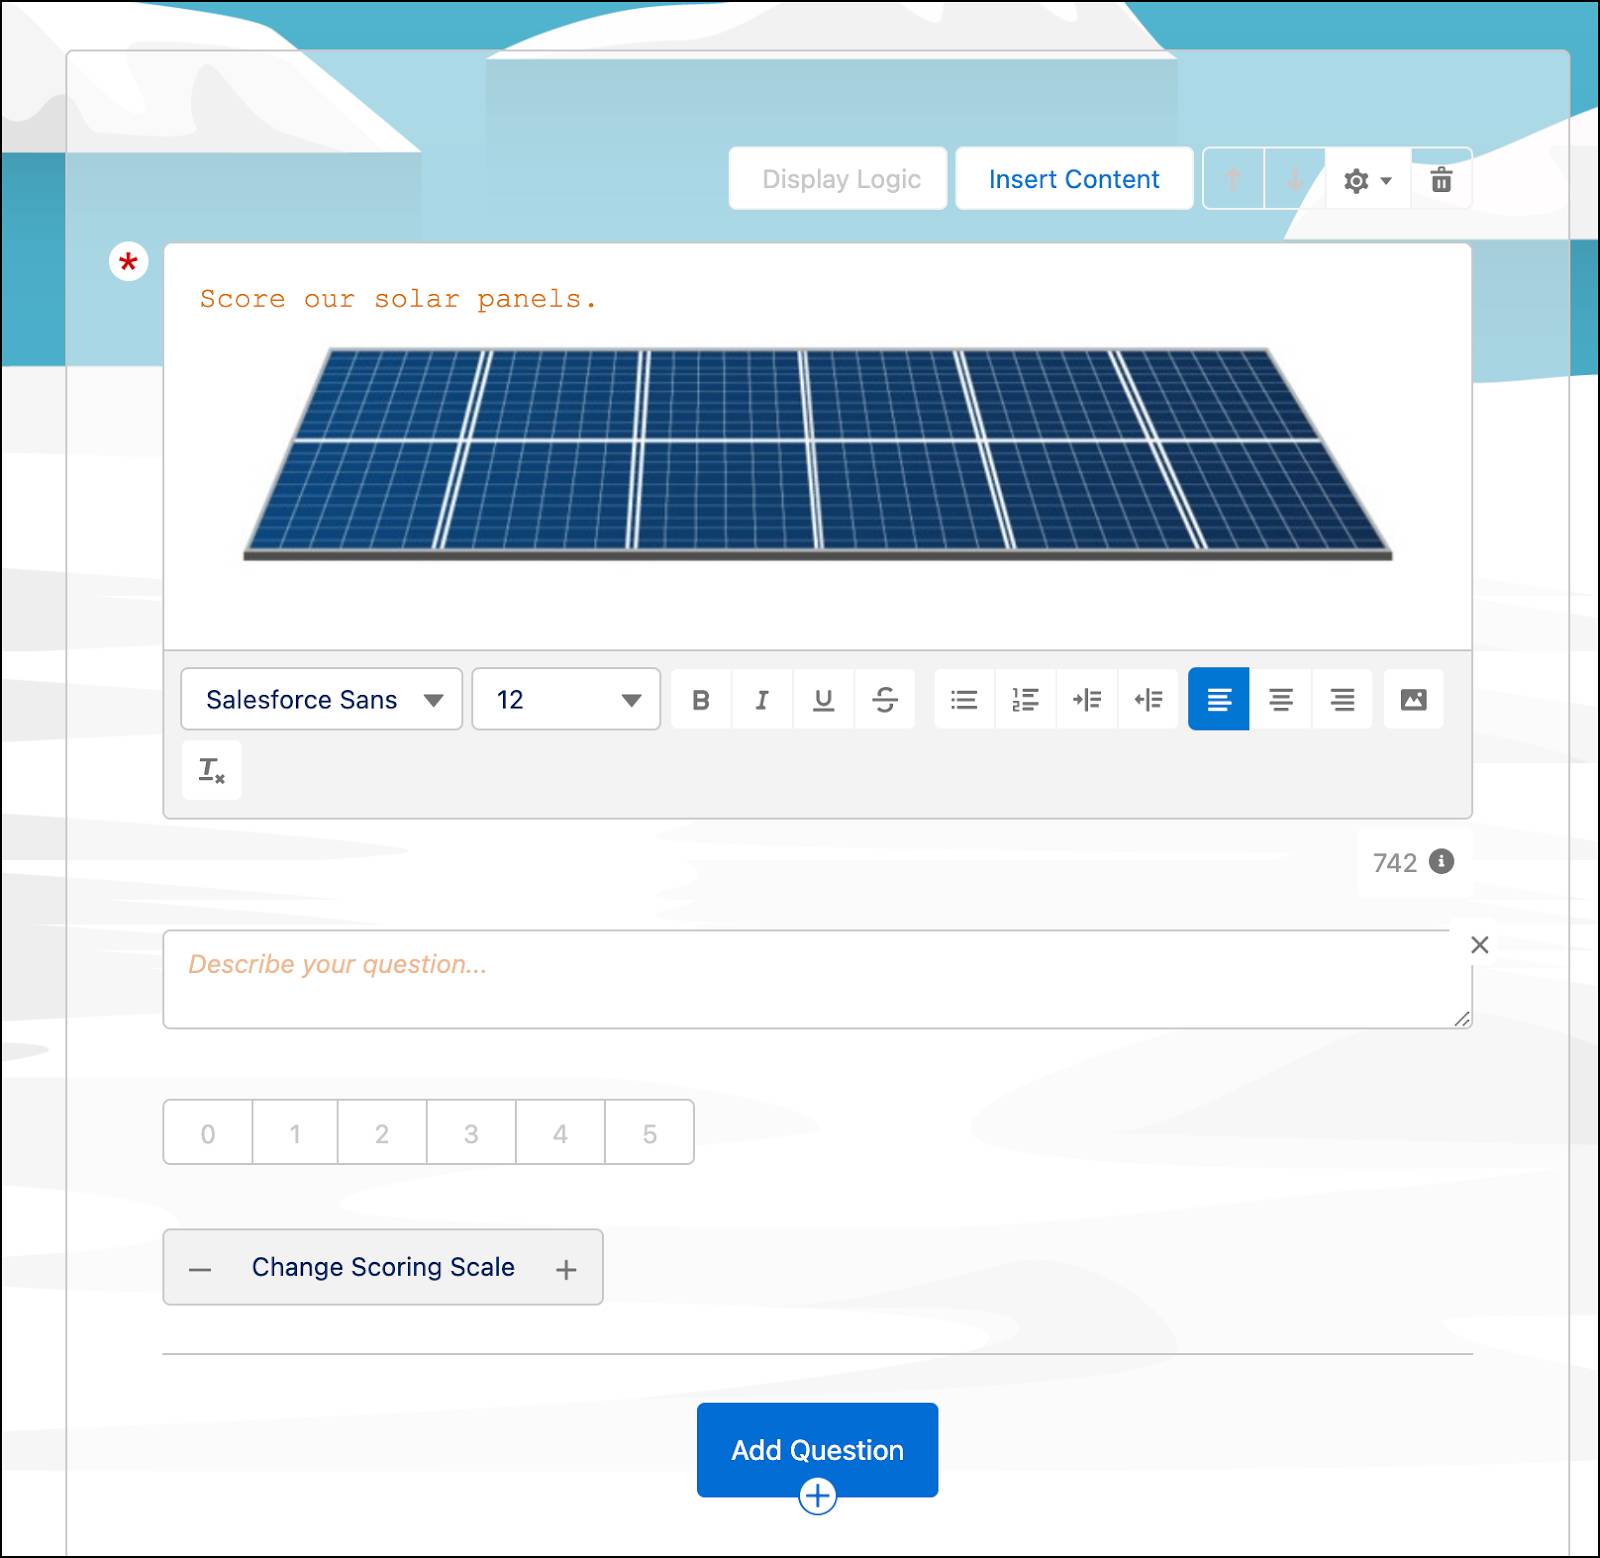
Next, Erin wants to add a question where customers can score their solar panels. To do this, she adds the question to a new page and makes it required.
- Click Add Page.
- Enter the name:
Solar Panel Score - Click Add Question.
- Select Score.
- Enter the question:
Score our solar panels - Open this image and save it to your desktop.
- Click
 and add the image you just downloaded to the question.
- Select the solar_panel.jpg image.
- Click Open.
- Reduce the maximum score from 10 to 5.
- Click
 .
.
- Select Required.
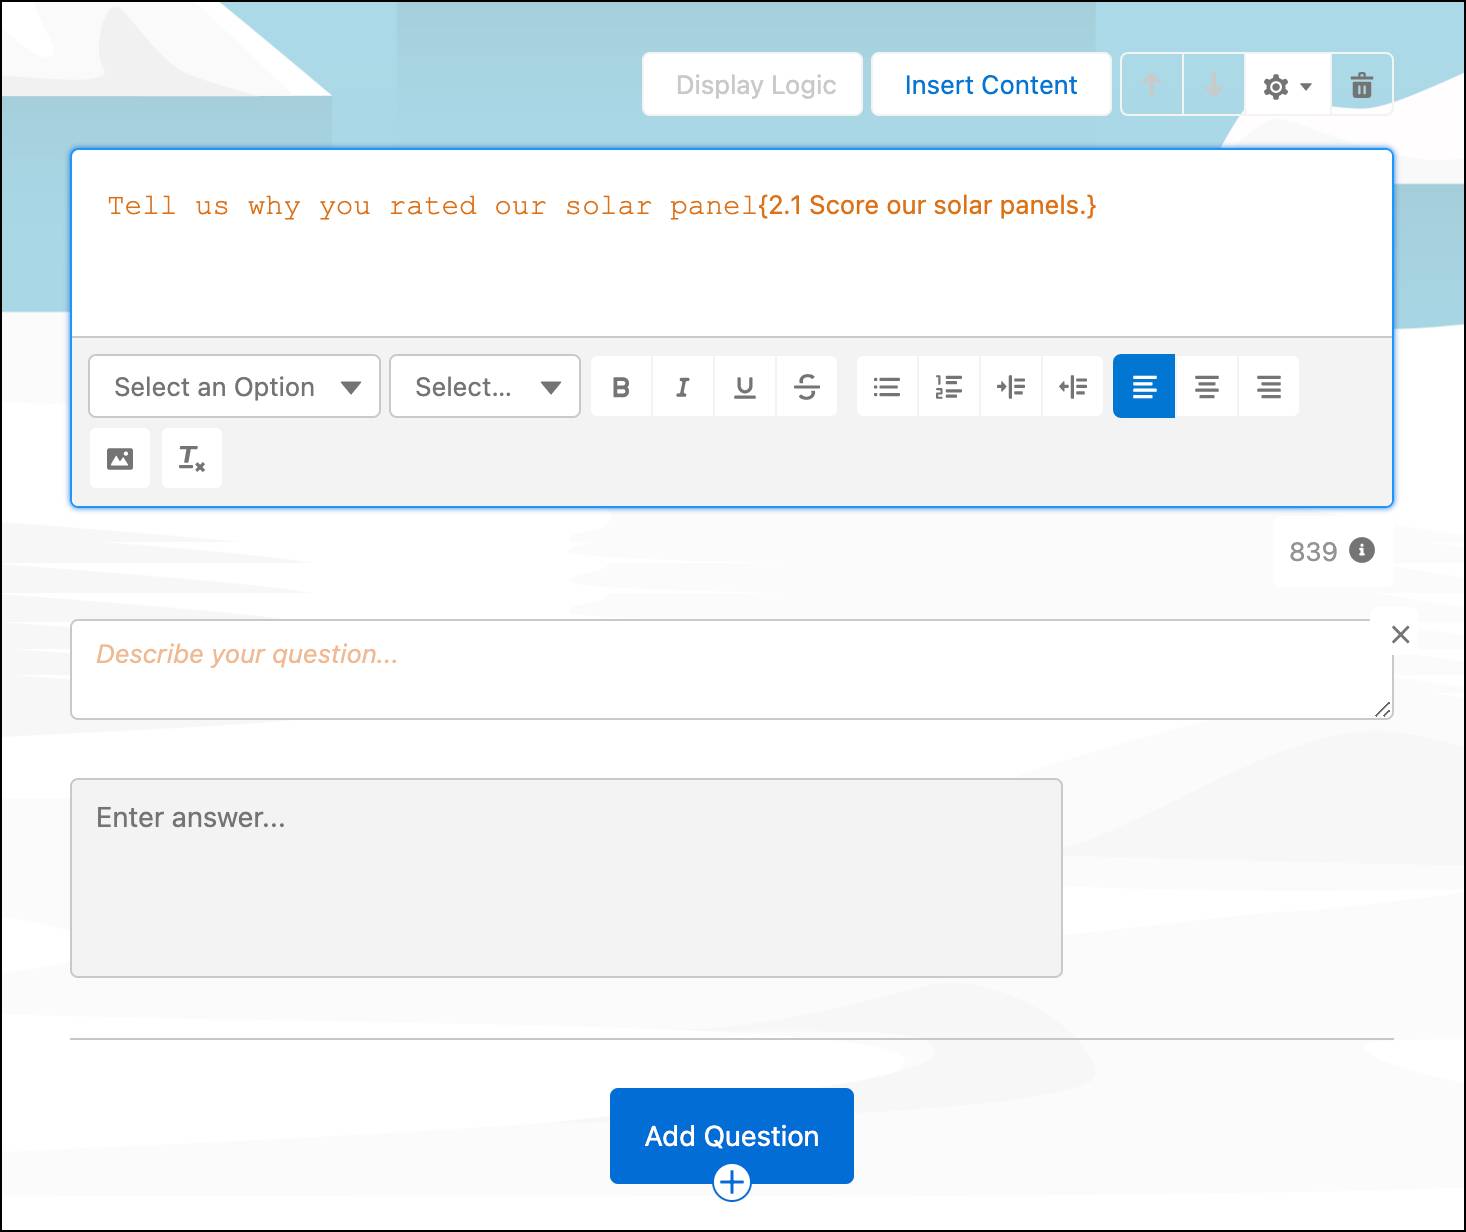
Erin also wants to use a Long Text type question to understand why the participants provided a low score to the solar panels. To do this, she’ll use the Insert Response feature.
- Click Add Page.
- Enter the name:
Low Score Details - Click Add Question.
- Select Long Text.
- Enter the question:
Tell us why you rated our solar panel - Click Insert Content.
- Select Response from a previous question.
- Click Next.
- Choose which question’s response you want to insert. In this instance, choose Page 2 Question 1 : Score our solar panels. The response is inserted in the form of a merge field.
- Click Insert.
This is how the question appears.
Erin adds two more pages to her survey to make sure she’s gathering the right amount of feedback. She creates the fourth page using the following values.
Page and Question |
Input |
|---|---|
Page Name |
Rank and Recommend |
Question #1 Type |
Ranking |
Question #1 |
Rank which features of the solar panels are the most useful. |
Ranking Items |
|
Question #2 Type |
NPS |
Question #2 |
Would you recommend our solar panels to your friends and family? |
She creates the fifth and final page using the following values.
Page and Question |
Input |
|---|---|
Page Name |
Other Improvement Areas |
Question Type |
Long Text |
Question |
Any other areas of improvement? |
Erin likes how her survey is shaping up. The last step is to add a thank you message.
- Click Thank You Page.
- Enter:
Thank you for helping us make everyone’s day a little brighter! - Click Save.
Understand Survey Default Settings
Next, Erin checks the default settings of her survey.
Click  on the Survey Builder, and select Default Settings. Let’s follow along as Erin explores some settings on the Default Settings window.
Email Settings
Using email settings, Erin can embed a survey link or survey question in emails sent to customers. And she can choose an email template, such as one that has Ursa Major’s branding. For a professional touch, Erin can use the Email Sender Address option to send survey invitations from the company’s organization-wide email address.

Language Settings
Erin can select the language she has used to create the survey (English in her case). The language Erin selects here becomes the default language for unauthenticated participants. But participants can pick the language they want to use to take the survey. The languages Erin selects in Language Settings appear as options that participants can choose from.
Invitation Settings
By default, only the survey owner has access to survey invitation records. But Erin wants the owners of records associated with the invitation to have access to participants' responses. For instance, when a service case gets closed and a survey invitation is sent out, Erin wants the case owner to view the responses provided by the invitation recipient. So she selects Owner of records associated with the invitation.
Enjoy the First Look
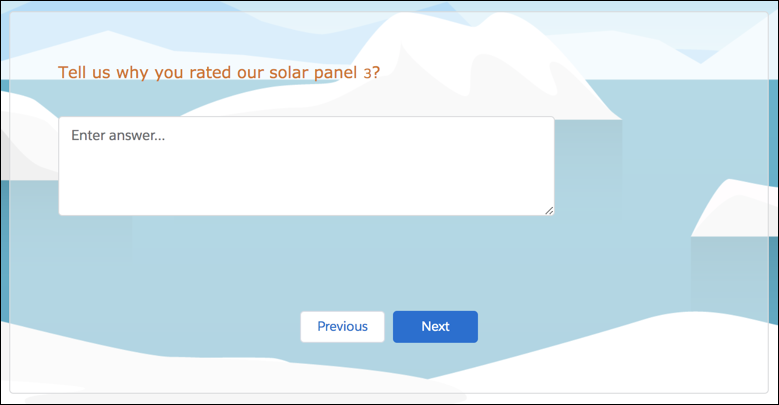
Erin clicks Preview to step through her survey just like a regular participant. While responding to the survey, Erin notices that she automatically moves to the next page on answering the last question on the page. Remember, Erin turned on Auto-Progress, this will surely save her participants a few clicks!
Erin is also elated with how the third page turned out. This page contains the question in which a previous question’s response was inserted. Handy recall!
Erin created her survey and customized it to match Ursa Major’s branding. Then she added her questions. She even remembered to say thank you. Her parents would be so proud. Next, she adds logic to her survey.
Resources
- Salesforce Help: Add Custom Branding to Your Surveys
- Salesforce Help: Insert Images in Survey Pages
- Salesforce Help: Insert Responses from Previous Questions