Use Real-Time Event Monitoring to Audit User Activity
Learning Objectives
After completing this unit, you’ll be able to:
- Use Visual Studio Code and the Salesforce Extension Pack to create an Apex class.
- Use SOQL to query Real-Time Event Monitoring big objects synchronously.
Introduction
As a developer or an administrator, it’s important to have the best tools to get your job done. In this unit, you learn how to use SOQL queries in Salesforce Extensions with Visual Studio Code to query Real-Time Events. Querying Real-Time Events allows you to gain greater insight into who has viewed what data and when, where data was accessed, when a user changes a record using the User Interface (UI), and more. Querying events also allows you to determine appropriate thresholds for normal business usage before creating transaction security policies.
Let’s take a look at how to use Visual Studio Code to query Real-Time Event Monitoring big objects synchronously. Visual Studio Code is an integrated development environment (IDE) that consists of a code editor, build automation tools, a debugger, and intelligent code completion. Before you go any further, make sure you’ve completed the steps in Quick Start: Visual Studio Code for Salesforce Development.
Create a Project
- Open Visual Studio Code.
- Press Command + Shift + P on Mac or Ctrl + Shift + P on Windows to open the command palette.
- Type
SFDX: Create Project

- Press Enter to accept the default standard project type.
- Project Name:
RealTimeEventMonitoring - Save the project to your desktop so it is easy to find later on.
- Wait for the new Visual Studio Code window to open. You should see an indication that the extension is preparing your project before populating the file explorer.

Authenticate to Your Playground
- Press Command + Shift + P on Mac or Ctrl + Shift + P on Windows to make the command palette appear.
- Type
SFDX: Authorize an Org - To accept the default login URL, press Enter.
- Press Enter to accept the default alias.
- Notice that your default browser opens a new Salesforce login window. Log in to your playground using your playground username and password.
- When you are asked to grant access to the connected app, click to allow.

- Close the browser window.
Check it out—your successful integration was logged in the output panel!

Create an Apex Class
- Press Command + Shift + P on Mac or Ctrl + Shift + P on Windows to open the command palette.
- Type
SFDX: Create Apex Class.
- Enter the name
EventQueryHandler.
- If Visual Studio Code asks, select force-app/main/default/classes as the directory you wish to add EventQueryHandler.cls to.
- In the newly opened EventQueryHandler.cls file, replace the default code with the following:
public with sharing class EventQueryHandler {
    public static List<ReportEvent> getReportEvents() {
        return [SELECT ColumnHeaders,EventDate,ExportFileFormat,Format,NumberOfColumns,QueriedEntities,Records,ReportId,RowsProcessed,UserId,Username FROM ReportEvent where EventDate = Today];
        }
}- Click Save.
Run the SOQL Query
Now run your SOQL query against your playground org to filter objects by today’s date.
- In line 3 of the code, highlight the query
SELECT ColumnHeaders,EventDate,ExportFileFormat,Format,NumberOfColumns,QueriedEntities,Records,ReportId,RowsProcessed,UserId,Username FROM ReportEvent where EventDate = Today - Press Command + Shift + P on Mac or Ctrl + Shift + P on Windows to make the command palette appear.
- Search for
SFDX:Execute SOQL Query with Currently Selected Text. - Press Enter.
- Select REST API.
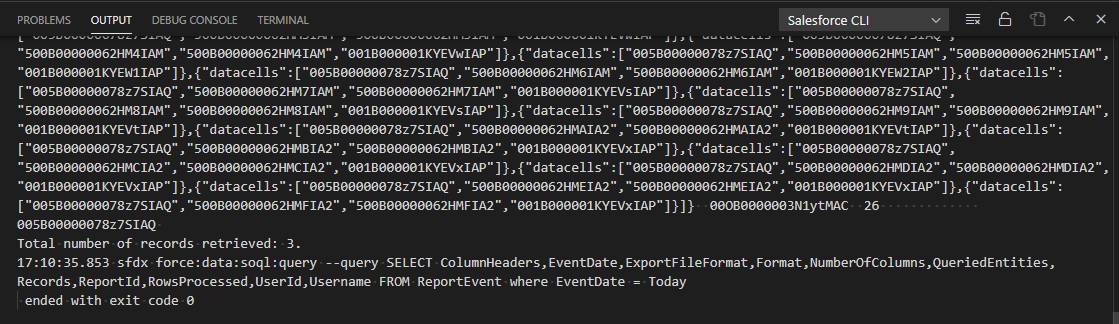
- In the Output tab of the integrated terminal, view the results of your query. A message at the end of the command output reads "ended with exit code 0.”, which means the command successfully ran. You also receive a popup indicating the successful execution.
Deploy Your Code
The last step is to deploy your code to your playground from within Visual Studio Code.
- Right click the classes folder.

- Click SFDX: Deploy Source to Org.
- In the Output tab, a message at the end of the command output reads "ended with exit code 0.”, which means the command successfully ran. You also receive a popup indicating the successful execution.
Parting Thoughts
You’ve defined Real-Time Event Monitoring and Real-Time Events, set up Real-Time Event Monitoring via Event Manager, and used Visual Studio Code and the Salesforce Extensions to directly execute highlighted SOQL and query Real-Time Events. Now you’re ready to use Real-Time Event Monitoring in your organization to audit user activity and investigate possible anomalies. Great work!