Create a Welcome Email
Learning Objectives
After completing this unit, you’ll be able to:
- Create an email using an email template.
- Update default images and text within an email.
- Personalize an email.
Create a Welcome Email
Now that you’ve built out the reusable email template, it’s time to build out NTO’s welcome email.
- Launch the Trailhead Simulator.
- Click Begin.
- In the Local panel, click Welcome.
- Click Create and select Email Message. Notice that for Create Email, Template is selected.

- We are using the template we created and saved in Unit 1, so click the Saved tab.
- Click NTO Template, then click Select.
- In the Name field, enter
Welcome Email, press Enter or Return, then click Next. - In the Subject field, enter
Welcome to Northern Trail Outfitters, press Enter or Return, then click Done or Save.
Update Content
Now add a preheader to your email to display text just after the subject line in an email client. A preheader isn’t required, but effective preheader text can increase the number of recipients who open your email.
- In the Preheader field, enter
Let’s get to know each other!, press Enter or Return, then click Save. - Hover over the content block below the NTO logo, then click Layout (Click to edit) to open the Content tab.
- Hover over the image block inside the content block, then click Image Block (Click to edit).

- In the Content tab, click Replace.
- Select welcome-step1-hero.png and click Select. The image block should now be populated with the Welcome to Northern Trail Outfitters image. A text block was also added below the image.
- Hover over the text block, then click Text (Click to edit).
- In the Content tab, click
 .
. - Click Choose New Data Source.
- Click Data Extensions.
- Click NTOSubscribers, then click Ok to add the fields from the NTOSubscribers profile to the Profile picklist.
- In the Content tab, click Lorem ipsum dolor sit amet (1), then click (2).

- To replace the first line of placeholder text with a variable for the recipient's first name, click FirstName.
- Click the Lorem ipsum text block. The simulator replaces the email text.
In the new text, notice the %%=Lowercase(OptInSource)=%% variable. Remember that you’re sending the welcome email to customers who signed up to get promotional messages from NTO. This variable displays where the email recipient signed up. We’re also using AMPscript to lowercase the variable value. AMPscript is a scripting language that you can embed in HTML emails, text emails, landing pages, SMS messages, and push notifications.

Personalize Email
There are a few more modifications to make before you test this email.
- Hover over the Button block, and when it turns gray, click it.
- In the Content tab, click the Button Text field.
- Enter
Latest News, press the Enter or Return key, then click Done Editing. - Click Done Editing again.
- Click Save.
- Click the Content tab.
- Select and drag the Complete Your Profile content block to the canvas and drop it below the Latest News button.
- Click Done Editing.
- Click Save. To save time, the simulator adds three more content blocks behind the scenes.
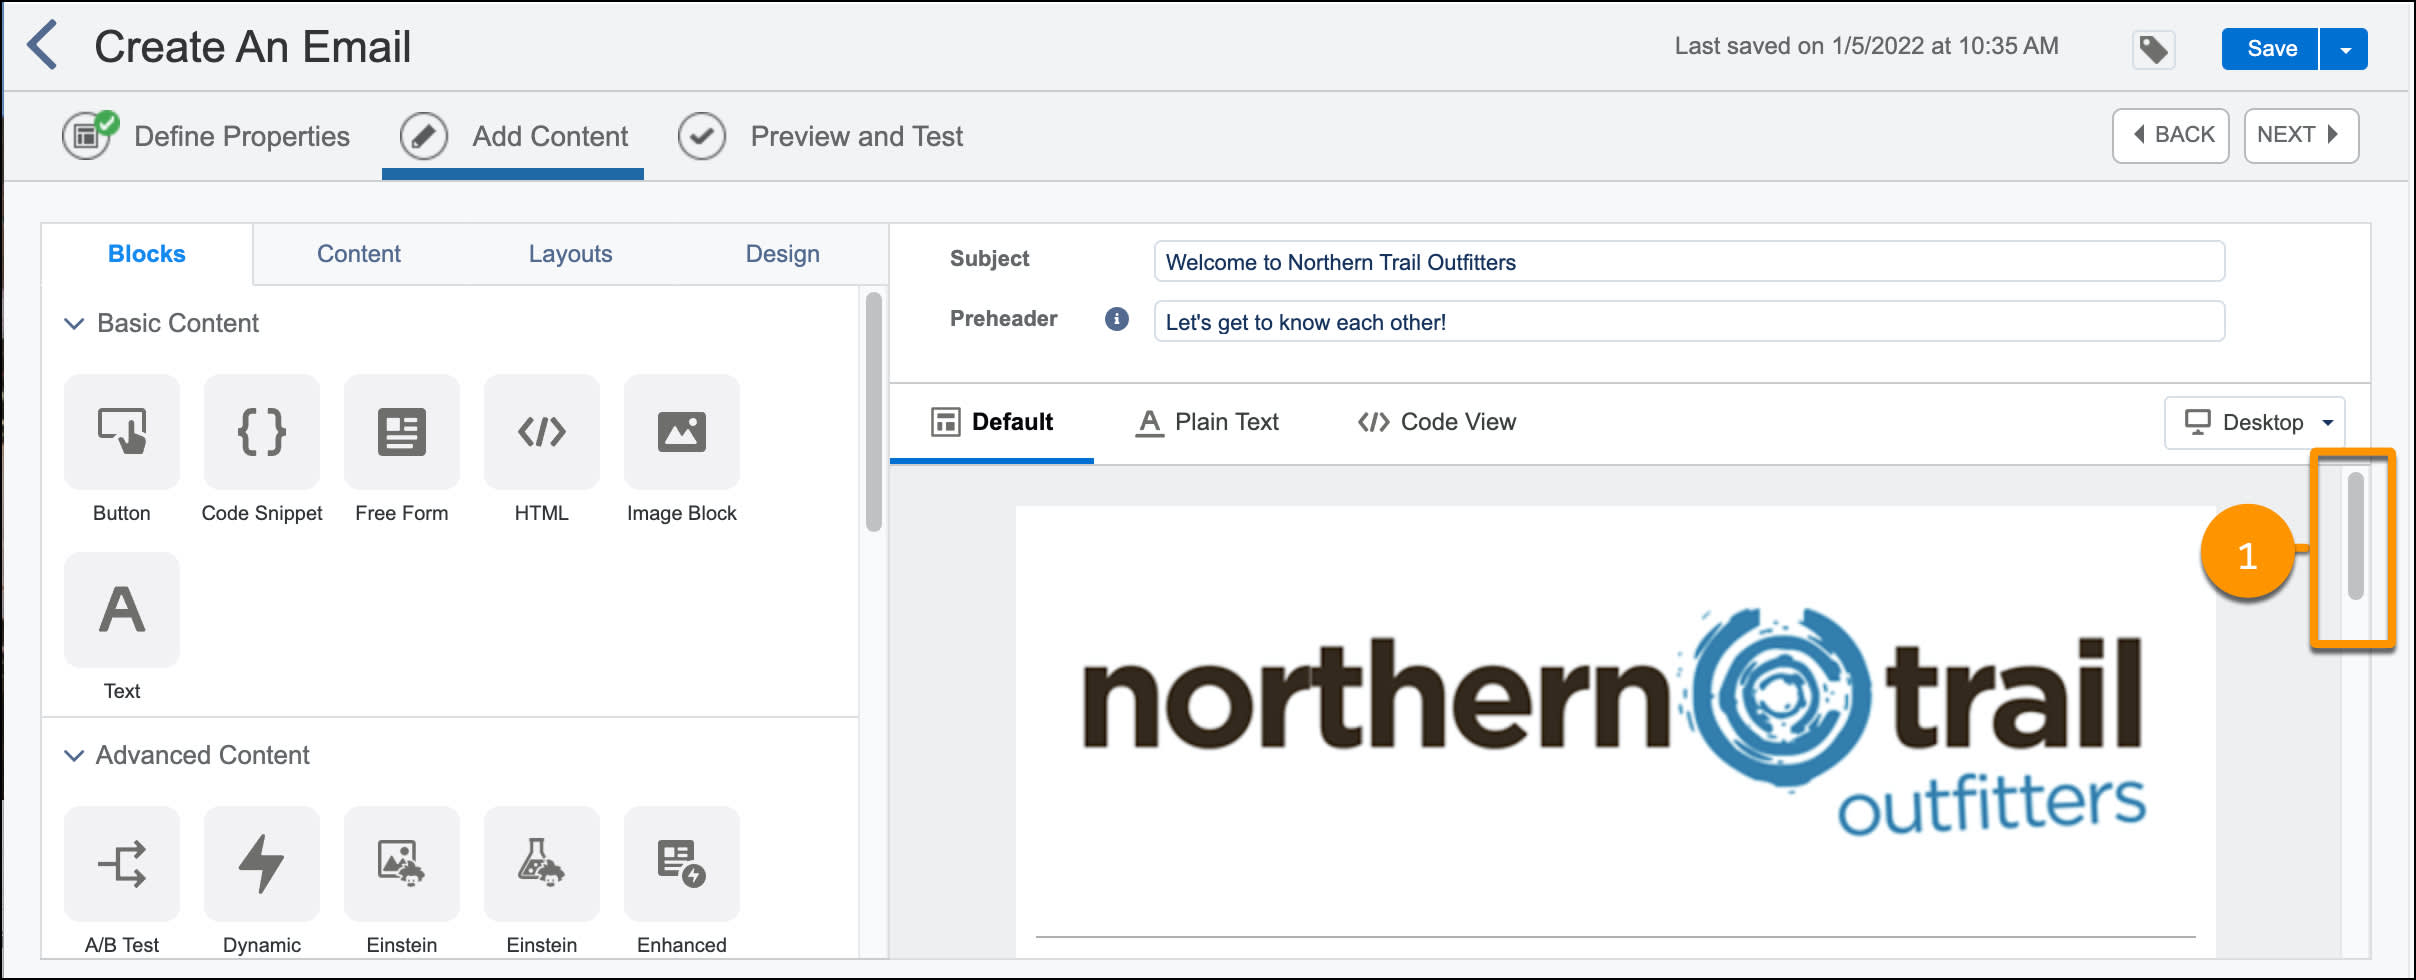
- Click the scroll bar to the right of the NTO logo to view the full draft email. The simulator scrolls automatically after you click the scroll bar (1). Don’t worry. You can see and interact with the full email in the next unit.
- Click Continue, then click Exit.
Great job! You built your first email using Marketing Cloud Engagement. Keep in mind, this is just a basic email—there are so many things you can do to enhance your email as you go deeper with Marketing Cloud Engagement.