Build a Reusable Email Template
Learning Objectives
After completing this unit, you’ll be able to:
- Build a reusable email template.
- Lock content within an email template.
Introduction
You recently started working on the marketing team for Northern Trail Outfitters (NTO), which has just purchased Marketing Cloud Engagement. You've been tasked with your first project: create and send the company's Welcome message. Customers who opt in to receive promotional emails get this welcome email.
You don't have much time to ramp up on Marketing Cloud Engagement email tools—your boss wants you to create and send this customer-facing email today.
Don't sweat it. In this Quick Start, you learn how to create a reusable email template; build an email; and preview, test, and send the email to a selected list of customers. To help you, we created a list of eligible customers, loaded the assets you need, and completed some tasks for you.
Good luck!
Trailhead Simulator
Before you get started, familiarize yourself with the Trailhead Simulator for Marketing Cloud Engagement.
For the best experience, view the Trailhead Simulator on a computer, not a mobile device. Unlike a Trailhead Playground, the Trailhead Simulator provides a simulated user experience that does not store your progress. If you close the simulation and relaunch it, the simulation starts from the beginning. To get back to where you left off, use the simulator navigation controls.
Also, the Trailhead Simulator is designed to highlight the correct click area if you click the wrong area first. Simply click the highlighted area to continue. Here’s an example of this functionality.
Now you’re ready to start building your email template.
Build a Reusable Email Template
There are many use cases for creating a reusable template. The marketing team at NTO wants to create a standard email template where only certain parts of the template are editable. This ensures that branding, font size, font type, and the overall look and layout are consistent with each email. Let’s jump in and set up NTO’s standard email template.
- Launch the Trailhead Simulator.
- Click Begin.
- From the Marketing Cloud Engagement Apps bar, click Content Builder and select Content Builder.
- Under Local Folders, click Templates.
- In the upper right, click Create.
- Click Email Template and select From Existing Template.
- On the Basic tab, click Hero 1 Column and click Select.
- Click the Content tab.
- Drag NTO White.png to the top image block content area. This populates the image block with the Northern Trail Outfitters logo.
- Click Scale to Fit. The Scale to Fit checkbox resizes your images so you can view them within the email on any screen size. The width and height fields define the maximum image display size. Read more about Editor Best Practices and Tips.
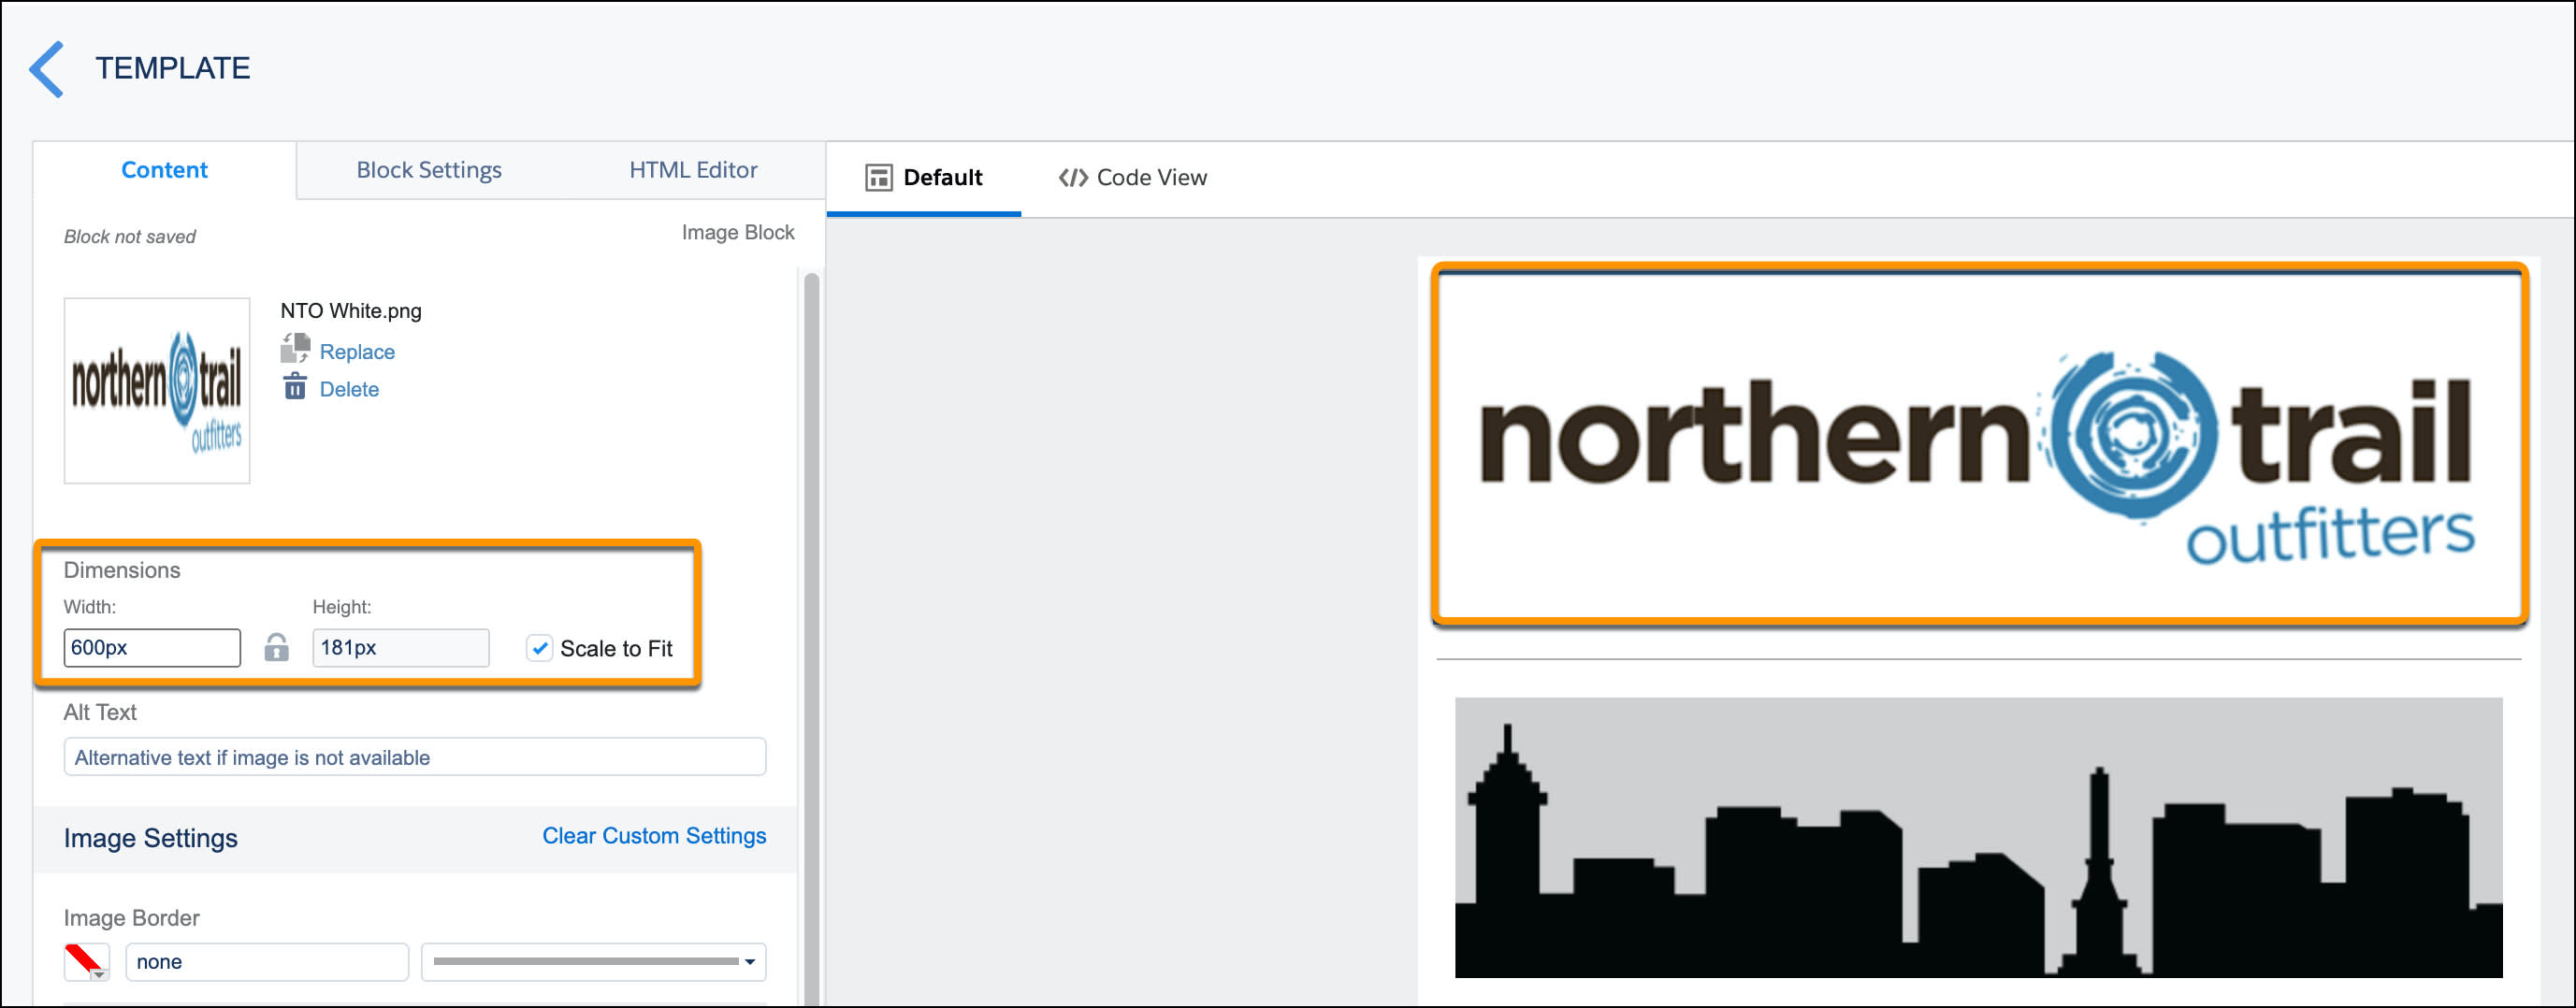
- Click Done Editing.
NTO does not want users to modify the main logo on this template. So go ahead and lock that block of content.
- Hover over the content block containing the NTO logo until a gray box appears around the content.
- Click the down arrow and select Lock.

You locked this content block, which means anyone who uses this template to create an email can’t edit this content section. Your boss wants the email to be casual and conversational, so it reflects the NTO brand. Go ahead and work through the next steps to modify the template accordingly.
- Click the Design tab.
- Click Buttons to expand the menu.
- Click each of the following fields. The simulator changes the value for you. If you were really modifying the template, you’d enter your own values in each field.
Button Field New Value Background
#009DDC
Corner Radius
30px
Border
#009DDC
It should look like the following.
Now, let’s save the changes you’ve made.
- Next to Save, click
 and select Save and Exit.
 - In the Name box, enter
NTO Template, press Enter or Return, and click Save. The template is now saved in the Templates folder.
- Click Continue, then click Exit.
Congratulations! You created a reusable email template. Check out the Resources section to learn more about creating and editing templates. To keep it simple, we made adjustments for you. You’ll see them in the next unit.