Create an Email Template
Learning Objectives
After completing this unit, you’ll be able to:
- Differentiate between email templates and list emails.
- Create an email template.
- Add personalization to your template.
Introduction
Email templates are the basis of your email marketing efforts, but they can be tricky. What kind of template is best for your newsletter, product announcement email, or engagement program? How should you design your template? Where does the call to action go?
In this unit, we look at how you create reusable templates in Account Engagement. We cover some design resources as well. Let’s dive in!
Difference Between Email Templates and List Emails
Email templates and creating and sending one-off list emails serve separate purposes in Account Engagement. The most important difference is this: You can use a template over and over again to create emails, but you can send an email only once. With an email template, you can create text and HTML email designs and reuse them for engagement programs, autoresponders, one-to-one emails, and list emails.
When you’re creating your email, you might also be confused by the difference between an email template draft and a list email draft, since the email wizard looks the same for both. Let’s break it down further.
Email template drafts are templates that haven't been published yet. You can’t use email templates for emails until you publish them.
List email drafts are emails that haven't been sent yet. You create emails once, and you can copy and edit them, but you can’t reuse emails like you can reuse a template.
Reuse Your Content
You put a lot of effort into your content-based marketing: You write blog posts, create e-books and white papers, post regularly on social sites, tweet, and so on. You may even generate good content through customer service forums, technical support documentation, and more. Email campaigns can significantly extend the reach of this valuable content. Take advantage of the work you’ve already done, and reuse content in your email newsletters and email campaigns. Even older content is fair game. There’s no reason to assume that your readers have read all your blog posts or white papers, so if they’re timely and relevant, put them to work in your email programs.
Anatomy of an Email Template
While your email templates can be as creative and original as you’d like in terms of design, they will commonly contain at least a few of the following sections. It’s important to build clear and coherent templates designed to easily communicate with your recipients.

-
Header graphic: Brand your email with your company’s logo and color scheme. Refer to your company’s brand guidelines when designing the header graphic.
-
Main content and copy: Here’s where you place the main thrust of your email. Add links and content your recipients will want to read.
-
Call to action (CTA): The CTA is the most important content in your email. It tells people what they’re going to get, not what they’re going to do. This means you should always favor calls to action like “Get free white paper” or "Take our product for a spin." Make sure you feature your CTA at the top of your email so recipients don’t overlook it.
-
Social icons/sharing: Account Engagement builds social sharing into the email template editor with AddThis icons. You can easily drop these into your template so recipients can forward and share with their network.
-
Subscription preferences and mailing address: Required by Account Engagement for CAN-SPAM compliance. You can link to your Email Preference Center or to your Unsubscribe link.
Create an Email Template
- Navigate to Account Engagement Email | Templates.
- Click +Add Email Template.
- Enter a name. Prospects don’t see the template name—you use the name in Account Engagement to organize assets.
- Choose a folder.
- Select a campaign.
- Select the email type.
- From Available for, select the kinds of emails the template can be used with
- Click Save.
-
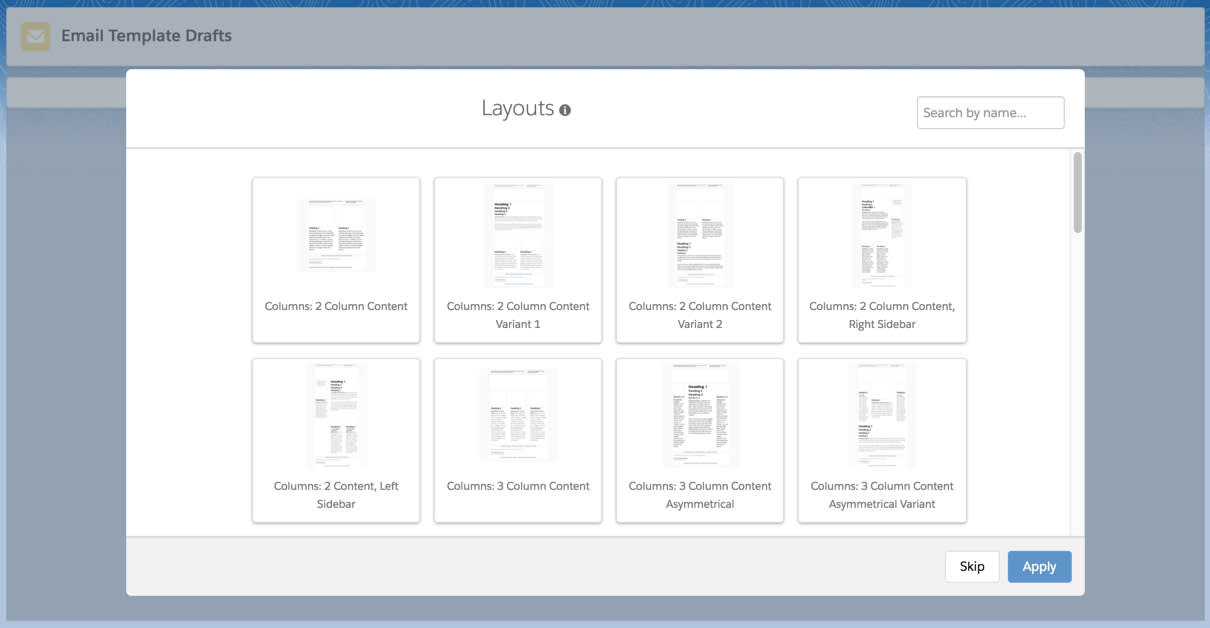
Choose a layout from your library to start your template and click Apply, or click Skip to design a template from scratch.
After you set up your basic information, use the email editor to edit, test, and set up sending for your template. To make your template available for use, click Publish to Template when you’re done designing it.
Responsive Email Templates
Most people read emails on their mobile devices, so designing with mobile in mind is crucial! Responsive templates use CSS to resize your emails when viewed on mobile devices. Account Engagement includes several responsive layouts that you can use to create mobile-friendly email layout templates.
Select a responsive layout when building an email template, or if you’re an advanced user, add responsive CSS to your own layout templates using media queries. When testing an email with a responsive template, preview it by clicking Open in Popup and then manually resizing the window.

Build Personalization into Your Template
In the previous unit, we looked at how to set up variable tags and dynamic content for use across your Account Engagement account, including in email templates.
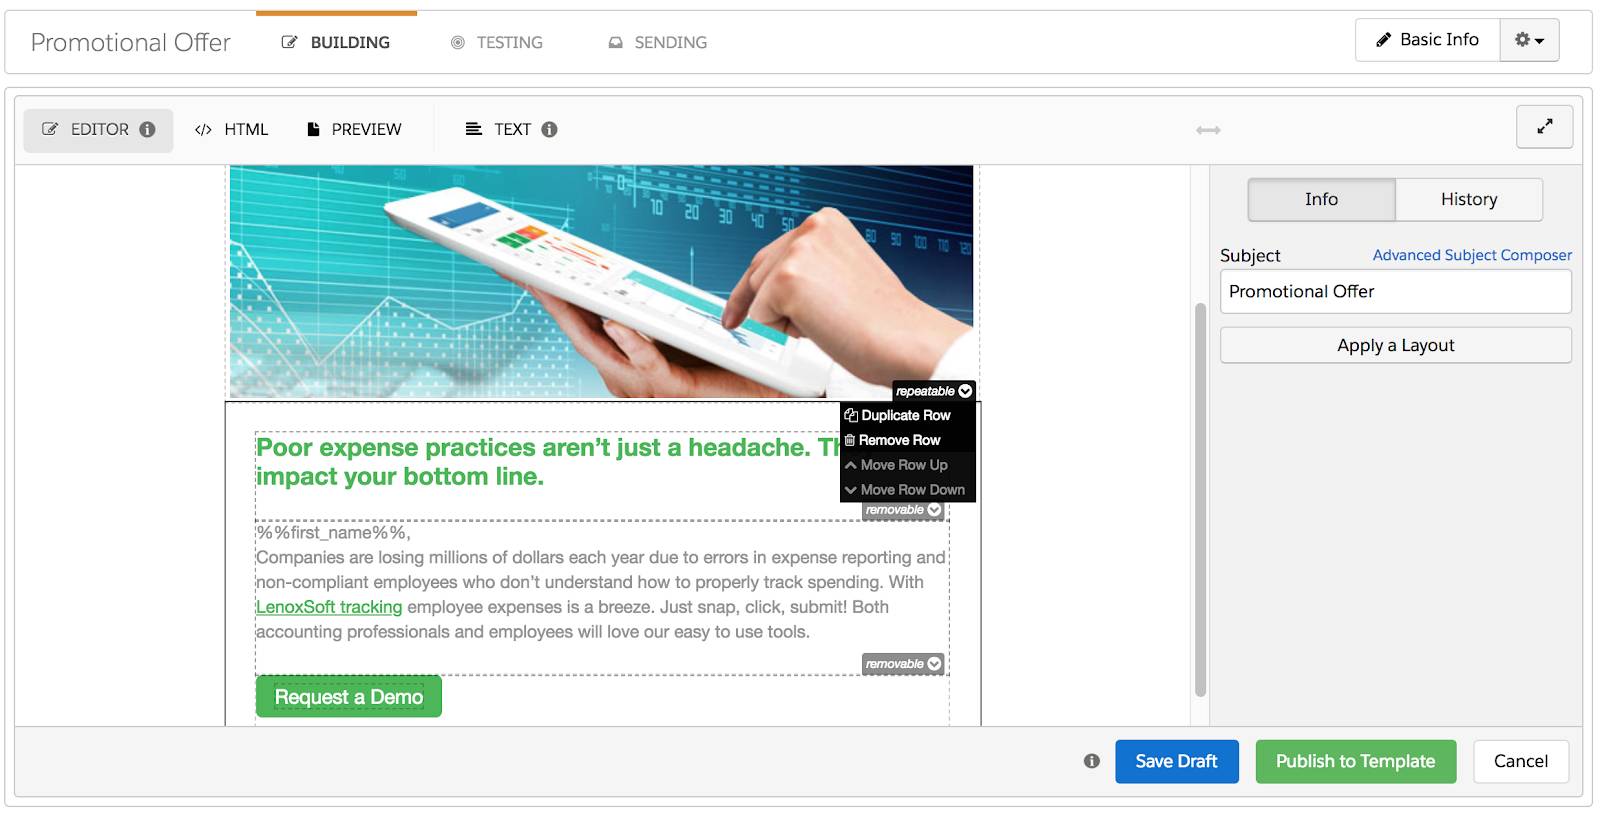
Remember that variable tags look like this: %%first_name%%, where the variable tag references the First Name prospect field in Account Engagement and inserts the value in that field.
You have two options for adding variable tags to your email templates.
- Hand code them into your template.
- Insert them via the email template editor.
- Click

- Choose your desired variable tag from the list.

You can add dynamic content to your email template.
- In the editor, click

- From the first dropdown, select the dynamic content to include.
- Use the preview dropdown to preview different variations.
- To insert the content, click OK. It now appears as a variable tag.
The dynamic content variation populates in the recipient’s inbox, and you can verify this in the testing step. We cover testing in the next unit.
Control Content for Editing
Once you build your template, you may not want to give full editing powers to the rest of your team. You can use content regions to lock down areas of your email templates so that email copy, links, and images can be updated in specific template regions only.
Account Engagement Content Regions
You lock your content regions by adding attribute tags to the HTML elements in your email templates. Account Engagement regions are locked by default, so if a region does not contain one of the attribute tags below, it is not able to be edited. You can make your content editable, repeatable, or removable.
To make an element and any element it contains editable, add the Account Engagement-region attribute to the element. Each editable section of your template must contain the Account Engagement-region attribute.
Here’s an example.
<td Account Engagement-region> makes the td element and the other elements that it contains editable.
Repeatable Regions
Repeatable elements are useful if you want to let other Account Engagement users copy content, like in an email newsletter with multiple sections. If you want to make an element repeatable, add the Account Engagement-repeatable attribute. Content inside an element with the Account Engagement-repeatable attribute must also have the Account Engagement-region attribute.
Here’s an example.
<div Account Engagement-repeatable><table><tbody><tr><td Account Engagement-region><h1>Title</h1></td><td Account Engagement-region>A paragraph of text</td>
In the email editor, any region with the Account Engagement-repeatable attribute has a dropdown menu that lets you duplicate, move, or delete the element.
Removable Content
If you want to let your users remove an element from an email, add the Account Engagement-removable attribute. This attribute is similar to Account Engagement-repeatable, except these elements can only be removed, not added.
Here’s an example.
<td width="200"><div Account Engagement-removable="sidebar-1"><div Account Engagement-region><h1>Title</h1>A paragraph of text<a href="#">Read More</a></div></div><div Account Engagement-removable="sidebar-2"><div Account Engagement-region><a href="#"><img src="example.png" alt="Example"/></a></div></div></td>
Now you’re familiar with creating email templates in Account Engagement. In the next unit, we look at how to effectively test your templates for sending. Let’s go!
Resources
- Email Templates
- The Email Design Lookbook (white paper)
- The Dos and don'ts: How to Make Your Brand Marketing Authentic
- Salesforce: Marketing Resource Center
- Customer 360 Blog: How You Can Get Started With Email Marketing Today
- AddThis Social Sharing for Emails