Install MuleSoft Composer and Preauthorize Users
Learning Objectives
After completing this unit, you’ll be able to:
- Install the MuleSoft Composer managed package.
- Preauthorize users to access MuleSoft Composer.
Install the MuleSoft Composer Managed Package
After your organization has completed the purchase of MuleSoft Composer, Salesforce automatically enables your Salesforce org with the MuleSoft Composer User permission set. MuleSoft Composer is then available in Setup. We send a welcome and get started email to your organization’s designated Salesforce admin to install and configure MuleSoft Composer for user access.
In this module, we assume you are a Salesforce admin with the proper permissions to install and configure MuleSoft Composer. If you’re not a Salesforce admin, that’s OK. Read along to learn how your admin would take the steps in a production org. Don’t try to follow the steps in a Trailhead Playground. MuleSoft Composer is not available in the Trailhead Playground.
Ready to get started? The first step is installing the MuleSoft Composer managed package into your Salesforce org. Here’s how.
- Log in to your Salesforce org using your username and password.
- From Setup, enter
MuleSoft Composerin the Quick Find box and select MuleSoft Composer. The MuleSoft Composer Setup page appears.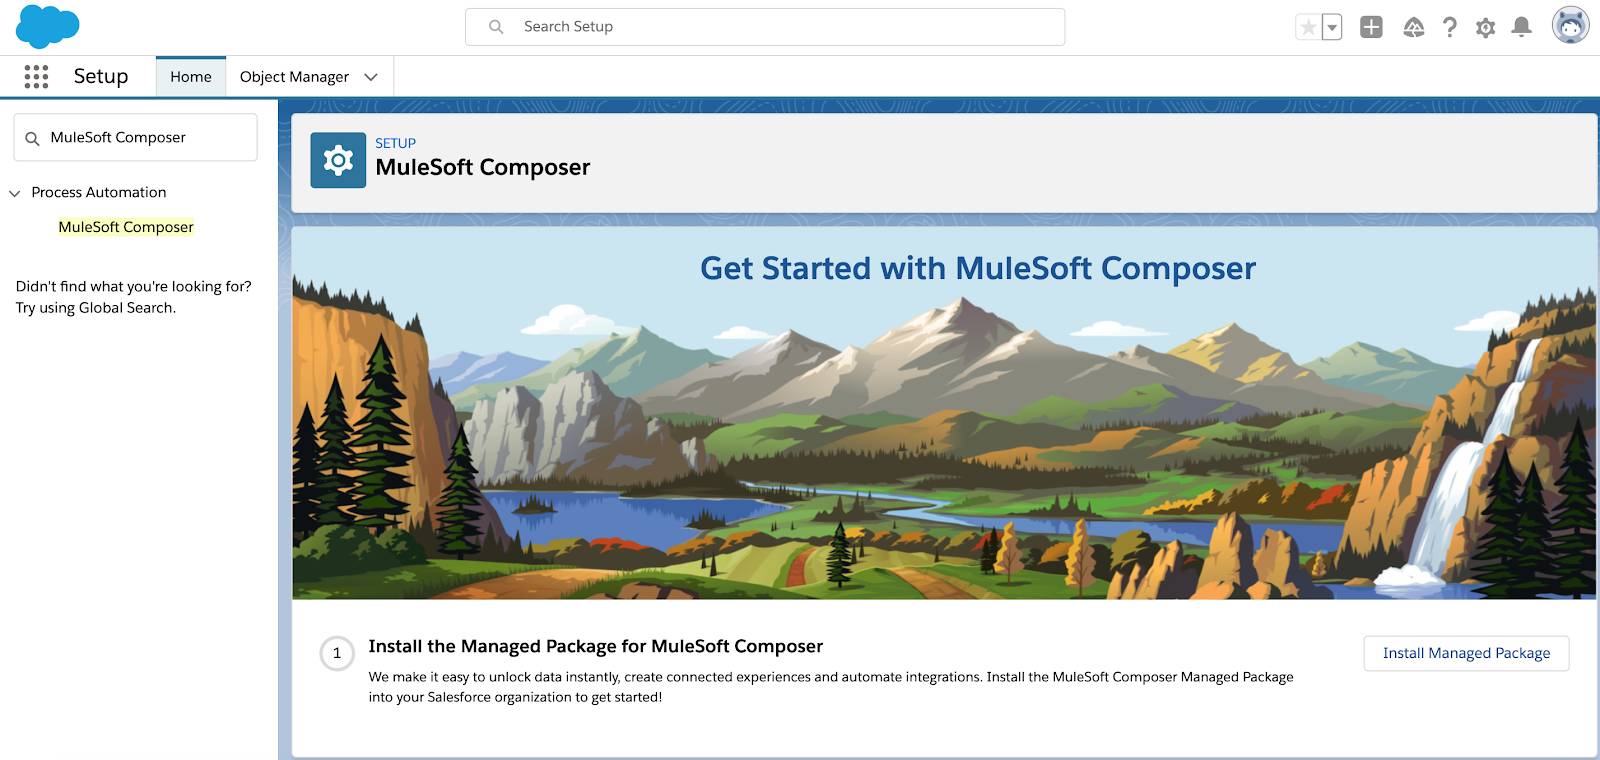
- On the Install the Managed Package for MuleSoft Composer step, click Install Managed Package.

The installation process takes about one minute to complete. As the admin who installed the managed package, you’re automatically granted the MuleSoft Composer User permission set.
Preauthorize Users to Access MuleSoft Composer
Once you've successfully installed the MuleSoft Composer managed package, your next step is preauthorizing users so that they can access MuleSoft Composer. To do that, follow these steps.
- On the MuleSoft Composer Setup page, next to Change the Type of Permitted Users, click Open Settings. The Connected App page for MuleSoft Composer appears.
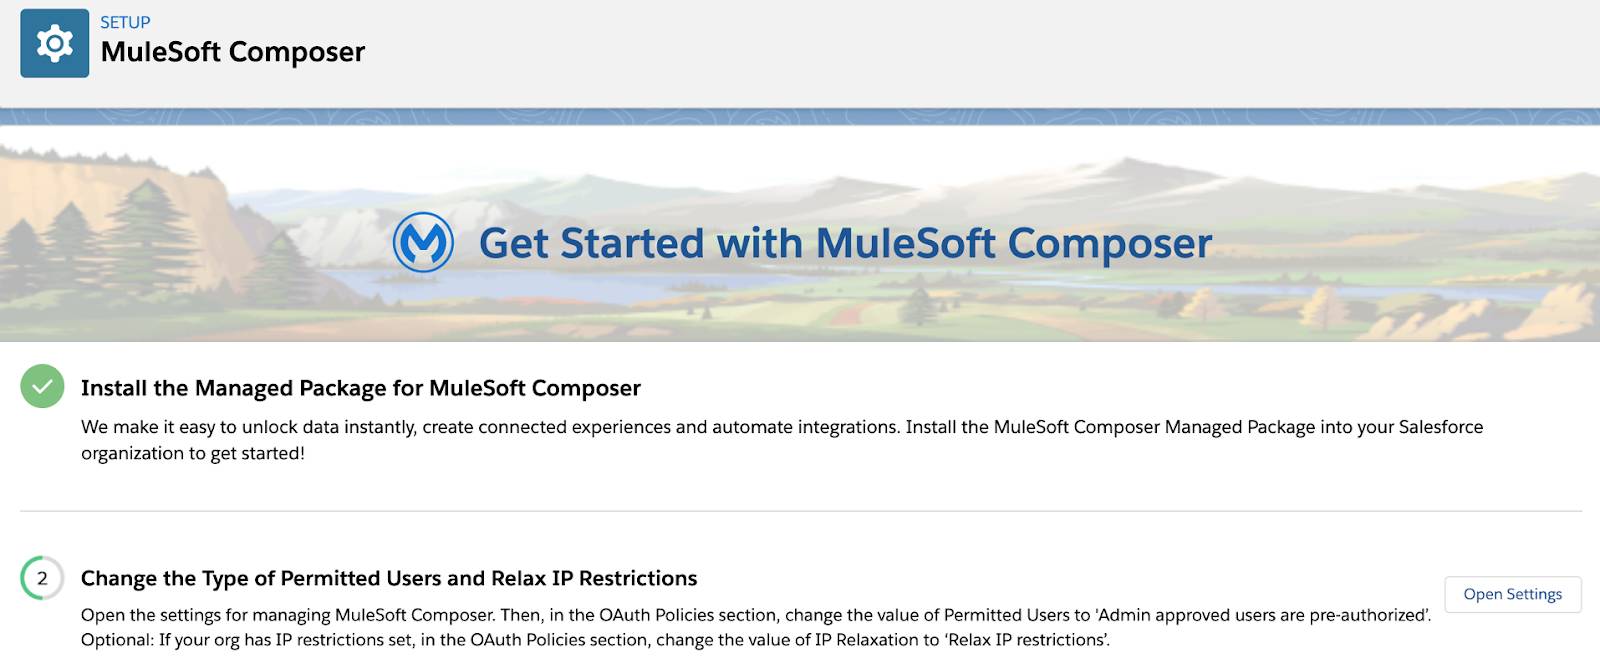
- In the OAuth Policies section, select Admin approved users are pre-authorized from the Permitted Users picklist, and then click OK.

- Select Relax IP restrictions from the IP Relaxation picklist.

- Leave the High assurance session required checkbox deselected.
- Click Save.

Nice work. You’ve taken the first steps to set up MuleSoft Composer for your org. In the next unit, you learn how to enable MuleSoft services and grant end users access to MuleSoft Composer.