Organize Your Journeys with Tags and Folders
Learning Objectives
After completing this unit, you’ll be able to:
- Add tags to journeys to make them easy to find.
- Organize journeys into folders.
- Create and delete folders.
Add Journey Tags to Categorize Your Journeys
Use Journey Tags to organize your journeys and use the search or filter tool to quickly locate them in the Journey dashboard. For instance, you could create tags for welcome campaigns, spring sales events, or membership renewals.
To add one or more tags to a journey, click ![]() in the dashboard’s toolbar for a list of available tags. To create a new tag, simply select New from the dropdown. There’s no limit to the number of tags you can assign to a journey, but it’s better to include the minimum necessary to improve search results. You can also add multiple journeys to a single tag.
in the dashboard’s toolbar for a list of available tags. To create a new tag, simply select New from the dropdown. There’s no limit to the number of tags you can assign to a journey, but it’s better to include the minimum necessary to improve search results. You can also add multiple journeys to a single tag.
Use Journey Folders to Organize Your Journeys
Organize your journeys in folders so they’re easy to find. When you save a journey, you can click Organize and select the folder where you want to save it. If you don’t select a folder, the journey is automatically stored in the My Journey folder.
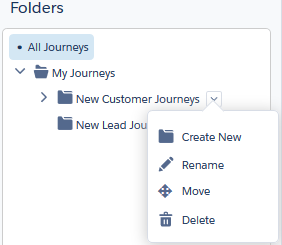
You can move a journey to another folder at any time by clicking to open the folder, then dragging the journey from the current folder to the new location. You can also create a new folder or subfolder and save it there. Rename, reorder, or delete folders as needed.

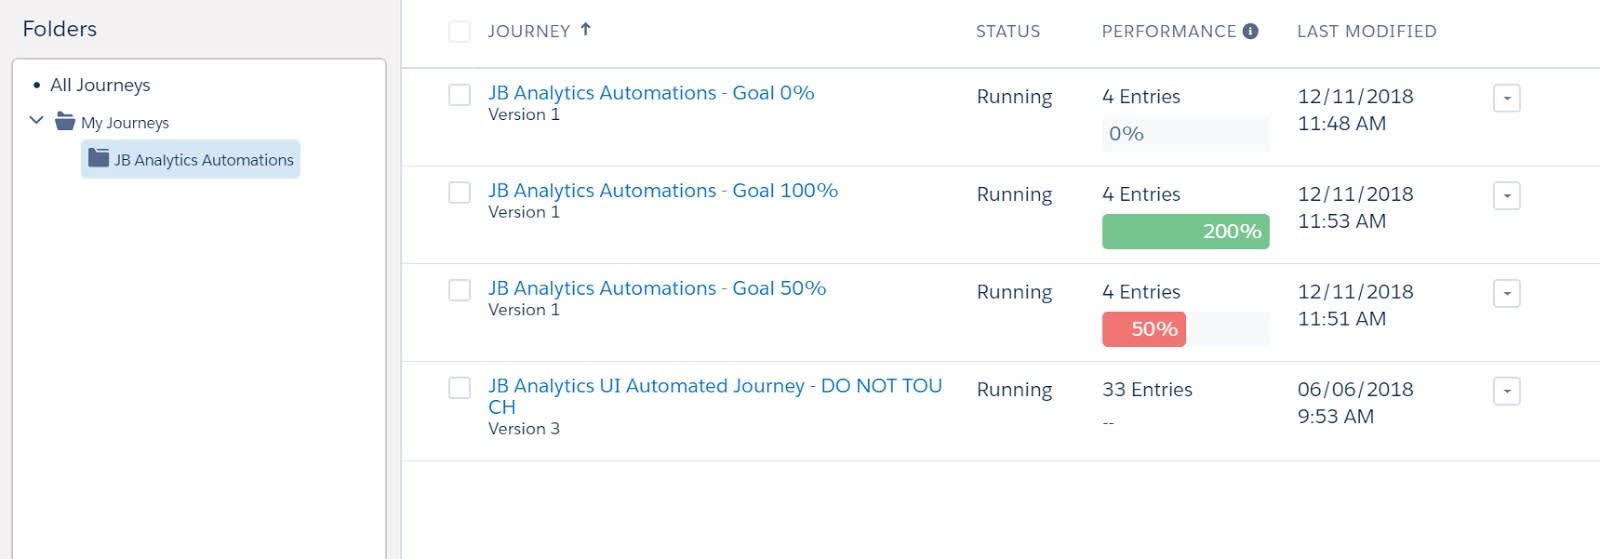
When you click a journey folder, the Journey Health dashboard displays data for journeys saved to that folder.

Case Study: Isabelle Organizes Her Welcome Journeys
Now that she’s getting the hang of Journey Builder, Isabelle feels certain she’ll use it, not only for future welcome campaigns, but also for sales promotions, subscriber birthdays, and special rewards offers. To get things off to a good start, she creates a subfolder for each type of journey campaign in the My Journey Folder. She also asks her Marketing Cloud Engagement account admin to create a few tags she can use to categorize her journeys. This will help her easily find previous campaigns for reporting or repurposing.
Summary
In this module, you learned how to monitor the health of your journeys with Journey Builder features. You used analytics to measure against your goals, and you optimized journeys with versioning. Lastly, you learned how to keep your journeys organized with tags and folders.
