Configure Your Confirmation Page and Form Settings
Learning Objectives
After completing this unit, you’ll be able to:
- Describe the purpose of the Interactive Email Page.
- Create an Interactive Email Page in CloudPages.
- Select an email form block template.
- Configure fallback content.
Before You Start
In this module, we assume you are a Marketing Cloud Engagement user with the proper permissions to create a landing page in CloudPages. If you’re not, that’s OK. Read along to learn how you take the steps in a production org. Don’t try to follow these steps in your Trailhead Playground. Marketing Cloud Engagement isn’t available in the Trailhead Playground.
Why Do You Need an Interactive Email Page?
Now that you know where the data is stored, let’s talk about how it gets there. When your subscriber fills out your email form and clicks submit, the form’s data passes through a URL string to an Interactive Email Page. (Hint: This is your confirmation page created in CloudPages.) If the form is successful, the subscriber is taken to that confirmation page. If the form submission contains errors, a message guides the subscriber to correct the form and resubmit. Behind the scenes, your Interactive Email Page processes and saves that data to your selected data extension. So, in addition to showing a success message to the subscriber, the Interactive Email Page is key to processing the data.
Create an Interactive Email Page
Because data processing is so important, you need to create an Interactive Email Page in CloudPages before you can create your email form in Content Builder. So head over to CloudPages and start by clicking Create Collection (which is a grouping of pages).

Once in your newly created collection, click Add Content. From the dropdown menu, select Interactive Email Page.


Confirmation Page
Once you have created and named your page, it’s time to configure your page and the confirmation message you’ll show to your subscriber. Start by clicking the Email Form content block in the display. 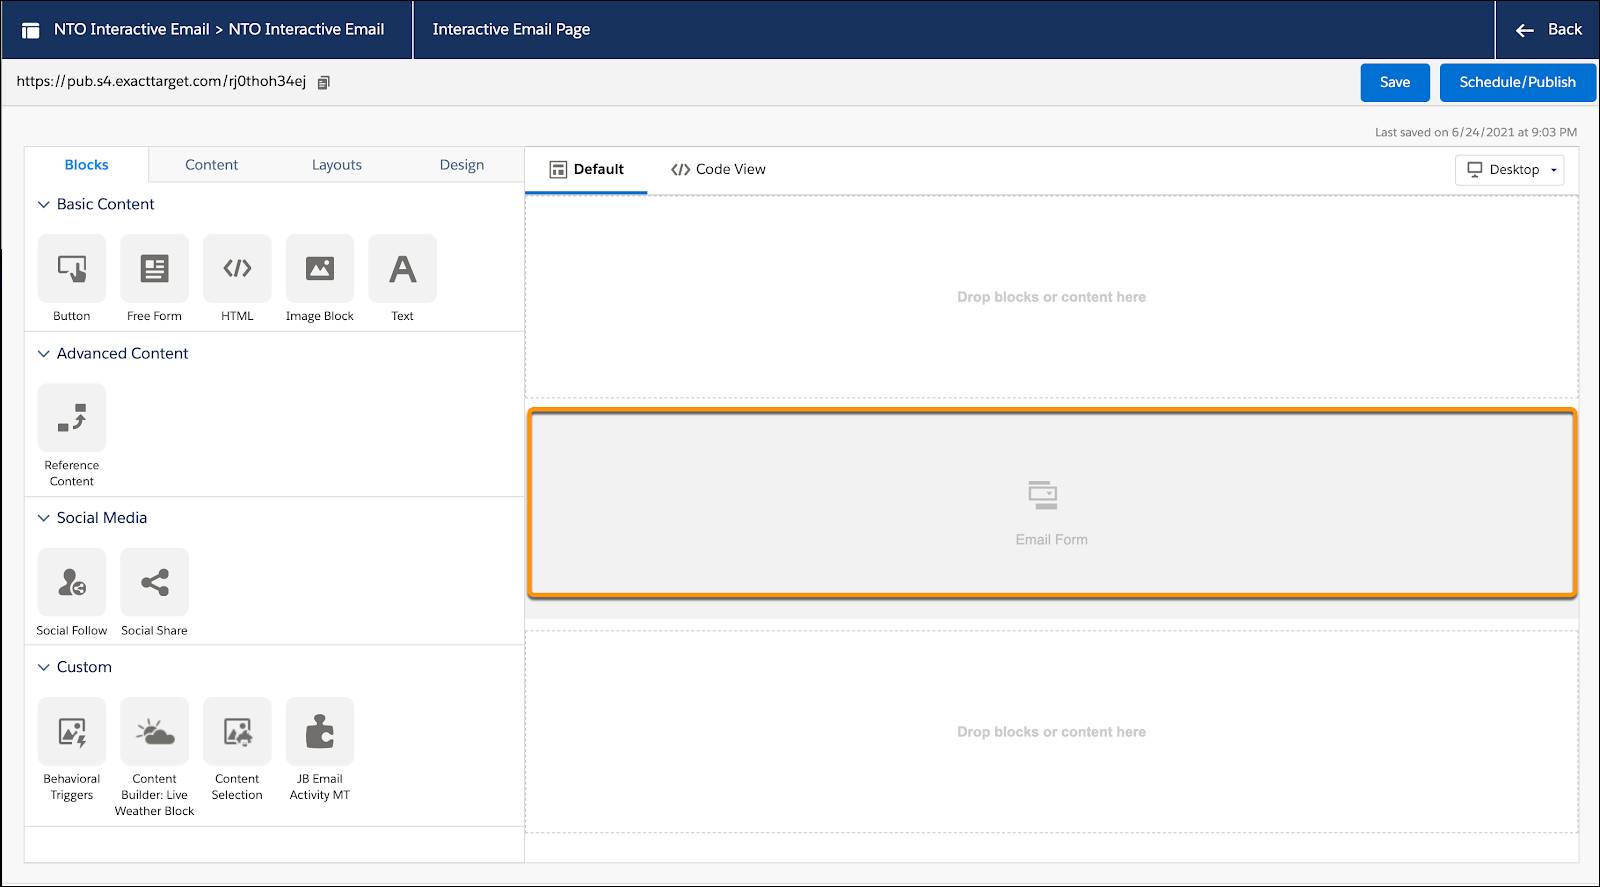
Then under the Content tab, you can select a Confirmation Message.

You have three options: No Content, Block from Content Builder, and Redirect to a URL. For the best experience, we suggest you build a branded Block from Content Builder. However, if you want the subscriber to see your own website instead of one created in CloudPages, select Redirect to a URL. (The subscriber information still passes through the Interactive Email Page but the subscriber is redirected to the URL that you select.) Or you can simply select No Content.
Publish Your Page
Once you have your confirmation message selected, you can add additional branding and content blocks to your page or simply publish your content.

Publishing your Interactive Email Page is important because only published pages capture data and deliver the confirmation message you created. If your page isn’t published, subscribers receive an error message when they submit the form and no data is captured.
Build Your Interactive Email Form
Now that you have your page published, you’re ready to start building your form in Content Builder! And it’s easy to get started with several email form templates available in Content Builder. Plus, any form can be customized simply by editing, adding, or deleting form fields. Here are your ready-made options.
-
Empty: Start from scratch and create any type of form you want.
-
Review: Create product reviews or other feedback surveys.
-
Progressive Profile: Collect or update subscriber preferences and demographic data, such as name, birthday, product preferences, and interests.
-
Case Form:* Create or update a support case using Journey Builder and Services Cloud.
-
Lead Form:* Capture or update subscriber information from your leads using Journey Builder and Sales Cloud.
*Note: Cases and leads are not automatically created in Sales or Service Clouds from Interactive Email form blocks. You need to utilize Journey Builder to pass the data into the correct cloud. Learn more on the help page, Sales and Service Cloud Activities in Journey Builder.
Once you select your template, click Continue. There are three configuration tabs to help you build your email form: Content, Design, and Block Settings.
Content Tab
On the Content tab, you need to select a CloudPages Destination (your Interactive Email Page) and then a Response Capture Method (the place to store your data). These are required steps, so configure these before you move on.

Next you’ll see two field types: Visible and hidden. We covered the purpose of these fields in the previous unit, but as a reminder, visible fields are seen by your customer and hidden fields are not. 
For visible fields, you have a few options for new inputs (or questions): Text, select, radio checkbox, image single choice, image multiple choice, button single choice, button multiple choice, and rating. Want to see an example of the question types? In the app, hover over each selection to see a preview.

Grab your data requirements, here is where your planning comes into play. It’s time to add all of your visible and hidden fields and map each to data attributes. Also, if you’re using an existing data extension, be sure that all required fields are accounted for with either a visible or hidden field. Finally, before you leave the content tab, double-check that every field is linked to a data attribute. It also wouldn’t hurt to save your work.
Design and Block Settings
After you’ve added your questions and mapped your answers, you’re ready for the email form Design tab. From here you can customize your form by adjusting your design settings and selecting fallback content. (As a refresher: Fallback content is important to improve the customer experience for subscribers who view your email in an unsupported email client.)

In addition to selecting fallback content, you can adjust labels, description text, and change button styles from the Design tab. Finally, visit the Block Settings tab to change block spacing, alignment, and borders.
Elements of an Interactive Email Form
Now that you have an understanding of all the key aspects of creating an Interactive Email Form, let’s get ready to build. It’s helpful to have everything in place before you build, so here’s a checklist of what we covered to set you up for success.
-
Data requirements
Define a list of your form’s questions and data requirements.
-
Confirmation message
Create a content block for the success message to be used in your Interactive Email Page.
-
Interactive Email Page
Create a landing page in CloudPages to be used for data processing. Select the created confirmation message for successful form submission.
-
Fallback content
Create a content block for unsupported email clients.
-
Interactive Email Form
Create an email form block that includes your form inputs. In the block, select your created Interactive Email Page. Additionally, you select or create a data extension, and you map your form inputs to data extension fields.
-
Email content
Don’t forget that you need an email template handy for when your form block is ready!
With your checklist in hand, head to the next unit, where you practice building a form in Marketing Cloud Engagement using the Trailhead Simulator.
Resources
-
Salesforce Help: Use Landing Pages
-
Salesforce Help: Create a Collection
-
Salesforce Help: CloudPages
-
Salesforce Help: Sales and Service Cloud Activities in Journey Builder