Locate Your Contacts
Learning Objectives
After completing this unit, you’ll be able to:
- Identify where contacts exist in your Marketing Cloud Engagement account.
- Discover the ways contact records are created.
- Prioritize the importance of your contact records.
Before You Start
Before you complete this module, make sure you complete Marketing Cloud Engagement Contact Management. The work you do here builds on the concepts and work you do in that badge. So, get brushed up on the basics of contacts in Marketing Cloud Engagement and meet us back here to put that knowledge to work.
Track Your Contacts
The relationship between you and your contacts is the foundation of your marketing efforts. If you’re going to create meaningful conversations, it helps to have the right information to send your contacts what they want.
At the most basic level, you need to know who your contacts are. That means getting rid of any duplicate contact records and ensuring the records you do have are subscribed to specific channels. If a contact isn’t subscribed to a channel, you can’t send to them—and not only are nonsendable contacts wasting space, they could be costing you money depending on the number of contacts in your Marketing Cloud Engagement account.
But wait—don’t go on a contact cleaning spree just yet. In general, we don’t recommend deleting contact records because the information helps you evaluate tracking and other analytics data. Plus, you need to know which contacts have unsubscribed to prevent sending them messages in the future.
However, we also know contact records need to be well-managed and occasionally cleaned up. In this unit, we review the ways a contact could be created in your Marketing Cloud Engagement account and learn how to decide which of those contacts are most important to your marketing activities.
Where Is Your Contact Data?
If you’re familiar with Marketing Cloud Engagement, you might’ve guessed that data extensions hold the vast majority of contact data. And the primary way to keep track of and organize these contact records is Contact Builder. However, contacts can also reside in the All Subscribers list for Email Studio and some other less obvious locations. This includes information used for Journey Builder custom activities and contacts added via data operations (such as queries, filters, or extracts).
Contact records can also be imported via the Marketing Cloud Engagement app, API calls, or synchronization from other Salesforce clouds via Synchronized Data Sources. Finally, Marketing Cloud Engagement considers any record a contact if you perform a send using that information in Journey Builder. That’s a lot of ways to store and import contact data! Let’s talk about how it all comes together.
Making One Out of Many
Marketing Cloud Engagement uses a single unique contact key to identify a contact. Contact keys work well if all of your incoming information uses that same value to create contact records. Unfortunately, that’s not always the case. For example, you may get separate contact records based on the channel the contact used to subscribe or purchase your product. These duplicate records can cause overlap in your tenant (your top-level Marketing Cloud Engagement account and any related business units).

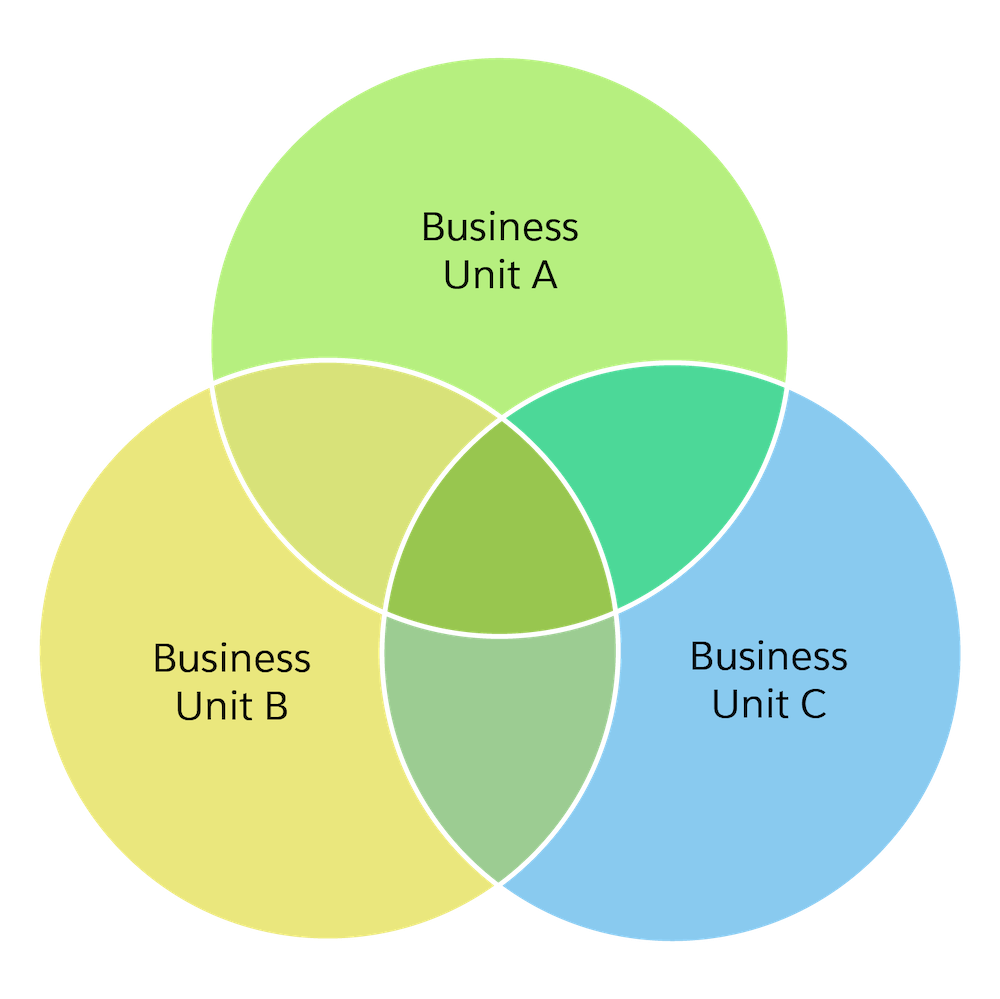
Yet another dimension of your contact count is business units. Your tenant can include multiple business units with multiple versions of a contact record. Some contacts belong to a single business unit, while others share common information across multiple business units.
Find All of Your Contact Records
So how do you track down your contact records? It’s easier if you’re already using a unique identifier for your contact key and importing only the necessary segmentation and personalization information into sendable data extensions. However, you may need a few more tools to locate all possible contact records. Let’s take a look at which Marketing Cloud Engagement tools can help.
In this module, we assume you are a Marketing Cloud Engagement admin with the proper permissions to configure and use Contact Builder with Journey Builder. If you’re not an admin for Marketing Cloud Engagement, that’s OK. Read along to learn how your admin would take the steps in a production org. Don’t try to follow these steps in your Trailhead Playground. Marketing Cloud Engagement isn’t available in the Trailhead Playground.
Let’s start by creating a new report in Analytics Builder using the Contacts Count Standard Report. This gives you a look at the overall number of contacts registered in your account.

Create a Contacts Count Report in Analytics Builder
- Navigate to Analytics Builder and click Reports.
- Click the Overview tab.
- Click Contacts in the Report Catalog section.
- Click Create next to Contacts Counts.
- Select the data range you want to review.
- Click Submit.
- Choose how you want to receive the report.
- FTP
- Download
- Snapshot
- Click Save.
Next Up
Now that you’ve created your contacts count report, you have a general idea of how many contacts are in your account. In the next unit, we start drilling down into that information and deciding what to do with those contacts. Who knows, we may even find some contacts hiding in the digital dark corners of your account.