Create an Experience Cloud Site and Make It Secure
Learning Objectives
After completing this unit, you’ll be able to:
- Set up the user profiles for your Experience Cloud site.
- Describe the Financial Services Cloud components used to build a site.
Create Your Experience Cloud site
Remember Matt the admin? He’s familiar with sites, because he used to work with Salesforce Service Cloud and ran sites there. Before Matt can invite employees and customers to his first site, he needs to set it up.
- Click
 , then click Setup.
- In the Quick Find box, enter
all sites, and select All Sites.
- Right now it’s blank, so click New to create your first site. This opens up the site wizard.

- Choose Customer Account Portal and click Get Started.
- For the name, enter Customer Portal for FSC.
- Click Create. It takes a few minutes to create the site. Feel free to admire the jazzy graphics while you wait.
- Under My Workspaces, click Builder to open the Experience Builder.
The Experience Builder takes you on a mini-tour of how to create a site. Step through to get the feel for creating a site. If you want to take the tour again later, from the Information menu (  ), choose Take a Tour.
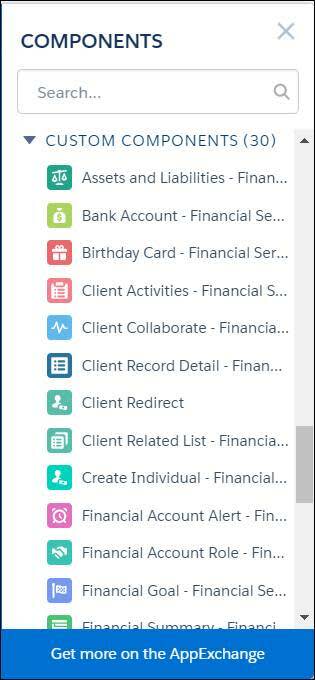
Now that he’s set up a site, Matt takes a peek at the available components to make sure they’ll meet his needs. He finds all the components he’s used to in his Wealth Management org, including components for client profiles, needs-based referrals, and financial components. He also recognizes standard Experience Builder features such changing the color and branding, and editing and viewing pages.
Now Matt knows he has everything he needs to build his site. But since he works for a financial firm, he needs to make sure that the data will be properly protected.
Set Experience Cloud Site Security
Matt handles security in his org with profiles, and he’s happy to see that’s exactly how Experience Cloud provides security as well. Financial Services Cloud provides new profiles for Customer sites and Advisors, with permission sets to match.
He gets to work activating the Customer Community profile and the Customer Community Read Only permission set. While this example talks about the Customer Community, the Partner Central community is similar. Contact your Salesforce account executive to help set you up with a Partner Community license.

- Click
 , then click Setup.
- In the Quick Find box, enter
all sitesand select All Sites.
- Next to your site, click Workspaces. In Matt’s case, his site is Customer Portal for FSC.
- From My Workspaces, click Administration and then click Members.
- Next to Search, choose All.
- From the Available Profiles list, click Client Customer Community and click the right arrow to move the choice to Selected Profiles. If you don’t have Customer Community profiles listed, it means you don’t have the correct license. Contact your Salesforce account executive if you want to change your license.
- From the Available Permission Sets list, click Customer Community Read Only and click the arrow to move the choice to Select Permission Sets.
- Click Save.
Now Matt is ready to go back and build the site he wants.
You’ve learned how to create both partner and customer sites to help your Financial Services Cloud personal bankers, financial advisors, and customers connect with each other. Let’s turn our attention toward maintaining your org. Check out the Resources section for more info on that.
Resources