Notify Search Engines About Your Sitemaps
Learning Objectives
After completing this unit, you’ll be able to:
- Explain how to submit sitemaps to Google.
- Explain how to add the google-site-verification meta tag for Google site verification.
- List the development elements that handle sitemaps in a B2C Commerce storefront application.
- Find the template you need for Google site verification within the storefront.
What About the Search Engine?
Google has almost half the market share of all search engines. So Brandon Wilson, Cloud Kicks merchandiser, pays close attention to how he optimizes traffic driven from this search engine. It turns out that most search engines, including Google, use the sitemap.org protocol to define their sitemaps. Once Brandon generates sitemaps for Google, he can also register and use them with other search engines, such as Yahoo! and Bing.
Submit a Sitemap
After successfully creating a sitemap, Brandon can submit it to search engines manually by adding it to the search console, add it to the robots.txt file, or use the Google ping functionality. Although this unit deals with Google, all search engines have similar procedures.
Brandon starts by registering with the Google Sitemaps program and submitting his sitemap. Once in, he can view interesting data about his site, such as the most used keywords and spidering problems. Google checks his sitemap for updates regularly, so he doesn’t need to submit his sitemap more than once.
Learn From Google
Brandon already has a Google account, so he’s ready to go. If you don’t have a Google account, create one first so you can follow along with these steps.
- Open Google.
- Search for
Google Search Console.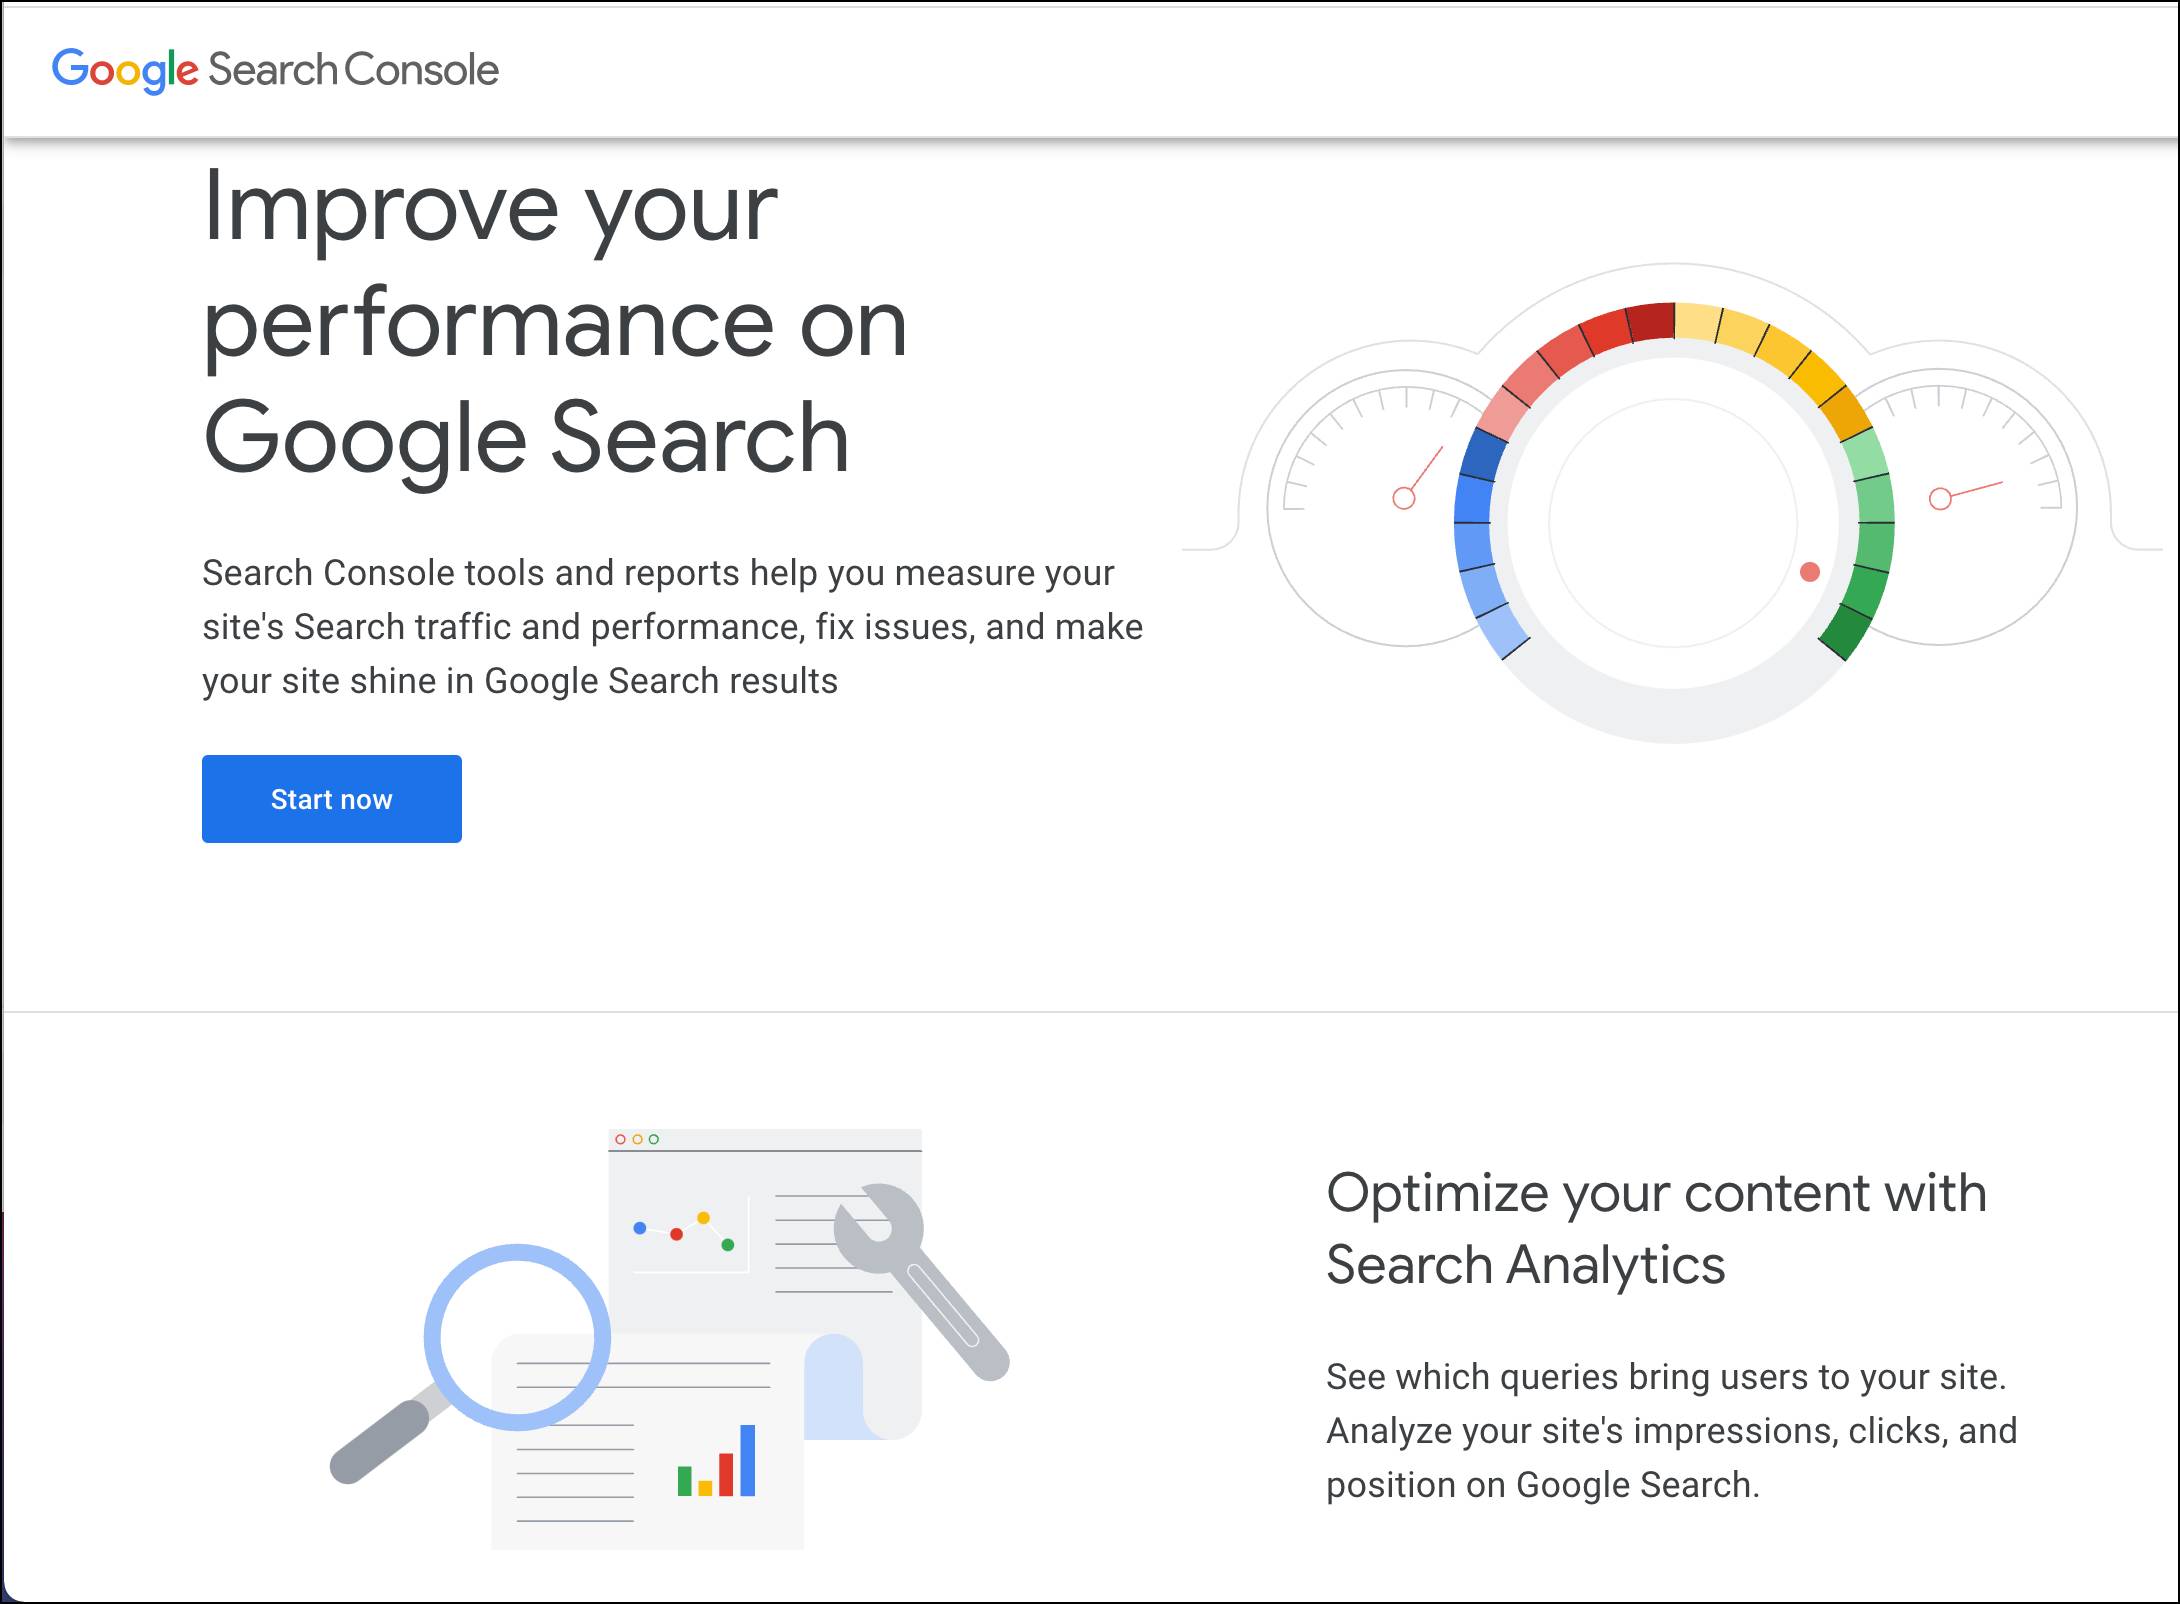
- Click Sign In and log in to your search engine account.
- Select Domain or Prefix and enter your domain name or URL for verification.
- Follow the instructions to verify your site.
The Search Console offers tools and reports that let you:
- Confirm that Google can find and crawl your site.
- Fix indexing problems and request re-indexing of new or updated content.
- View Google Search traffic data for your site: how often your site appears in Google Search, which search queries show your site, how often searchers click through for those queries, and more.
- Receive alerts when Google encounters indexing, spam, or other issues on your site.
- Show you which sites link to your website.
- Troubleshoot issues for AMP, mobile usability, and other Search features.
Take some advice from Google to improve your SEO.

Sitemap Output
As you learned in a previous unit, each time B2C Commerce runs the sitemap generation job, it creates one index file (sitemap_index.xml) and one or more sitemap files (sitemap_0.xml, sitemap_1.xml, and so on). The index file is the file that you register with the search engine. Its only purpose is to point to your sitemaps. All variations, base products, product sets, and unsearchable products are indexed in B2C Commerce sitemaps. Offline and unassigned products are not included.
You can configure or import sitemaps on any instance type, but your live sitemap must be located on your production instance for Google to index your site.
To view the index file, point your browser to the following URL:
http://<hostname>/sitemap_index.xml
If you don’t see the sitemap_index.xml file, make sure that you're using a hostname that you configured in the hostname alias. Also, make sure you include the full hostname and not the storefront name.
Verify Site Ownership
Now it’s Google’s turn to verify that Brandon is the site owner. This means that Brandon needs to add a specific meta tag to his site or deploy a file with a specific name to his web server’s root directory. Other search engines have similar requirements.
Google uses the name google-site-verification for the meta-tag it uses for site verification. The htmlhead.isml template in SFRA uses this name for Google site verification within the storefront.
To add the meta tag to his site, Brandon needs to create a custom site preference for the Google tag and then include the tag in his storefront application. This means that he creates a custom attribute, includes it in an attribute grouping, and configures the preference value as a custom attribute. Lucky for him, this tag already exists in Business Manager.
Here’s how he works with this custom attribute preference.
- Open Business Manager.
- To create a custom attribute definition, select Administration > Site Development > System Object Types.
- Select SitePreferences.
- Click the Attribute Definition tab. You can see the
GoogleVerificationTabattribute.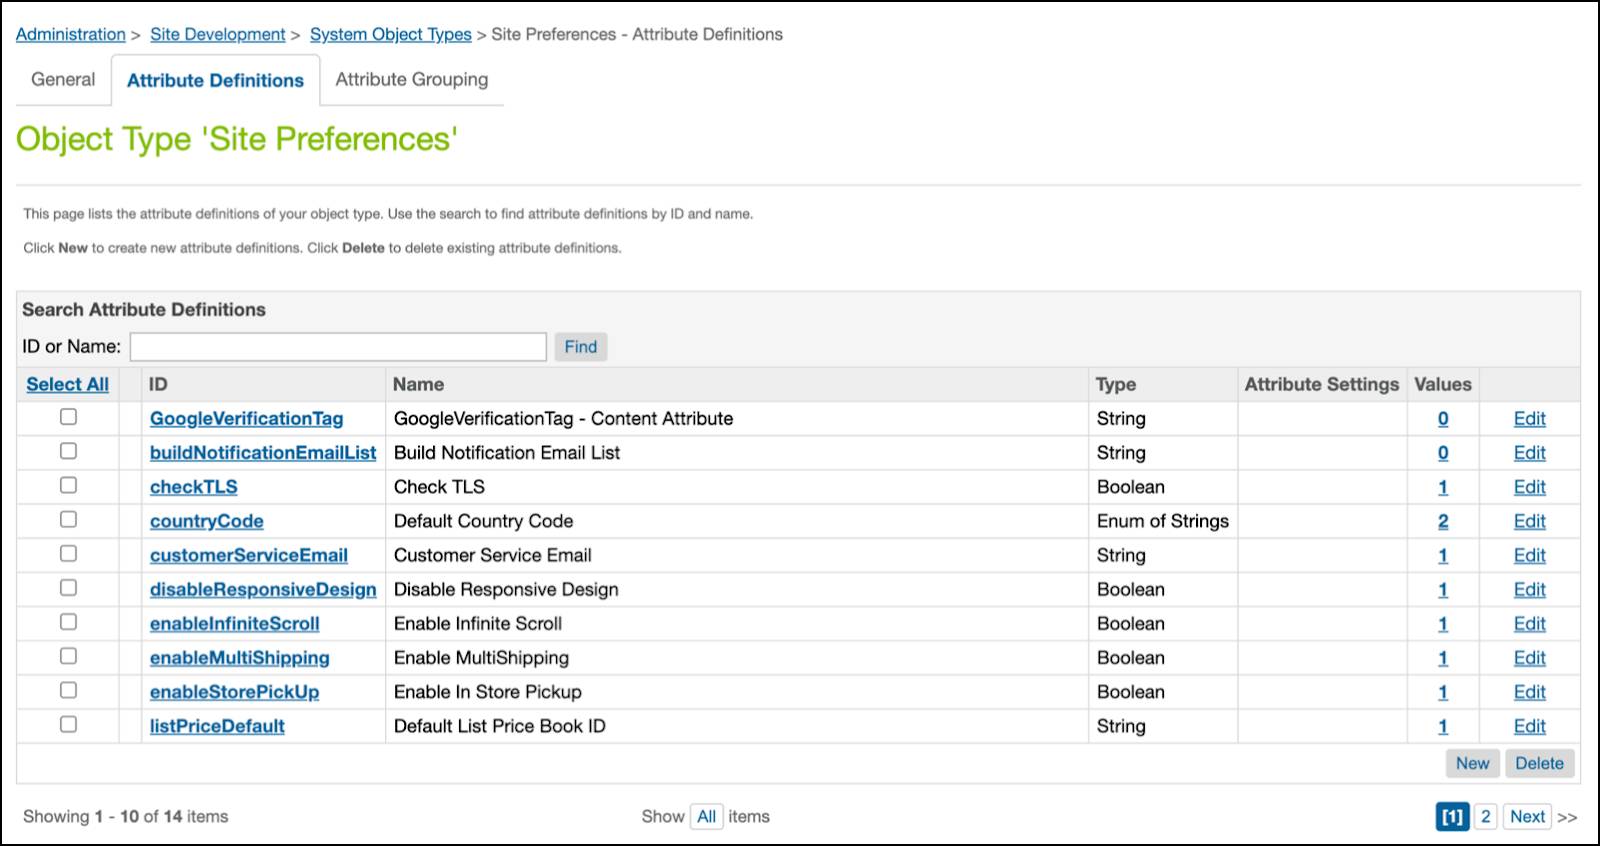
- Click GoogleVerificationTag. This preference is a string that must contain something.
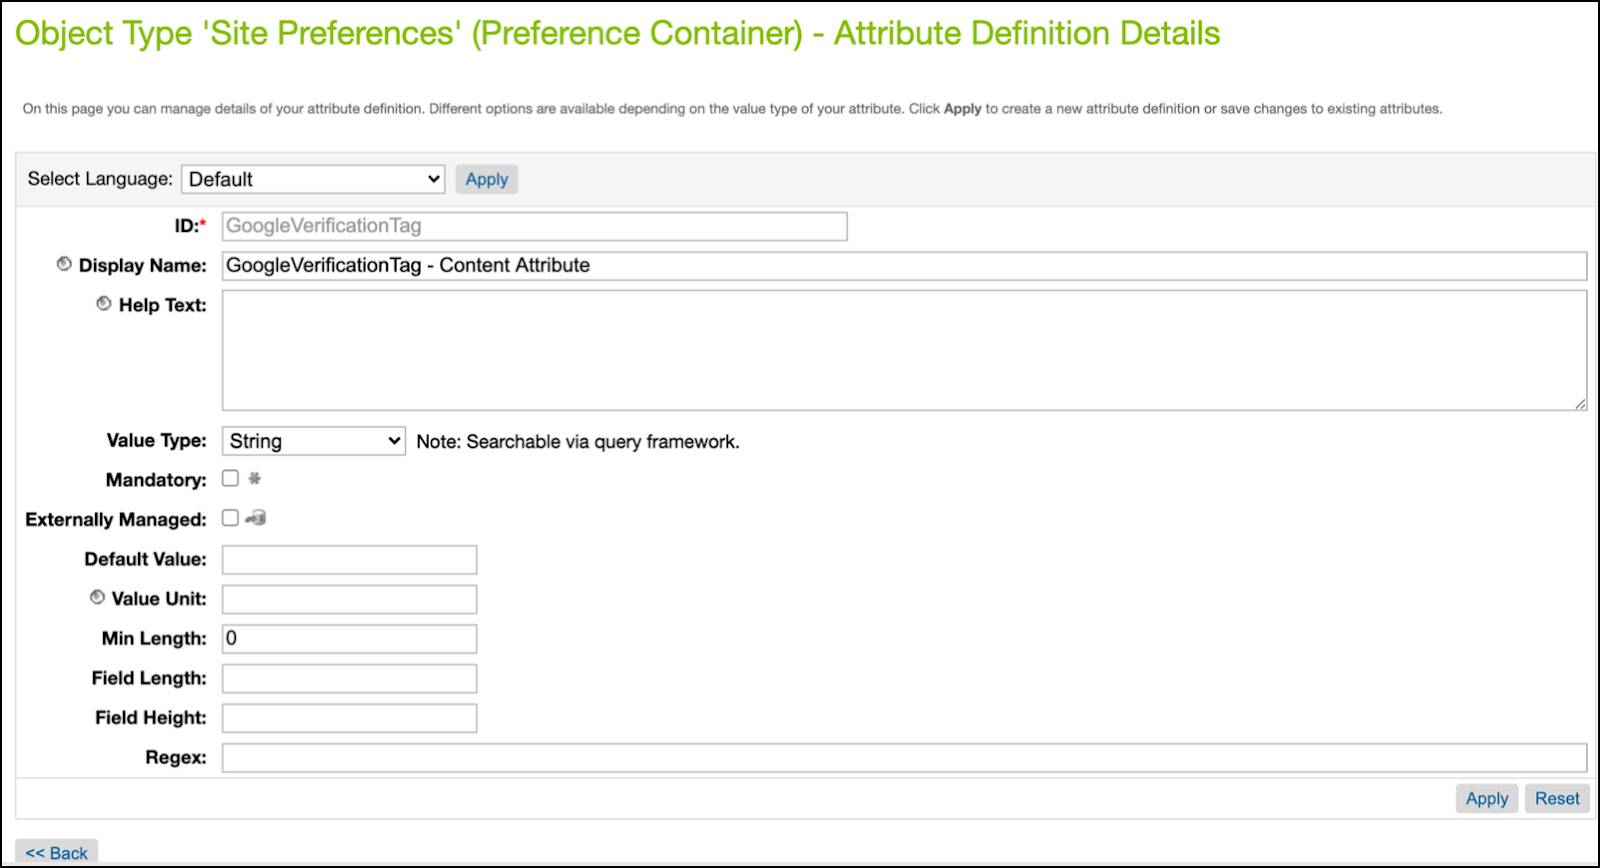
- Click <<Back.
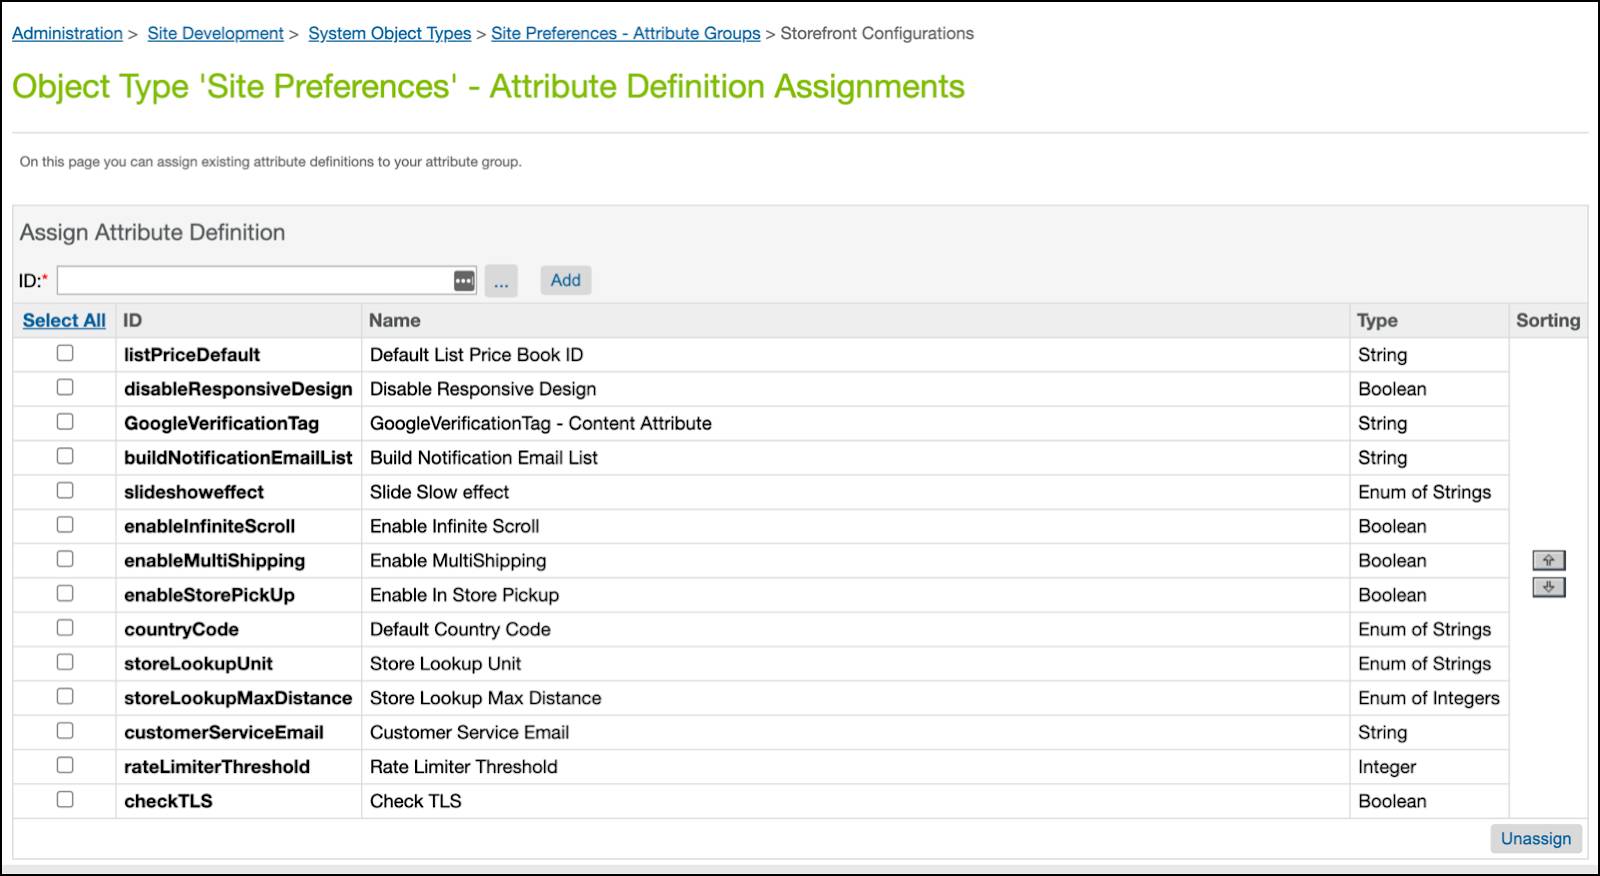
- To create an attribute grouping (so you can see and edit the attribute in Business Manager), click the Attribute Grouping tab.
- Click Edit for the Storefront Configurations.
- Note the GoogleVerificationTab attribute.
- To configure the correct meta tag name, click site > Merchant Tools > Site Preferences > Custom Preferences.
- Select Storefront Configs.
- Select the instance: Production
- In the GoogleVerificationTag row, click Edit Across Sites. (Or you can configure one site at a time.)
- Enter
google-site-verificationfor each site. This is required by Google. - Click Save.
Sitemap and the Storefront Application
Brandon turns to his colleague, Vijay Lahiri, for help with the Cloud Kicks storefront application. The Storefront Reference Architecture (SFRA) has a number of plugins that can add features to a storefront. One of them is plugin_sitemap, which implements a sitemap feature. This plugin serves requests for search provider (Google, Yahoo) XML sitemaps. It reads a given site map and copies it into the request output stream. If it’s successful, it renders an http_200 template. If it fails, it renders an http_404 template.
This plugin calls the SiteMap class in the B2C Commerce Script API to generate and manage the sitemap. It uses the SendGoogleSiteMap pipelet to read the storefront’s sitemap and copy it into the request output stream. The pipelet directly serves site requests from any crawler that requests it, including Google.
Next Steps
In this unit, you learned how to submit sitemaps to Google, how the B2C Commerce storefront application handles sitemaps, and how to configure the google-site-verification meta tag for Google site verification. Next, you learn about the robots.txt file.