Share Updates and Work in Progress
Learning Objectives
After completing this unit, you’ll be able to:
- Send an update in a channel.
- Show what you’re working on.
Trailcast
If you'd like to listen to an audio recording of this unit, please use the player below. When you’re finished listening to this recording, remember to come back to the unit, check out the resources, and complete the quiz.
Stay Productive
A flexible schedule enables you to work when you’re most productive. It can also mean that your teammates work different hours than you. Essentially, work can happen at all hours of the day. In this module, you learn about some of the advanced Slack features that enable asynchronous work—work that’s free from the challenges that come with juggling multiple schedules and time zones.
Send an Update in a Channel
In Slack, work happens in channels: flexible spaces for all the people, tools, and files you need to get work done. In channels, you and your teammates can share updates and show what you're working on without the hassle of scheduling calls or meetings.
Say you want to share a project update with teammates in various time zones. Instead of trying to arrange a meeting that’s suitable for everyone’s schedule, send a message in the channel dedicated to the project, and your teammates can catch up whenever it works best for them.
- Click the plus button in the sidebar and select Message.
- Enter the channel name or select it from the dropdown if it's available.
- Draft your message.
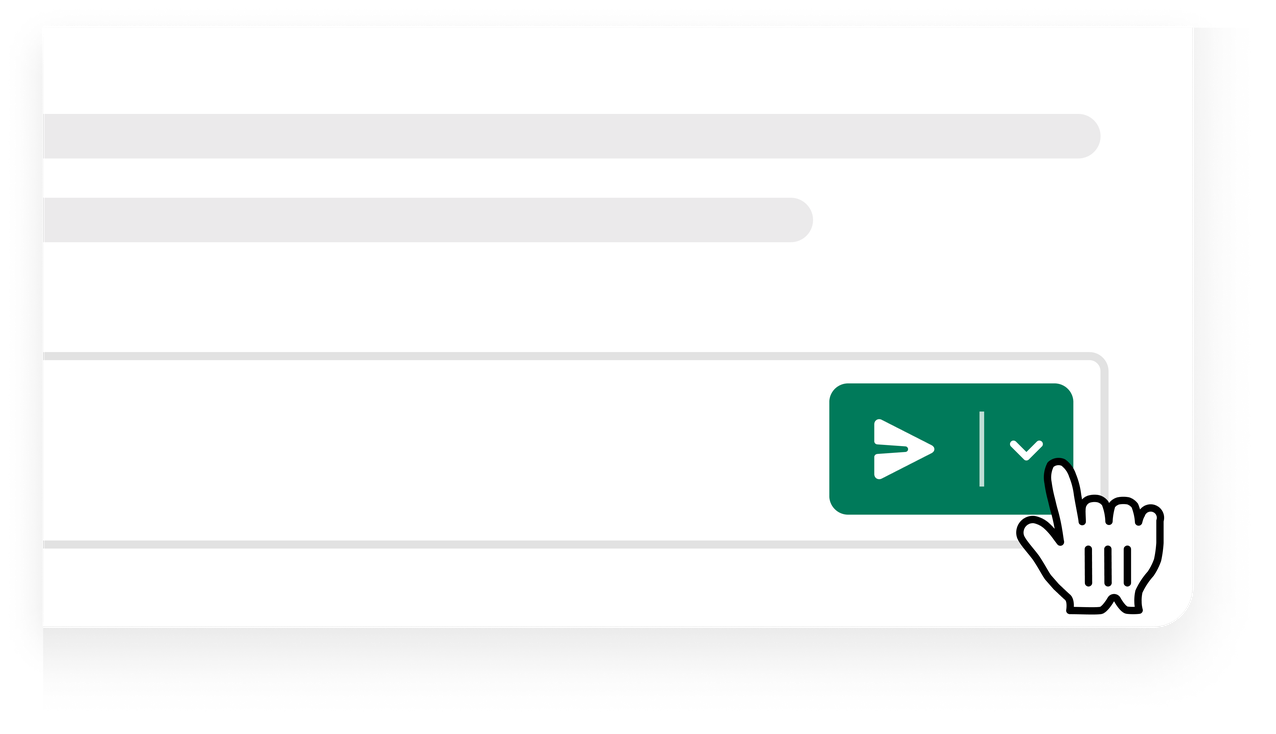
- Click the
 paper plane button to send the message.
Tip: If it’s not the best time to share an update, you can schedule a message to send later by clicking the arrow to the right of the paper plane icon.
Show What You’re Working On
You can also record a video clip to share in a project channel. Talk your team through what’s on your mind and show your screen to help illustrate your point. Anyone in the channel can watch and reply to your recording when they have a few minutes.

- Click the camera button to start setting up your clip.
- Ensure your settings are the way you want them.
- Set your camera on or off using the camera button. If you choose to turn off your camera, you must record a screen or browser to create a video clip.
- Set your microphone on or off using the microphone button.
- Set your camera and microphone sources using the gear button.
- Set the screen or browser tab you want to record. This part is optional for recording a video clip unless you choose to turn off your camera.
- Set your camera on or off using the camera button. If you choose to turn off your camera, you must record a screen or browser to create a video clip.
- Click Record. Slack counts down from 3 seconds before recording.
- When you’re done recording your clip, click Stop. You can record up to 3 minutes per video clip.
After you’ve recorded your video clip, you have the ability to review it and start over if you need to.
Tip: During the recording, you can also pause if you need to switch between screens or tabs.
In the next unit, you learn how you can let others know when you’re available, as well as how to manage your notifications.
Resources