Create Campaigns
Learning Objectives
After completing this unit, you’ll be able to:
- Describe how to apply qualifiers to a campaign.
- Explain how you can manage campaigns to save time.
- List four troubleshooting questions.
- Explain how to deactivate qualifiers.
In this unit, you create the Spring campaign with the qualifiers and promotions you created.
Here are your qualifiers.
-
Coupon: spring-code
-
Customer group: loyalty-shoppers and lapsed-shoppers
-
Source Code group: sourcecode-spring
Here are your promotions.
-
Product:
- 20off-brandxsuperspeed
- freebaseballwithbaseballshoes
- buyonegetonehalfoff-brand-y
-
Order: 15%off-ordersover$50
-
Shipping: freeship-ordersover100
Create a Campaign with Qualifiers and Promotions
- In Business Manager, click App Launcher, and select Merchant Tools | Online Marketing | Campaigns.
- Click New.
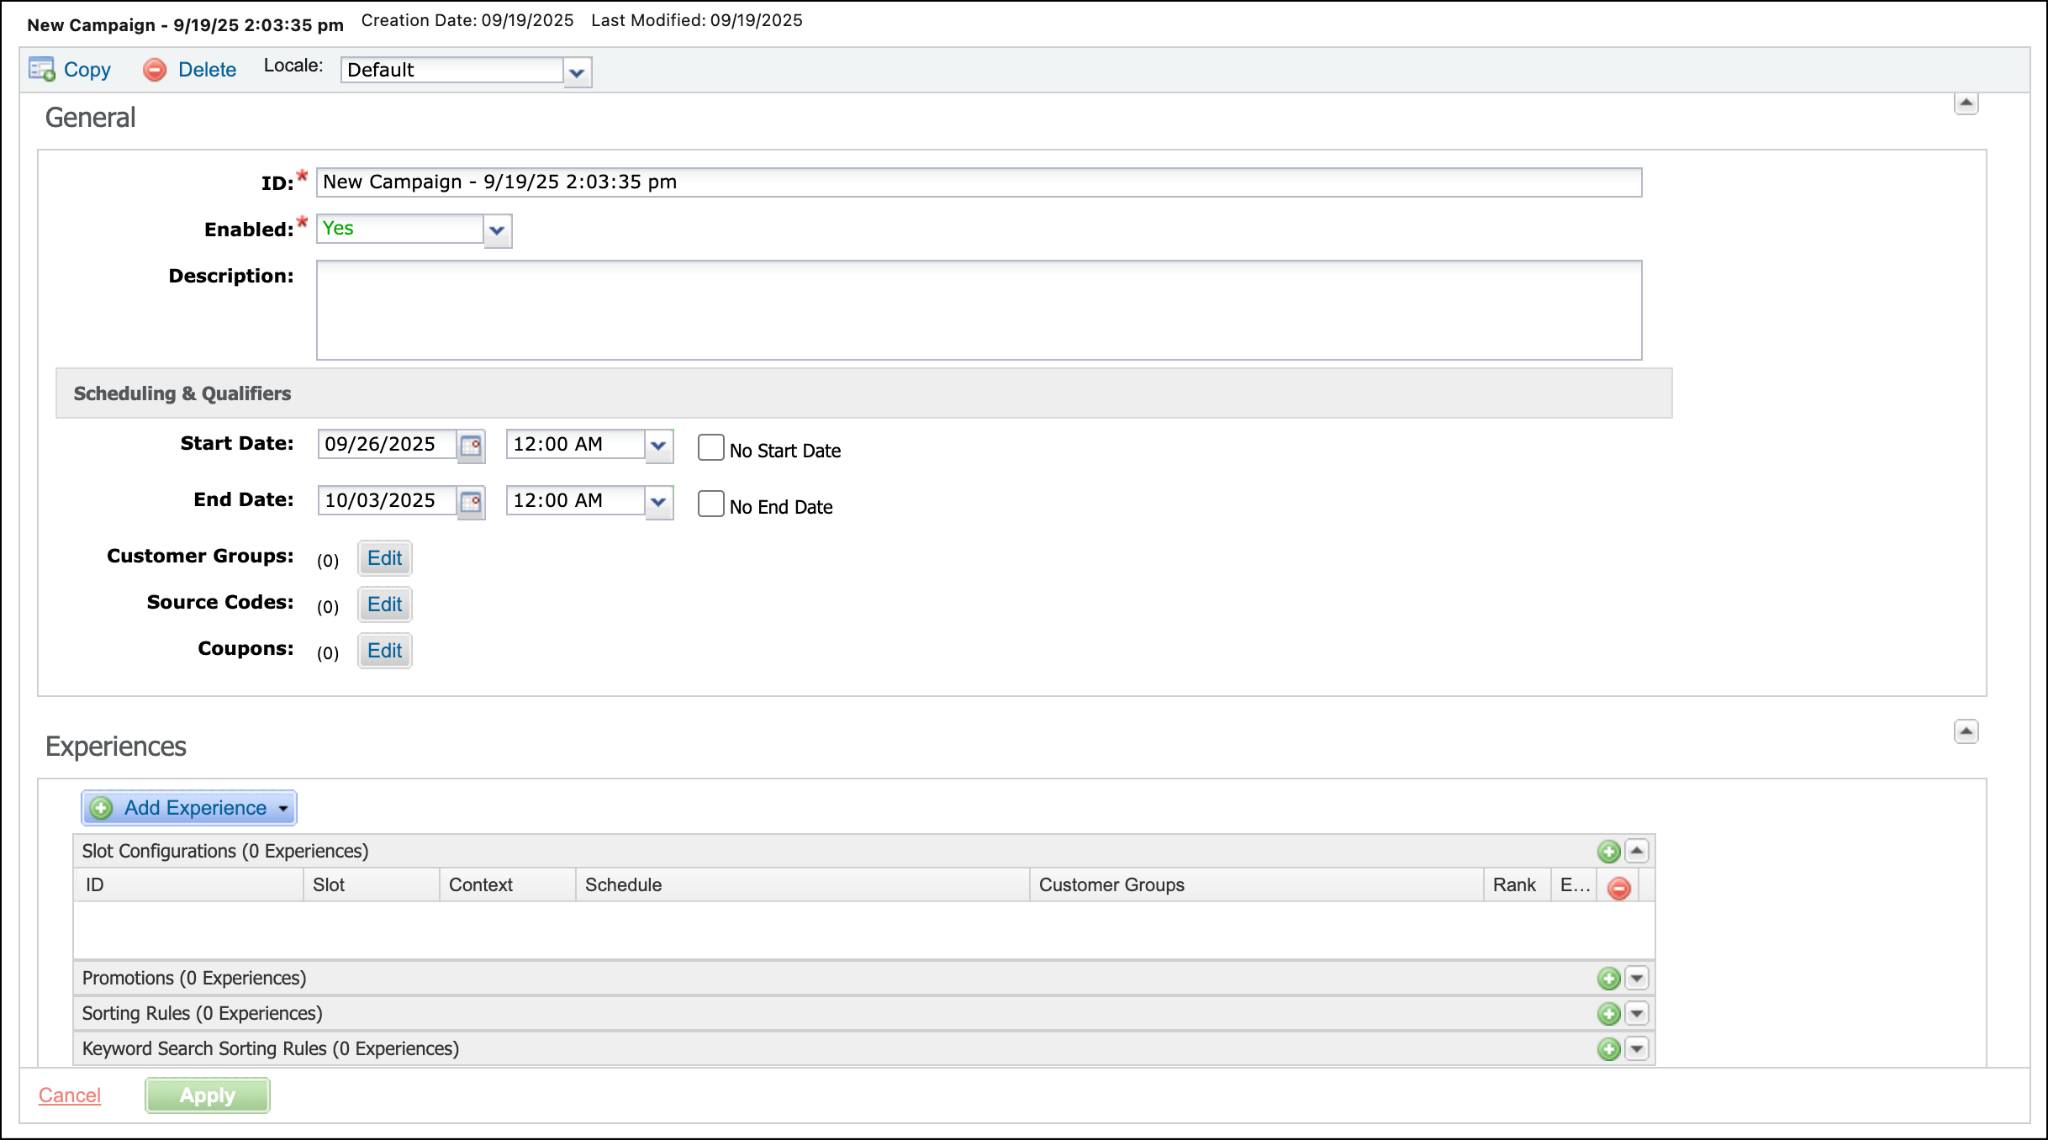
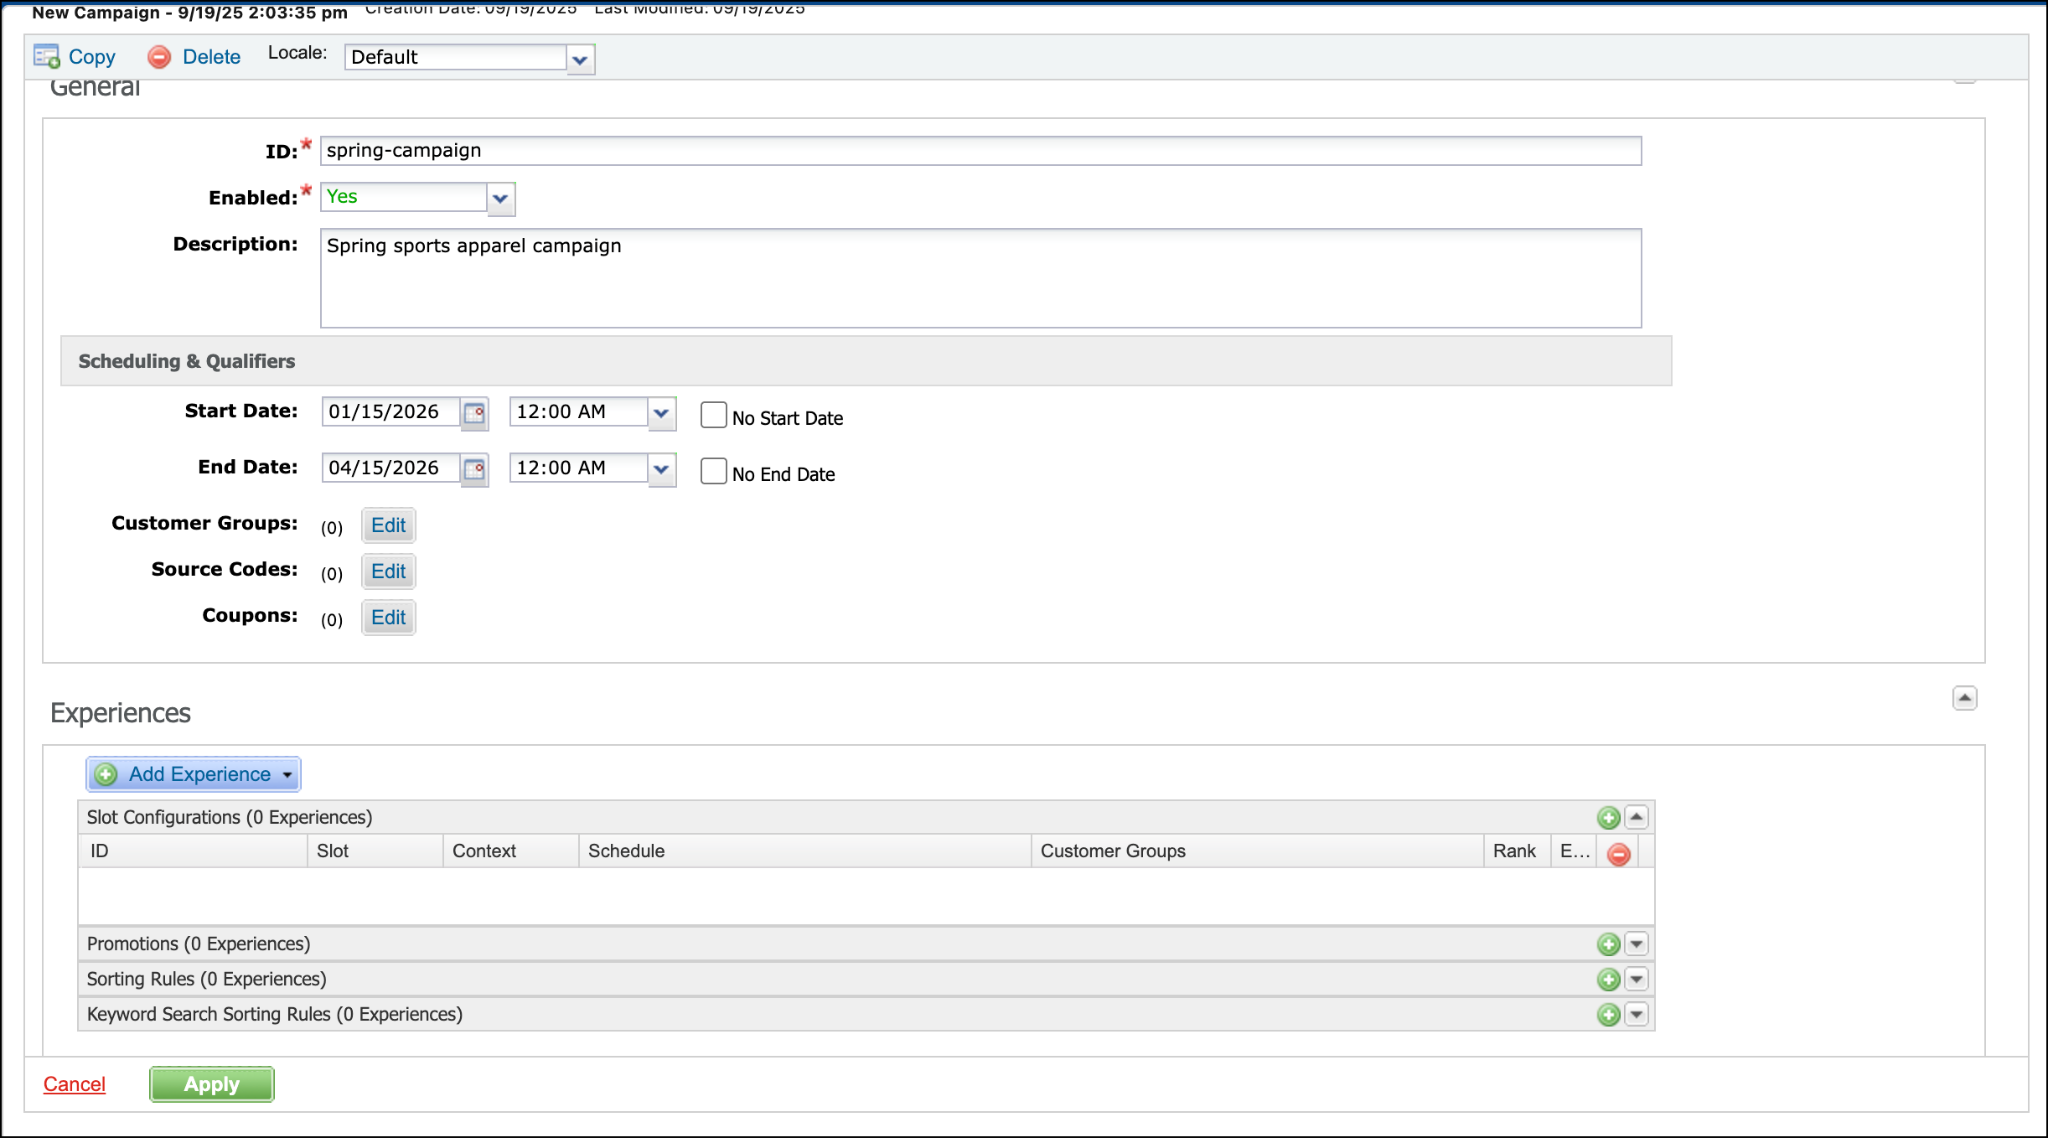
- Enter the values for ID (spring-campaign) and description.
- Select Yes to activate the campaign.
- Schedule the active dates of the campaign: January 15 to April 15.

Add Qualifiers
- Click Edit next to customer groups.
- Select lapsed-shoppers and loyalty-shoppers.
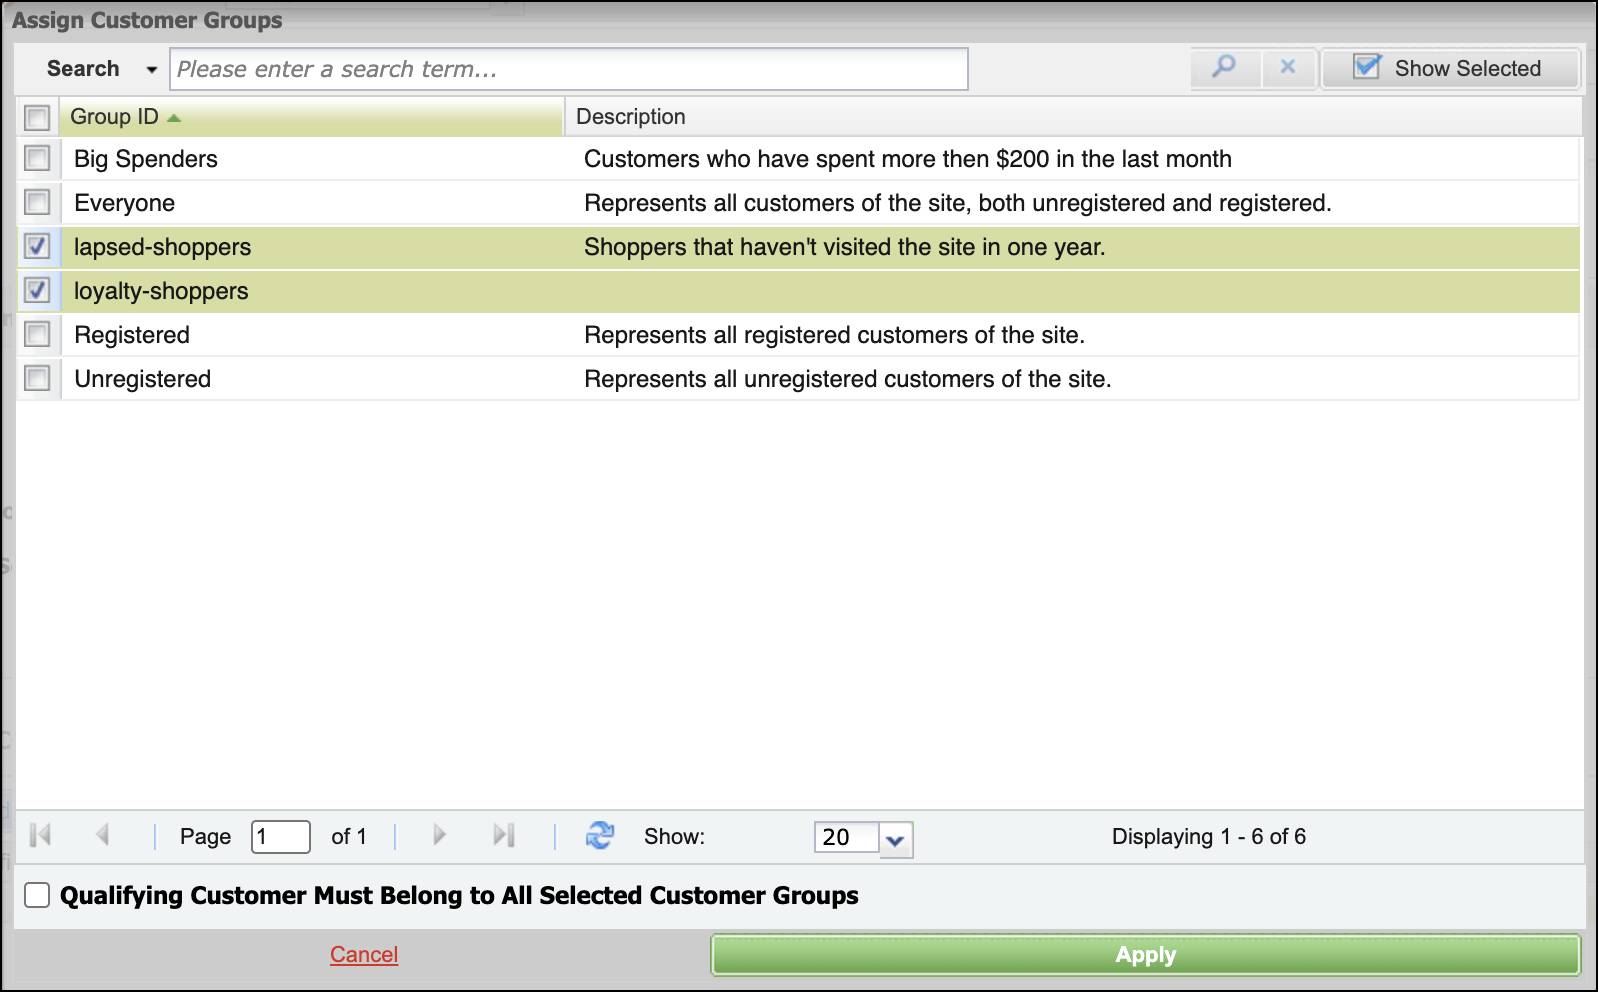
- Don’t select Qualifying Customers Must Belong to All Selected Customer Groups. You want to be sure that both lapsed-shoppers and loyalty-shoppers can qualify. A shopper can meet one of the two eligibility criteria, and still qualify.
- Click Apply.
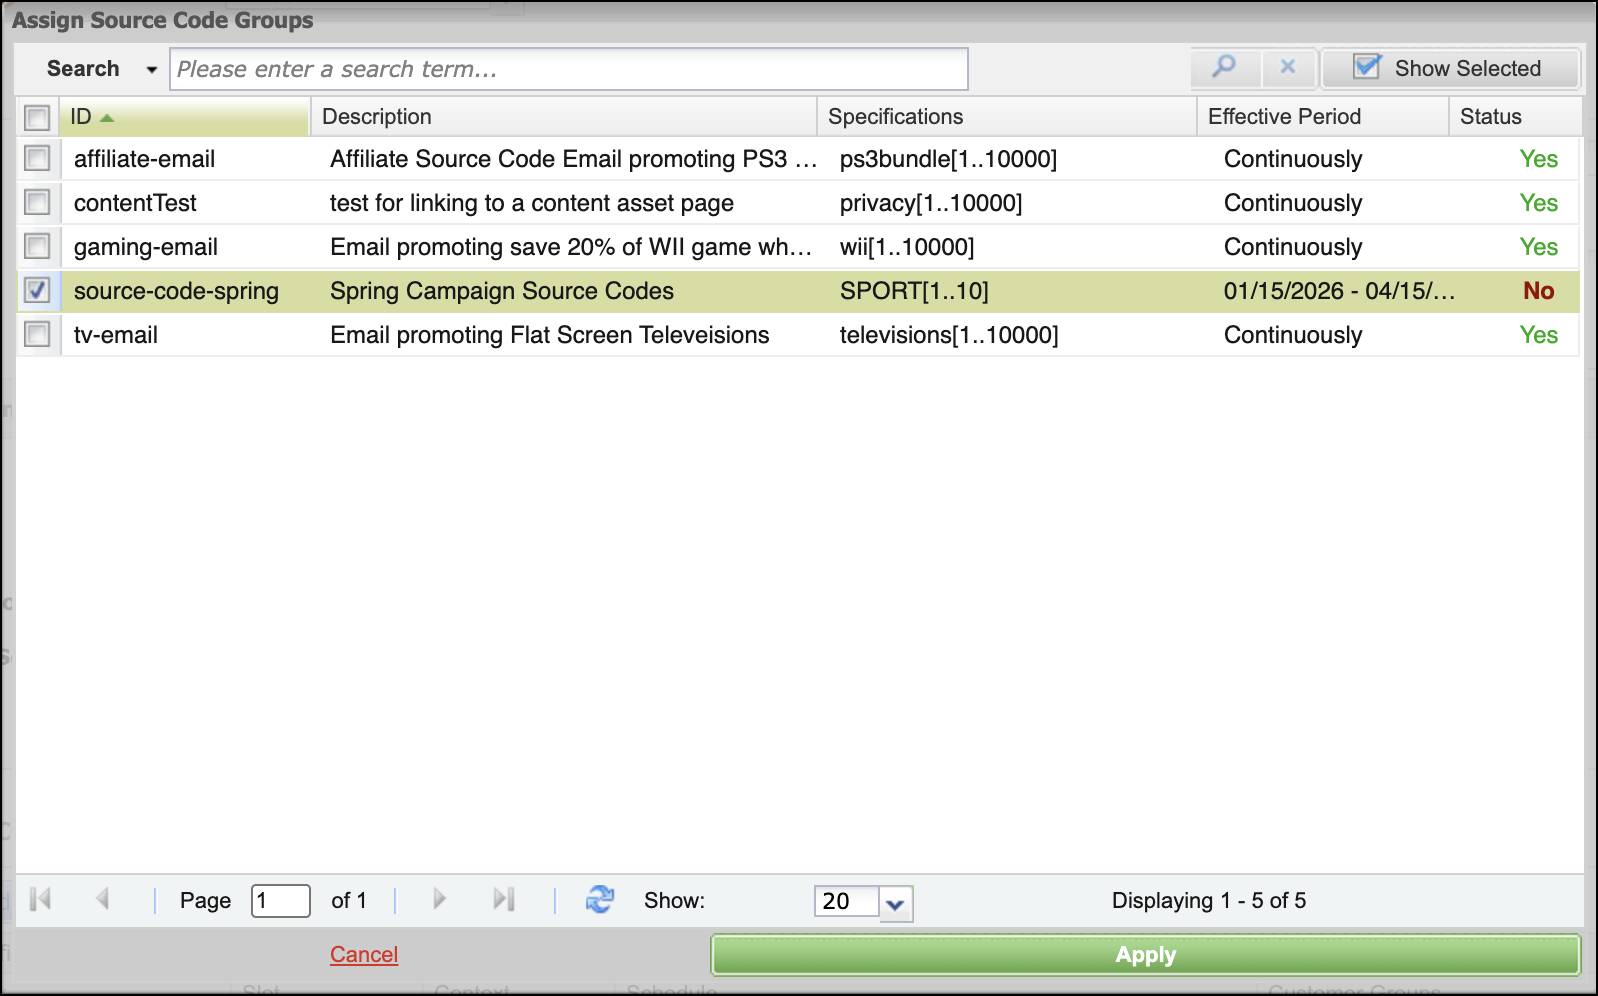
- Click Edit next to Source Codes.
- Select sourcecode-spring.
[Alt text: In Business Manager, assign the source code sourcecode-spring.]
- Click Apply.
- On the campaign details page, click Edit beside Coupons.
- Select spring-codes.
- Click Apply.
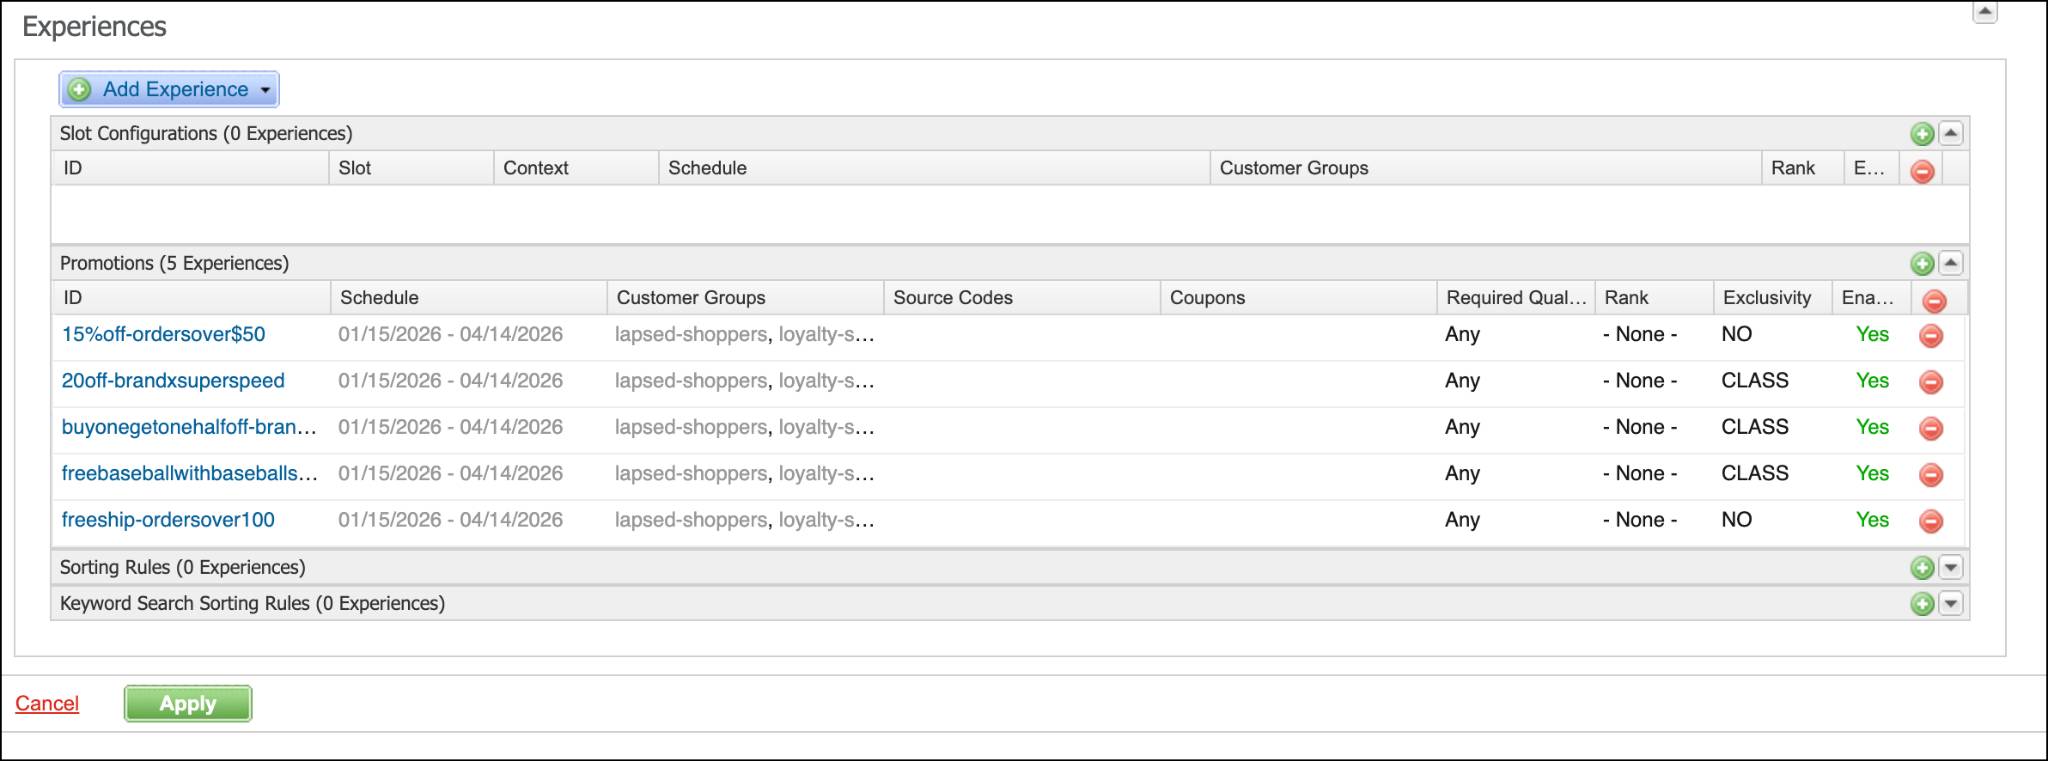
Add Experiences
- Click Add Experience and select Add Promotion.
- Click the Enabled tab twice to show the enabled promotions at the top. You can also search for them.
- Select the promotions that you created.
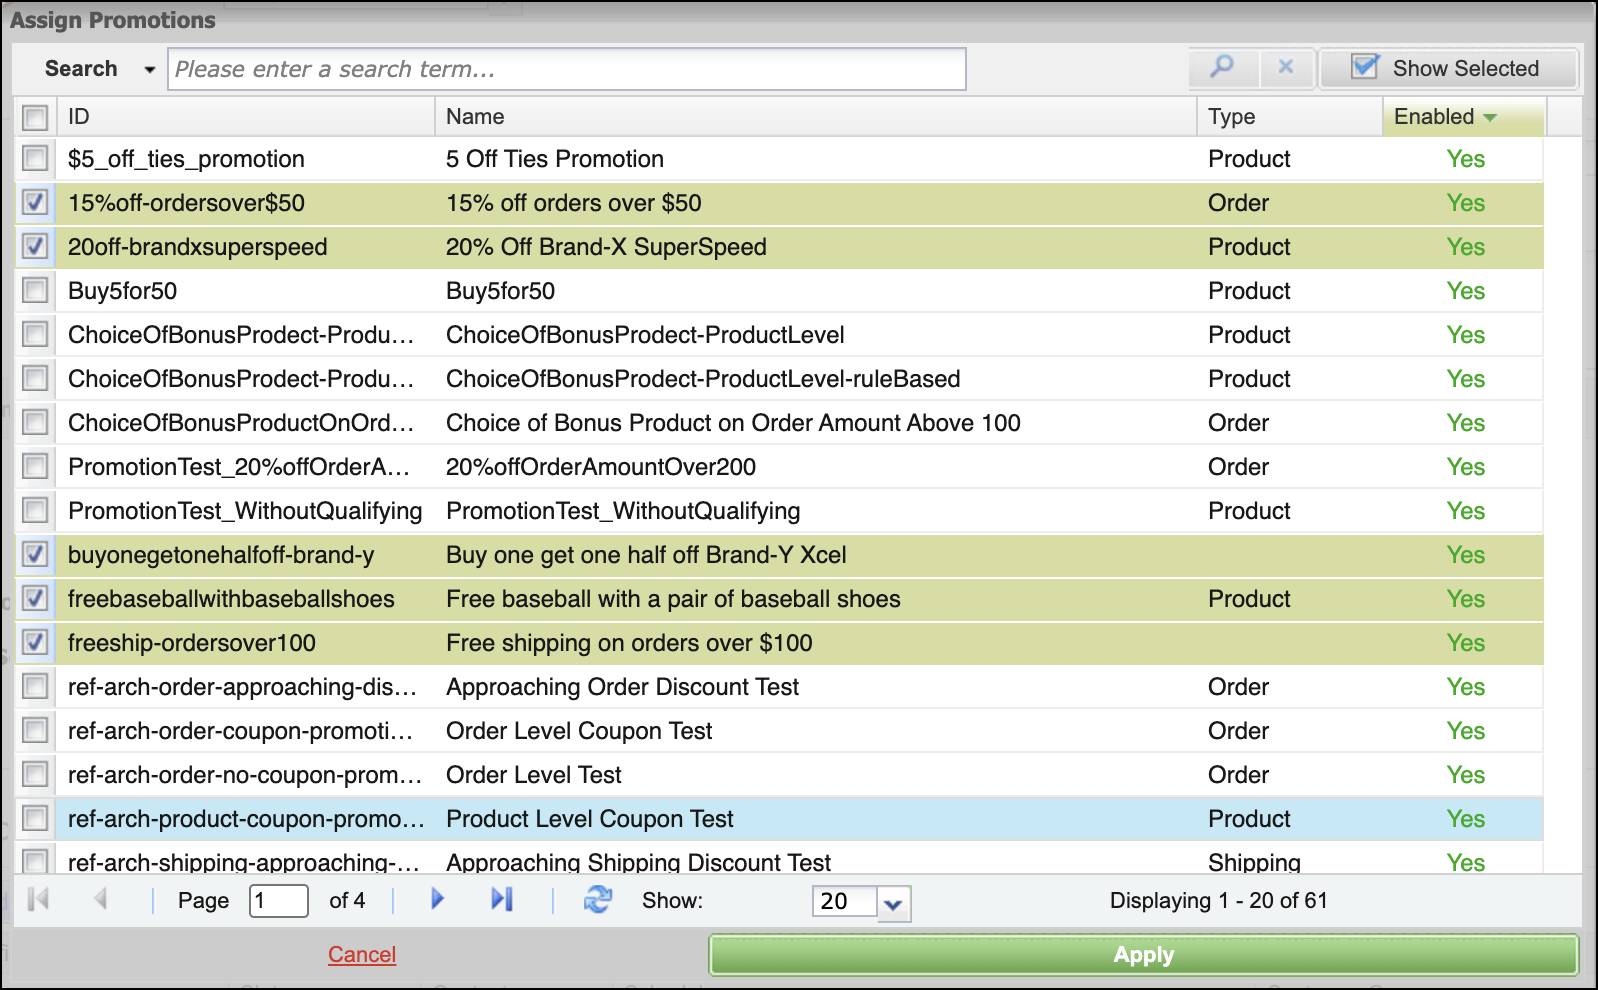
- Click Apply.
Which Qualifiers?
Currently, all the qualifiers apply to all the promotions. Now, fine-tune the campaign by configuring certain promotions to use certain qualifiers.
You can deactivate qualifiers that don’t apply. Review the campaign plan and identify qualifiers that don’t apply.
Discount |
Qualifier |
Qualifier Type |
|
|---|---|---|---|
20% off Brand-X SuperSpeed running shoes |
% off |
Coupon |
Single Coupon |
20% off Brand-X SuperSpeed running shoes |
% off |
Customer Group |
Static - loyalty-shoppers |
Free baseball with baseball shoes |
Bonus |
Coupon |
Multiple codes |
15% off orders over US$50 |
% off |
Coupon |
Dynamic - lapsed-shoppers |
Buy one get one half off Brand-Y Xcel athletic shorts and t-shirts |
% off |
Customer Group |
Dynamic - lapsed-shoppers |
Free shipping on orders over $100 |
Free Shipping |
Source Code |
Here’s how you deselect qualifiers that don’t apply.
- Open the campaign.
- Expand the Promotions experiences.
- Click the … beside a qualifier that you want to deselect.
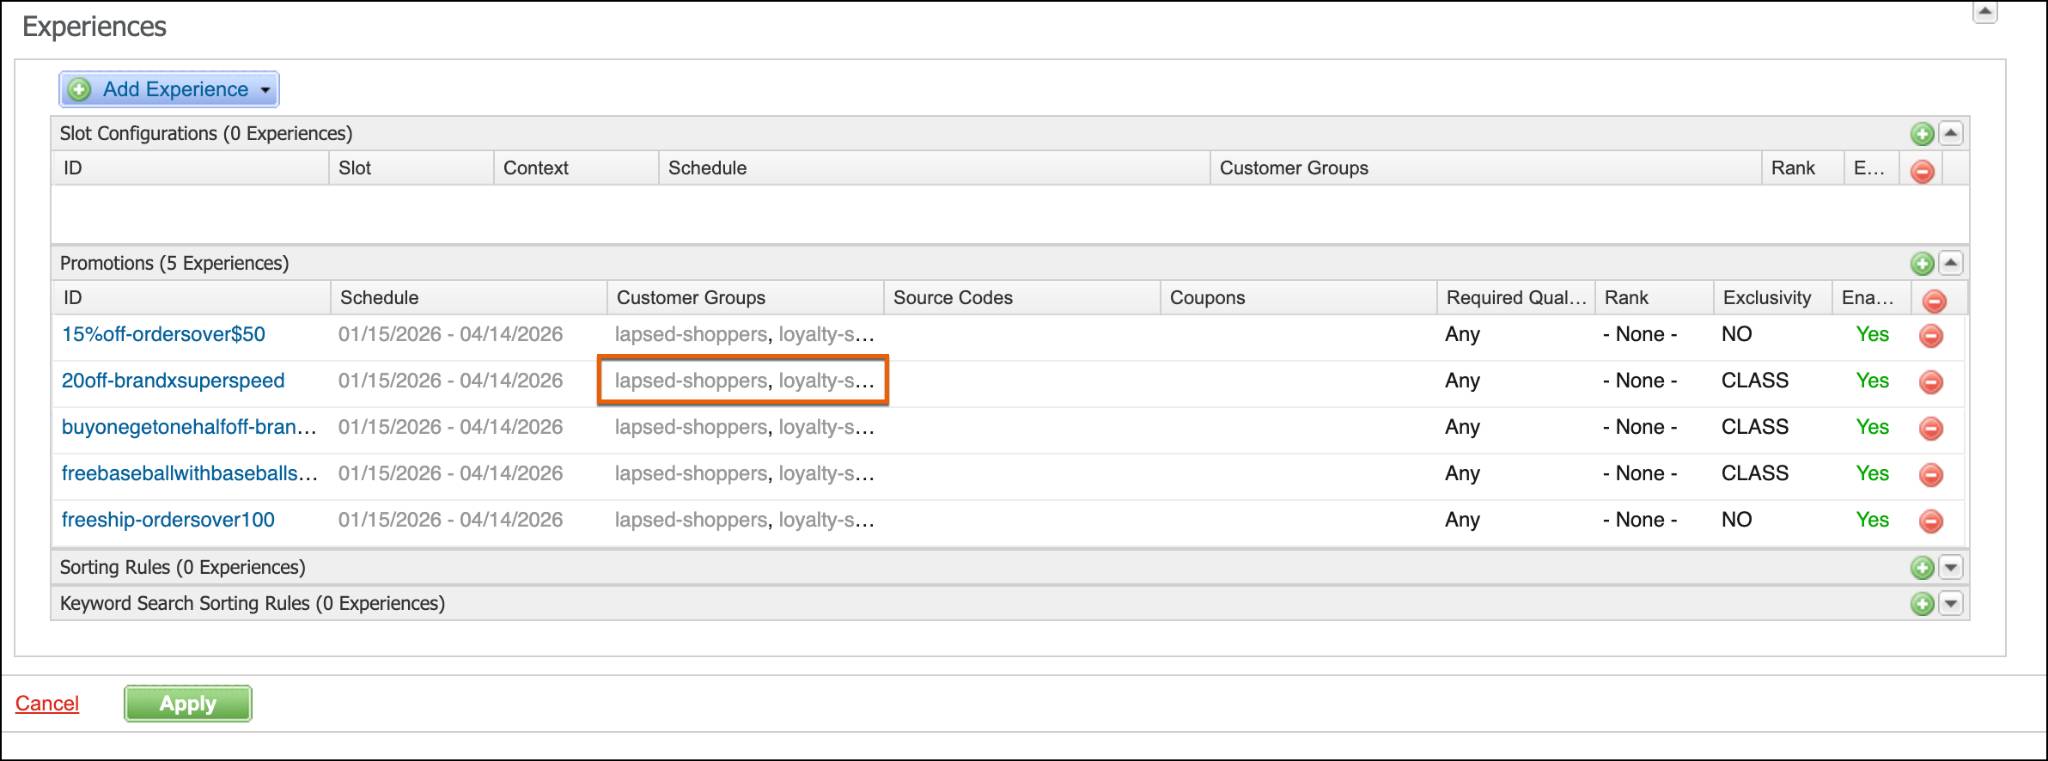
- Deselect Use Customer Groups as promotion qualifiers?
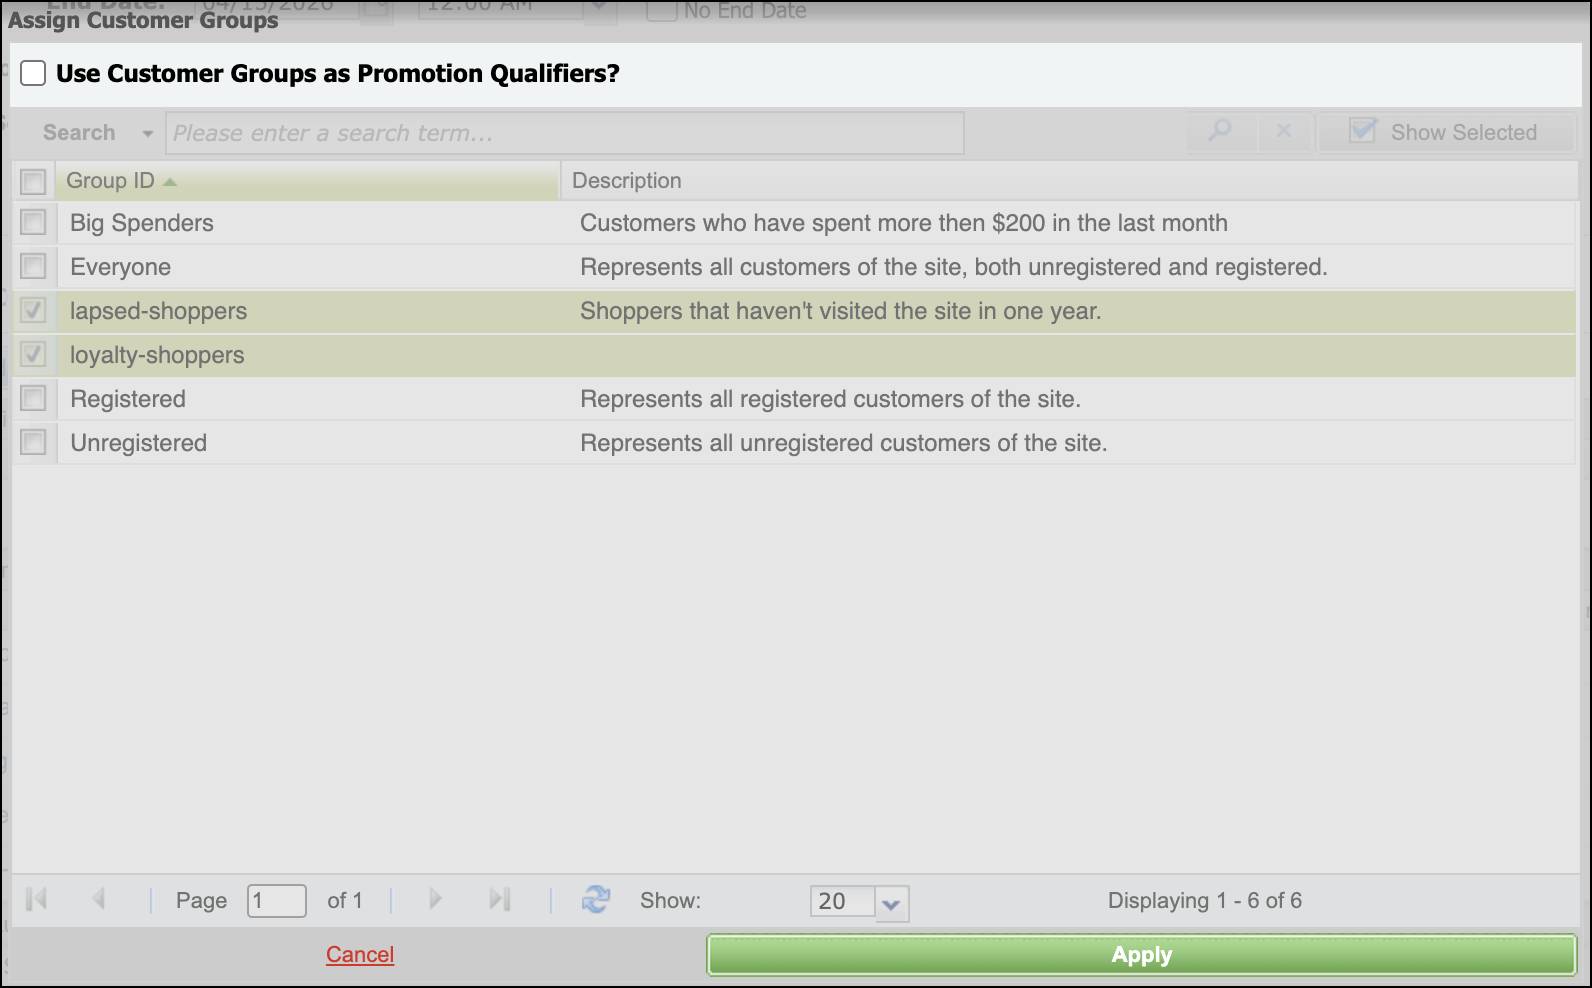
- Click Apply.
- Click Apply on the Campaign page as well.
You can specify if Any or All qualifiers apply in the Required Qualifiers field.
- Any means that if a shopper meets at least one qualifier, they’re eligible for the promotion.
- All means that the shopper must meet all the qualifiers to be eligible.
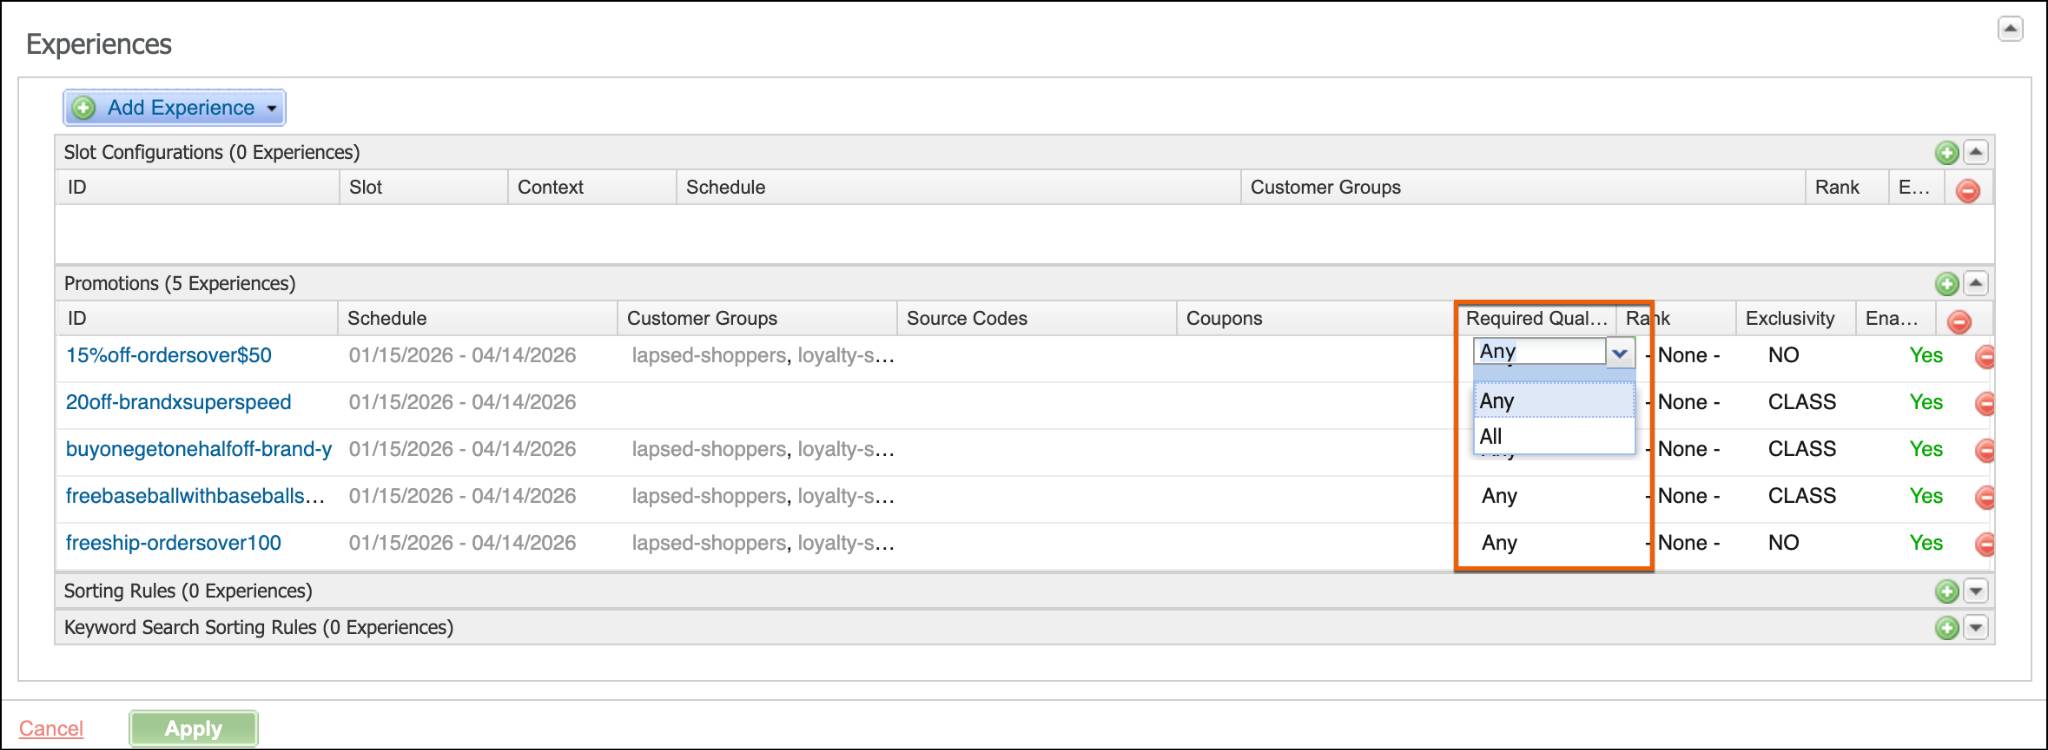
You can configure this field for each promotion experience from within a campaign. For example, if you configure a promotion as All, then the promotion requires that the shopper meets ALL eligibility criteria. In this case, the shopper goes to the storefront by clicking a source code, logs in as a Loyalty Program member, and uses a coupon code.
In unit 1, you learned about the rank setting. You can also apply rank to each promotion in the campaign by clicking in the Rank field (next to the Any and All setting) for each promotion and applying a value.
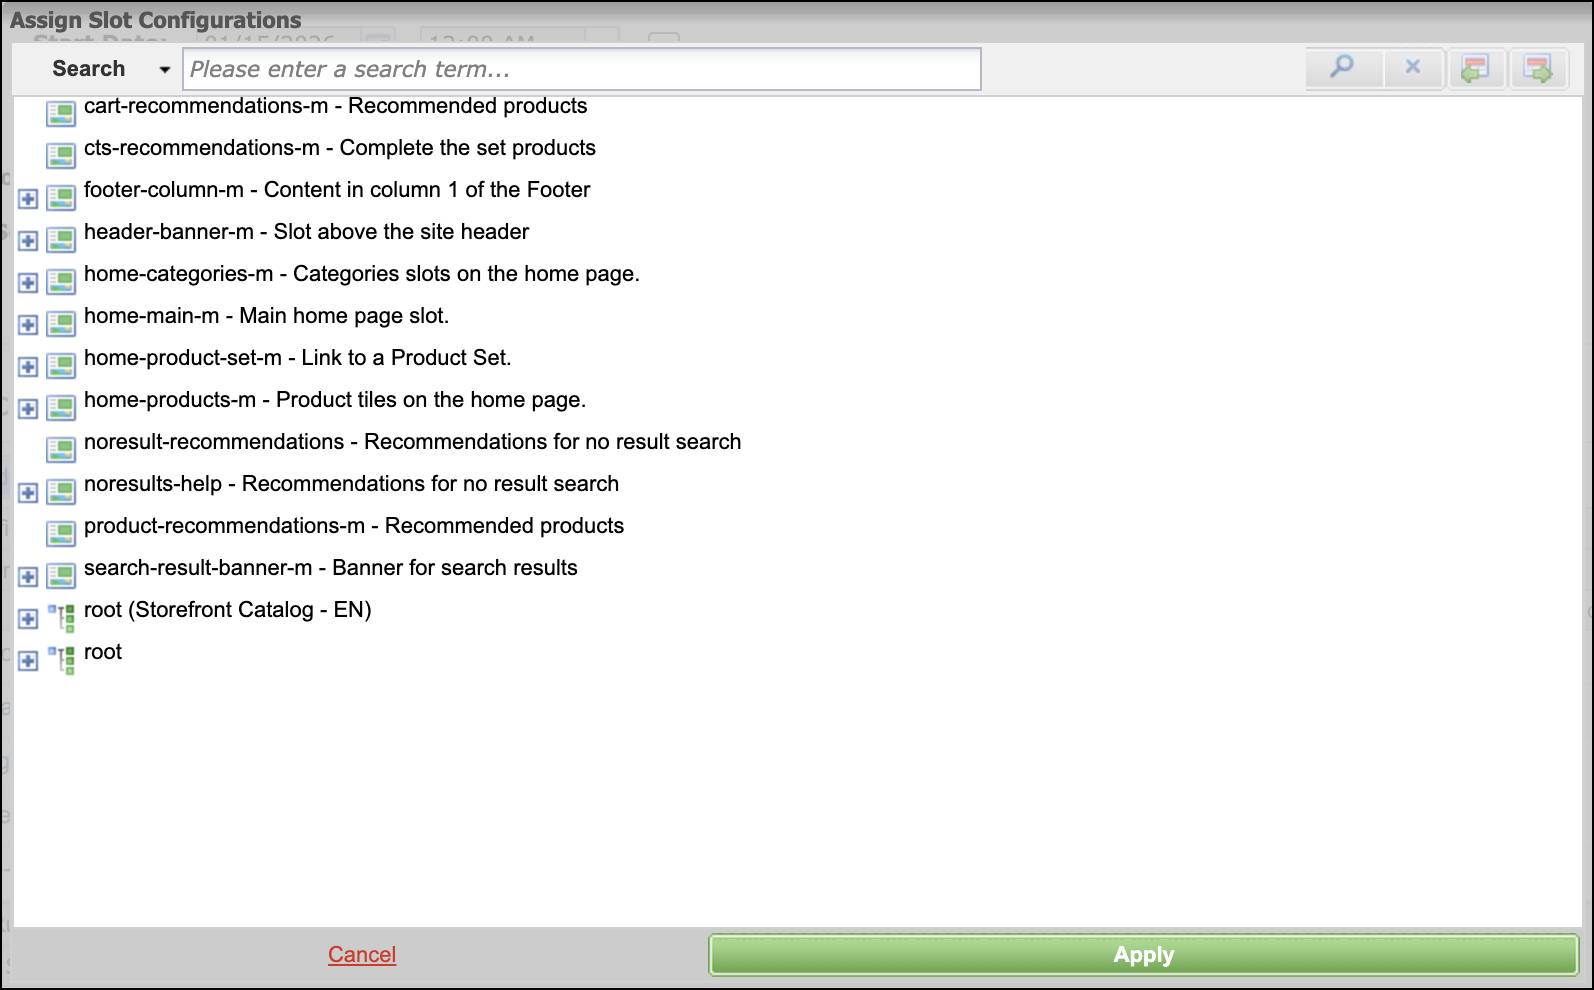
Create Other Experiences
after you test the promotions, you can use slot configuration and sorting rule experiences in the campaign.
For slot configurations, you can modify the overall campaign schedule and assign more customer groups and a rank. Here, you can select the slot configurations you want to use.
For a sorting rule experience, you can select one or more sorting rules. Here, you select the brand sorting rule.
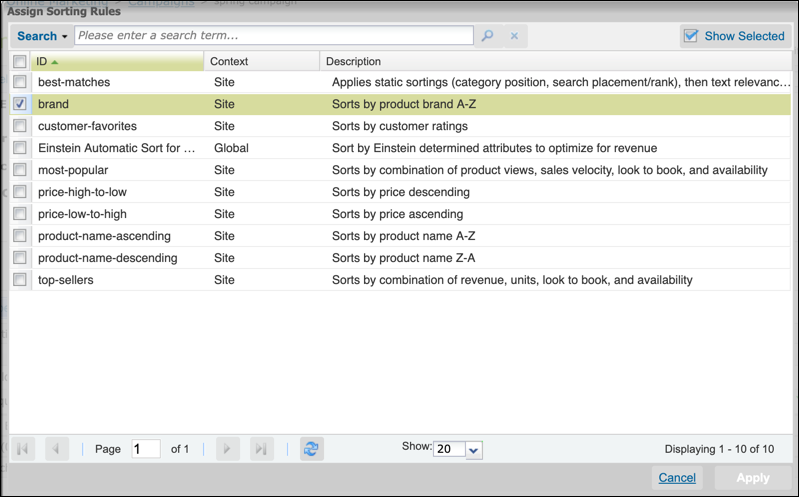
Within a campaign, you can specify one or more categories or subcategories for each sorting rule experience.
Manage Campaigns
After you create your first campaign, you can use it as a default campaign, which saves you time with future campaigns. You copy the existing campaign and make minor changes for a new one.
Test Experiences
To see the effect of your campaign in the storefront, you starts by testing the order promotion: 15%off-ordersover$50
- Open Business Manager.
- Select the site: CloudKicks
- Click the Storefront tab. The storefront opens in a new browser window.
- On the storefront, search for products and add them to the cart.
- Click the Cart icon.
- Look for the discount callout message to show beneath the product list and above the coupon entry fields.
If you don’t see the promotion, it’s time to troubleshoot. Otherwise, you can move on to test the other promotions.
Troubleshoot
When your campaign experiences don’t work as you expect, here are some tips for troubleshooting.
Make sure that:
- The promotion is in a campaign.
- The campaign is active and that the promotion belongs to the campaign
- The promotion and the campaign dates are valid.
- Shoppers qualify for a promotion by various criteria, for example:
- Being a member of one of the target customer groups
- OR providing a valid coupon associated with the promotion
- OR providing a valid source code associated with the promotion
- AND that the promotion has a source code assigned and the promotion is active
- The Any and All selection makes sense. A promotion can fail because it requires All eligibility criteria and the shopper meets only some of the criteria. When this scenario happens, it's an opportunity to re-evaluate whether you want to require All.
- If it's a product promotion, you:
- Select products that match the qualifying products rules, in the appropriate quantity or amount (if applicable).
- Select products that are eligible for the discount (if applicable).
- If it's an order promotion, you have merchandise in your cart that exceeds the merchandise threshold specified after product discounts are applied. Gift certificates don’t count towards the merchandise total.
- If it's a shipping promotion, you have:
- Merchandise in your cart that exceeds the merchandise threshold specified after applying product and order level discounts. Gift certificates don't count towards the merchandise total.
- Provided location information so Agentforce Commerce for B2C can calculate shipping.
- Selected a shipping method that’s eligible for the discount.
Storefront Toolkit
You can use the Storefront Toolkit to test and troubleshoot campaigns on a staging instance. The staging instance is where you bring the app and data together before deploying to a production instance.
- In Business Manager, click App Launcher, and select Merchant Tools | SitePreferences | Toolkit.
- In the storefront, click the Toolkit icon in the upper left corner. If you use the Toolkit Beta, the tools are in the upper right corner of the storefront, as shown here.

- Click Preview Settings.
- Set a date and time for the storefront and view the storefront. You can check that your promotions work within the right time periods.
- Specify a customer group or source code and see how the storefront looks when logged in as a customer of the group or a customer using the code.
Wrap It Up
In this unit, you created a campaign by using the qualifiers and promotions you configured in previous units. You also learned how to manage, view, and troubleshoot campaigns.
Resources