Enable Gift Entry
Learning Objectives
In this project, you’ll:
- Enable Gift Entry.
- Create a field and make it available for Gift Entry through Advanced Mapping.
- Create and edit Gift Entry templates.
- Adjust Gift Entry to automatically populate address fields for existing contacts.
- Use Gift Entry to create opportunity records.
Before You Start
Before you complete any steps in this module, make sure you complete the hands-on challenges in Set Up a Nonprofit Success Pack Trial for Trailhead using the same special Developer Edition org. The work you do in the hands-on challenges here builds on the work you complete in that badge.
Understand Gift Entry
Gift Entry is a set of tools included with Nonprofit Success Pack (NPSP) to help your users enter donations into NPSP, either one at a time or in batches.
Behind the scenes, Gift Entry uses NPSP Data Importer to process information and update or create records. Data Importer takes the information your users enter and stores it in a staging object before moving it to its final home in permanent, target object records like contacts, accounts, and opportunities.
NPSP Data Importer uses built-in matching rules to prevent duplicate records and create connections between related records. The Advanced Mapping tool helps you create additional one-to-one connections between staging object fields and target object fields.
Save Time with Gift Entry
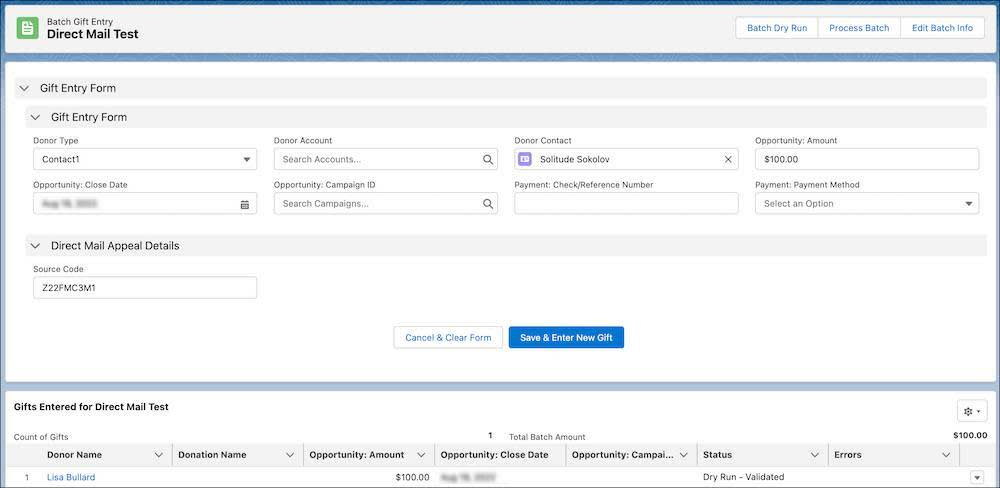
Gift Entry helps your organization create opportunity records faster and easier by using templates you create for different types of gifts. Those templates work like web forms, and you can customize which fields appear. For example, you can create a batch Gift Entry template with only the fields to record gifts made in response to an annual campaign mailing. Then, when your team needs to enter details about a stack of checks in response to that mailing, they can enter them as a batch using the template in Gift Entry.

Gift Entry also includes a way to prefill fields when you create batch gifts. Why enter the same information again and again (and again), such as the campaign source or the payment method, when you can set it up one time for dozens of gifts?
In this project, you configure Gift Entry to support a new field on opportunity records—the records that track gifts from individuals. You'll create a field, configure Advanced Mapping to support it, add it to Gift Entry templates, and test Gift Entry to create opportunity records.
With these new skills, you then adjust Gift Entry to populate a contact’s address fields so your team can check addresses every time they use Gift Entry.
Enable Gift Entry
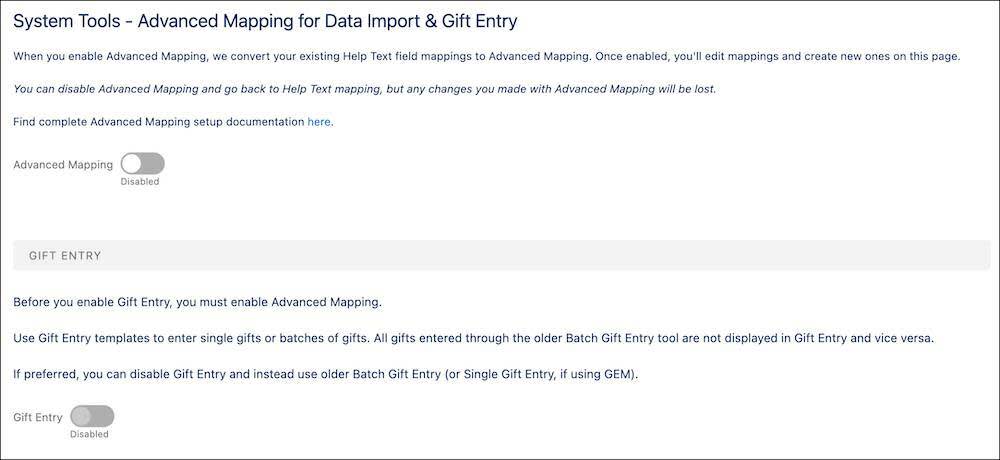
You first must make sure both Advanced Mapping and Gift Entry are enabled in your Trailhead Playground. Both features are activated in NPSP Settings.
Advanced Mapping and Gift Entry may already be activated in your organization’s Salesforce instance—for example, the nonprofit trial has both enabled by default. Your Trailhead Playground likely doesn’t have them activated, though, so start there. It’s always good to check, anyway.
- From the App Launcher (
 ), find and select NPSP Settings. It may take a minute to load.
- Select System Tools, then Advanced Mapping for Data Import & Gift Entry.

- Switch Advanced Mapping to Enabled. It takes a minute or two for advanced mapping to deploy. The page reloads when it’s activated, and you can ignore the new fields that appear on the page for now.
- Switch Gift Entry to Enabled. It takes a minute or two for it to turn on, too.
Now you’re ready to use Gift Entry, and it can be found and selected through the App Launcher ( ).
).
Configure Other Gift Entry Settings
There are a few other Gift Entry configurations you may want to set in your organization’s Salesforce instance. For example, you need to set user permissions for access to Gift Entry and add the Gift Entry quick action on contact and account records.
Those considerations are different for each organization. Check the Resources section for more information and instructions on how to configure those settings.
If you’ve enabled Advanced Mapping and Gift Entry in your Trailhead Playground, click Verify to check your work and move on to the next step.
Resources
- Trailhead: Set Up a Nonprofit Success Pack Trial for Trailhead
- Salesforce Help: Configure Gift Entry
- Salesforce Help: How NPSP Data Importer Processes Data
- Salesforce Help: Configure NPSP Data Importer Options
