Create Your First Page
Introduction
Lightning App Builder lets developers and business users build beautiful custom user interfaces that are designed to work perfectly on your desktop and mobile devices, all without writing a single line of code. In this Quick Start, you'll build a geolocation app for sales reps in the field using the Lightning App Builder. You'll use a pre-built Lightning Component and the drag-and-drop interface of Lightning App Builder to create this app.
Create Your First Page
A Lightning Page is a container for Lightning Components. Create your first page and add a component to it.
- If you haven’t already, log in to Trailhead, then launch your Trailhead Playground by clicking Launch at the bottom of this page. This opens your Trailhead Playground in a new tab.
- If you're not already on the Setup home page, click
 and select Setup to launch Setup in a new tab.
 - Enter
Lightning App Builderin Quick Find and select Lightning App Builder. - Under Lightning Pages, click New.
- Select App Page then click Next.
- In the Label field, type
Field Sales Appand click Next. - In Create a New Lightning Page, select Two Regions.
- Click Done.
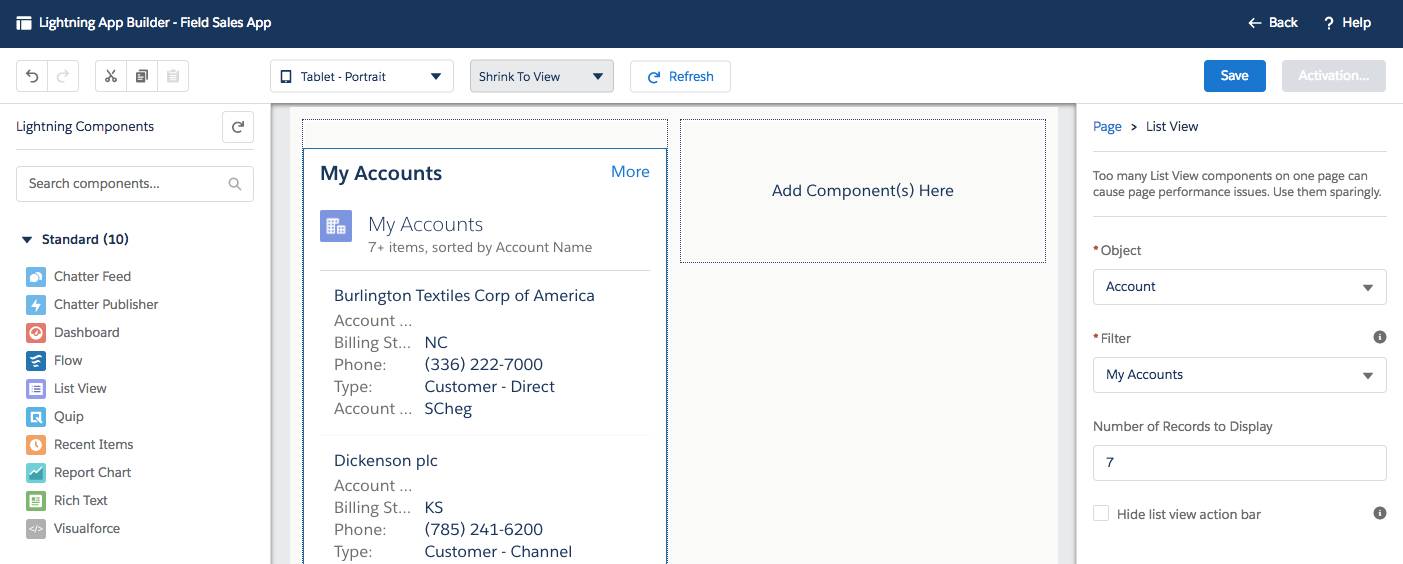
Now that you have a page, you can add components. For your first component, drag a List View component onto the page.
- In the Desktop drop-down list, click Tablet - Portrait. The canvas's preview layout changes from the standard single column to two columns.
- From the Standard Components menu on the left, drag the List View to the left column.
- Set the properties of this component using the Properties list in the right sidebar.
- In the Object drop-down list, select Account.
- In the Filter drop-down list, select My Accounts.
- In the Number of Records to Display field, enter
7.
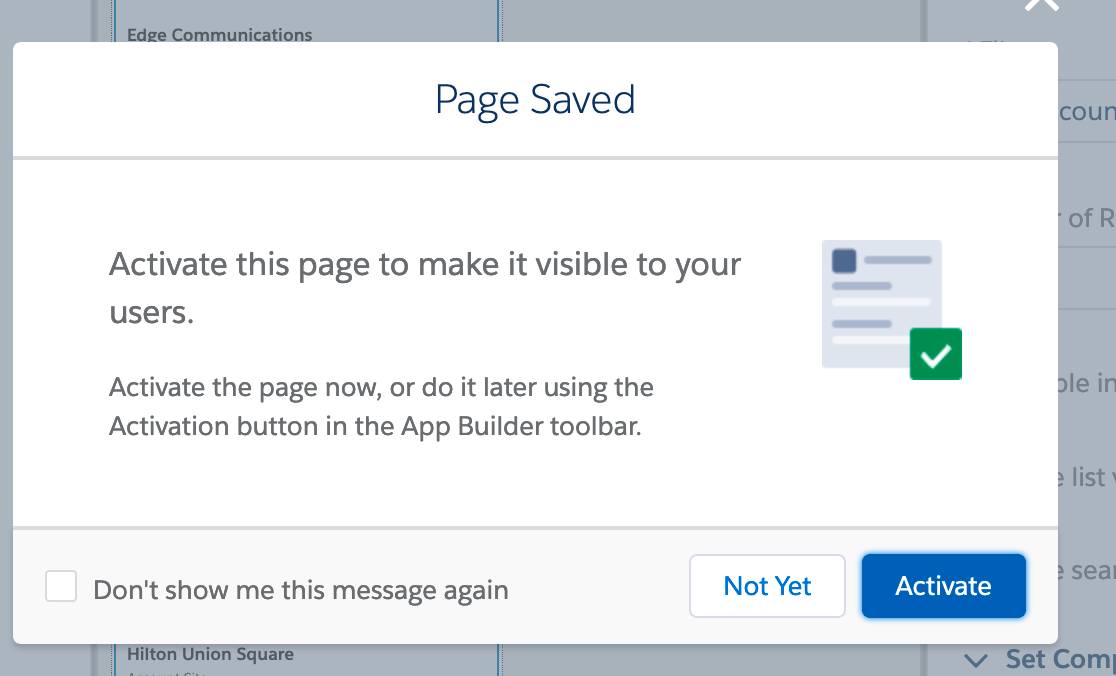
- Click Save and then click Not Yet in the popup window. We will activate this page in a later step.
