Learn About Sample App Tooling
In this step, we walk through the different tools and configurations that are shared across most of the sample apps. We do this by looking at the tooling in the LWC Recipes sample app.
- Using your browser, navigate to github.com/trailheadapps.
- On the LWC Recipes app tile, click the title LWC Recipes to navigate to the lwc-recipes repo.
Salesforce Project Configurations
First, get to know the Salesforce project setup in the sfdx-project.json config file.

- Click the link to view the contents of the
sfdx-project.json.
{
  "packageDirectories": [
    {
      "path": "force-app",
      "default": true,
      "package": "LWCRecipes",
      "versionName": "Summer '23",
      "versionNumber": "58.0.0.NEXT"
    }
  ],
  "namespace": "",
  "sourceApiVersion": "58.0",
  "sfdcLoginUrl": "https://login.salesforce.com",
  "packageAliases": {
    "LWCRecipes": "0Ho3t000000KywNCAS",
    "LWCRecipes@57.0.0-2": "04t3t000002wSUgAAM",
    "LWCRecipes@58.0.0-5": "04t3t0000037toQAAQ",
    "LWCRecipes@58.0.0-6": "04t3t0000037tozAAA",
    "LWCRecipes@58.0.0-7": "04t3t0000037tp9AAA",
    "LWCRecipes@58.0.0-8": "04t3t0000037tpEAAQ"
  }
}
- Note the
packageDirectoriesconfig where you can see that we’ve set up unlocked packages for this app. This contains configs for the package name, the file path of the metadata for the package, and version information. - Note also the
sourceApiVersionconfig. As a rule, we update the sample apps with the API version for the current major release, across the config file and all metadata. For this reason, you may see a different value forsourceApiVersion. - Click the Back button in your browser.
Next, we take a look at how we've set up code quality tools.
Code Quality Tool Setup
In addition to the tooling included in the Salesforce command line, we use some tools that run with npm. So even though most projects don’t use Node.js in any runtime Salesforce code, we still have a package.json to import and configure the developer tools with npm.
- Click the link to view the contents of
package.json. - Note that since we are only using developer tooling,
dependenciesis absent. - Look at the
devDependenciesconfig, and you can see the packages that we are using as part of our tooling. - The high-level packages we use are:
-
prettier: for formatting code -
eslint: for code linting -
@salesforce/sfdx-lwc-jest: the Jest extension for testing Lightning web components -
husky: to execute actions that verify code before committing to version control
-
- We’ve also encapsulated certain common commands here in the
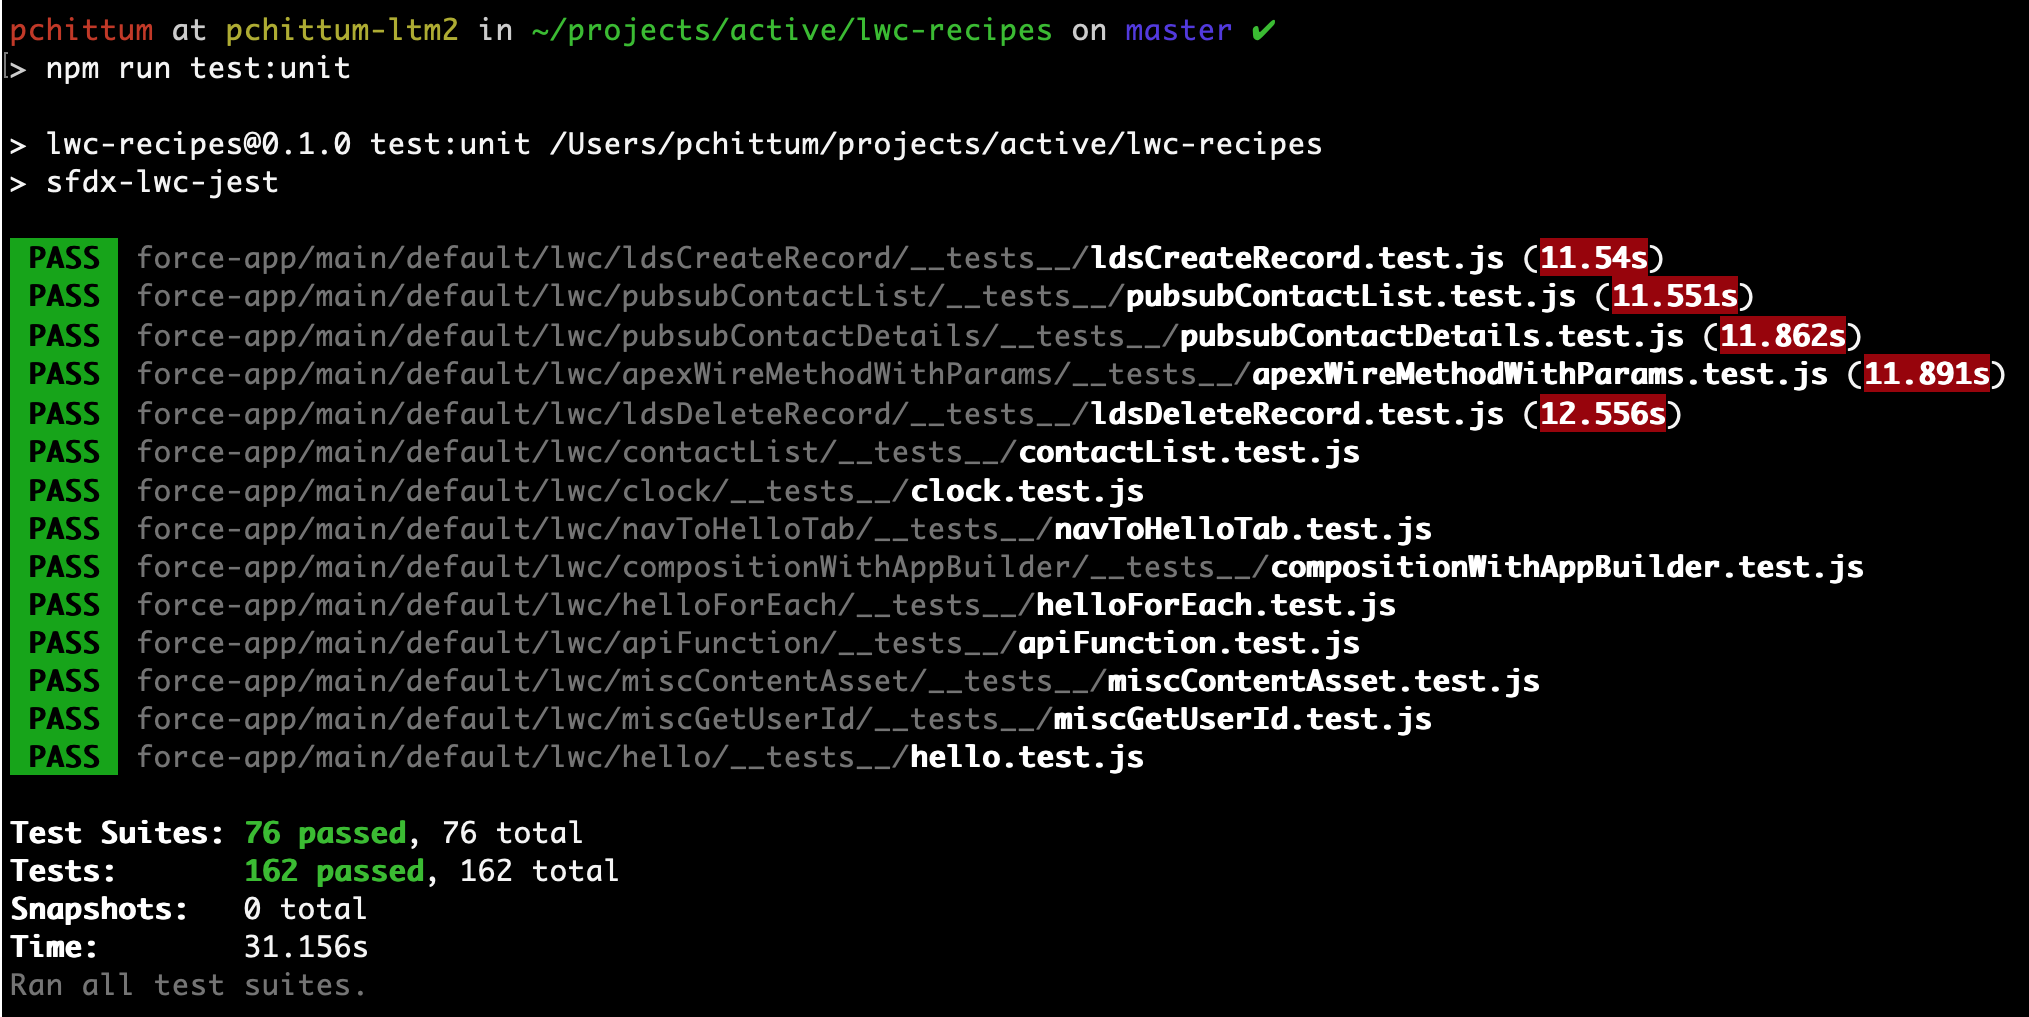
scriptsconfig. In each case, the command is executed usingnpm run. For instance notice thetest:unitscript key. You can execute your Lightning web component unit tests by runningnpm run test:unitfrom the command line. Here’s how it looks:

- Finish your tour of
package.jsonby clicking your browser’s Back button.
You can see how each of these scripts lets you execute different tools that are installed in the project.
Unit Testing Configuration
Let's look at how some of them are configured. We use the Jest testing library to execute Lightning web component unit tests. In our case, Salesforce has created an extension that is tailor made for LWC called sfdx-lwc-jest.
- Click the link to view the contents of
jest.config.js. - You can extend the default mocks that ship with sfdx-lwc-jest using the
moduleNameMapperJavaScript object. Those mock extensions are defined here.
moduleNameMapper: {
  /* CSS library import fix in test context. See:
  https://github.com/salesforce/sfdx-lwc-jest/issues/288) */
  '^c/cssLibrary$':
      '/force-app/main/default/lwc/cssLibrary/cssLibrary.css',
  // Jest mocks
  '^@salesforce/apex$': '/force-app/test/jest-mocks/apex',
  '^@salesforce/schema$': '/force-app/test/jest-mocks/schema',
  '^lightning/navigation$':
      '/force-app/test/jest-mocks/lightning/navigation',
  '^lightning/platformShowToastEvent$':
      '/force-app/test/jest-mocks/lightning/platformShowToastEvent',
  '^lightning/uiRecordApi$':
      '/force-app/test/jest-mocks/lightning/uiRecordApi',
  '^lightning/messageService$':
      '/force-app/test/jest-mocks/lightning/messageService',
  '^lightning/actions$':
      '/force-app/test/jest-mocks/lightning/actions',
  '^lightning/alert$':
      '/force-app/test/jest-mocks/lightning/alert',
  '^lightning/confirm$':
      '/force-app/test/jest-mocks/lightning/confirm',
  '^lightning/prompt$':
      '/force-app/test/jest-mocks/lightning/prompt',
  '^lightning/modal*':
      '/force-app/test/jest-mocks/lightning/modal'
},
- Take note that the
^lightning/navigation$key defines the location of its mock as<rootDir>/force-app/test/jest-mocks/lightning/navigation. Let’s go find this mock JS code in the GitHub repo. - Click your browser’s Back button.
- Click the links force-app, test/jest-mocks, and lightning to find all the Lightning Web Components services mocks.
- Click the link to open the
navigation.jsfile contents. - Here you can see how some of the exported functions provided by Lightning
NavigationMixinhave been mocked for use in Jest tests. - Click your browser’s Back button four times to return to the project root directory.
Automated Code Formatting Configuration
We looked at how to configure the sfdx-lwc-jest tool, now let’s take a look at the Prettier code formatting tool configs. While sfdx-lwc-jest is only for testing LWCs, Prettier performs code formatting on a lot of different files. We’ve even added plug-ins for XML and Apex. LWC-specific formatting rules come bundled with Prettier.
If you look back in the package.json, you can see in scripts that we’ve configured the Prettier script to run against many different file types in this line here:
"prettier": "prettier --write \"**/*.{cls,cmp,component,css,html,js,json,md,page,trigger,xml,yaml,yml}\""
Let’s see how we configure the Prettier tool. More information on these configurations is in the Prettier documentation.
- Click the link to open the
.prettierrcfile. - Note configs for how to set up Prettier to format code, such as enforcing trailing commas, allowing single quotes and tab width.
- Also, you can use the
overrideskey to create custom parse rules. For instance, we use thelwcparser to handle HTML attributes surrounded by curly braces.
"trailingComma": "none",
"singleQuote": true,
"tabWidth": 4,
"overrides": [
    {
        "files": "**/lwc/**/*.html",
        "options": { "parser": "lwc" }
    },
    {
        "files": "*.{cmp,page,component}",
        "options": { "parser": "html" }
    }
]
- Click the browser’s Back button to go back to the root directory.
Just Ignore This
Many tools let you create exceptions to which files they are executed on. Things such as Git, Prettier, ESLint, and the Salesforce CLI all need to know which files they can ignore. Let’s look at one of the configuration files.
When developing a Salesforce project, some orgs (scratch orgs) are source tracked, meaning an API tracks changes made locally and in the org. Then org-to-local-project syncing can be done automatically using sf project deploy start or sf project retrieve start. Any parts of your project you want to prevent from automatically syncing are configured in a file called .forceignore.
- Note the files
.forceignore,.gitignore, and.prettierignore. These define ignore rules for different tools. - Click
.forceignoreto view its contents. - The items defined in
.forceignorewill not be tracked or synced by the SourceSync API. - Note that among other items in our project config, we do not sync any
settingsmetadata. - Click the browser’s Back button to go back to the root directory.
GitHub Actions
Good tooling also lets you invoke it automatically in CI/CD processes. In our sample apps, we’re using GitHub actions to automate the use of these tools as code is merged and moves between branches. Let’s go find where these files are and see how they use the tooling we’ve looked at. We’ll also look at the execution history of these actions in our repository.
GitHub actions are a built-in feature in GitHub to define your entire CI/CD process within GitHub. However, Salesforce developer tooling is agnostic to CI/CD tools. Make sure to read the documentation, which has references to other example projects repositories if you have a different preferred CI/CD tool.
- Click the directory links for
.githubandworkflowsto go to view the YAML files where the github CI workflows live. - Click the link for
ci-pr.ymlto view the file contents. - Look through the file and find the line that says:
run: npm run prettier:verify - This is the point in the CI process where Prettier checks to see that the code conforms to the formatting rules specified in its setup.
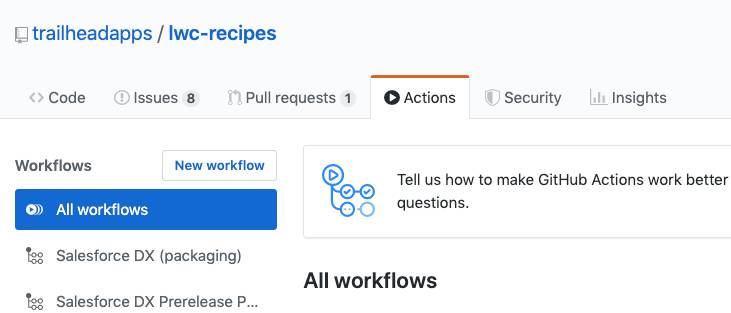
- Across the top of the GitHub UI, select the Actions tab.

- The list of all GitHub actions workflows is on the left. Click CI to see all the times that workflow was executed.
Now you’ve had a tour of the tooling setup in the lwc-recipes GitHub repository. You are ready to dive into using the tools in any of the sample apps. We keep the tooling configuration as uniform as possible. In some cases, however, some apps use a different configuration. Learn more about those apps by completing the other projects in this trail.
A Word About Open Source at Salesforce
The samples found in the trailheadapps github org are developed and maintained by the Salesforce developer relations team. We have built them following best practices. All of our apps also demonstrate tooling that is in line with what would be expected from a real-world project.
Once you've explored these sample apps, we encourage you to dig deeper and find out more code from Salesforce teams. You can find open source code on the Code Samples and SDKs web page.
We won’t check any of your work in this step. Click Verify step to earn 100 points to complete the project.
