Create and Test Our Scratch Org
Follow Along with Trail Together
Want to follow along with an expert as you work through this step? Take a look at this video, part of the Trail Together series.
(This clip starts at the 7:56 minute mark, in case you want to rewind and watch the beginning of the step again.)
Introduction
In this step, you create a scratch org, assign a permission set, and push sample data to the scratch org.

- Create a scratch org, set it as your default, and give it an alias:Typically, the command completes in less than a minute. You get two items in the output: the org ID and the username.
sf org create scratch -d -f config/project-scratch-def.json -a dreamhouse-org
Notice that we didn't get a password. This is because Salesforce DX uses cached authentication tokens.
- Open the scratch org you just created by running the command:Because you set the scratch org as default using the
sf org open
-dflag, the system remembers stores the authentication token and uses it to log in for you. The-dflag saves you time from having to manually log in and remember passwords later.
Next, deploy the dreamhouse-lwc project you cloned in the last unit to the new scratch org.
Deploy Source Metadata to Scratch Org
- Deploy the dreamforce-lwc project into the scratch org with this command:It takes a few moments, but all the metadata is deployed into the scratch org. The terminal window displays the list of resources that successfully deployed.
sf project deploy start
Assign a Permission Set to the DreamHouse App
The Dreamhouse app uses a permission set to provide access. Before you test the app, you need the permission set assigned. With Salesforce CLI, you have the ability to assign permission sets remotely.
- Assign the permission set by running the command:
sf org assign permset -n Dreamhouse
To test the application, you need data in the scratch org. Push the sample data included in the dreamhouse-lwc project into the scratch org.
Import Test Data
Use force:data commands to manipulate records in your org through the command-line terminal window. To import data into an org, use the sObject Tree Save API.
- Import the sample data into the scratch org by running this command.
sf data import tree -p data/sample-data-plan.json
You've successfully set up your scratch org with the dreamhouse-lwc project. You're now ready to test the application.
Test Your App in the Scratch Org
After pushing projects and data into a scratch org, its a good idea to check everything exists as expected.
- If your scratch org isn't already open, open it with this command:
sf org open
- Next, open the Dreamhouse app:
- In the App Launcher
 , find and open Dreamhouse.
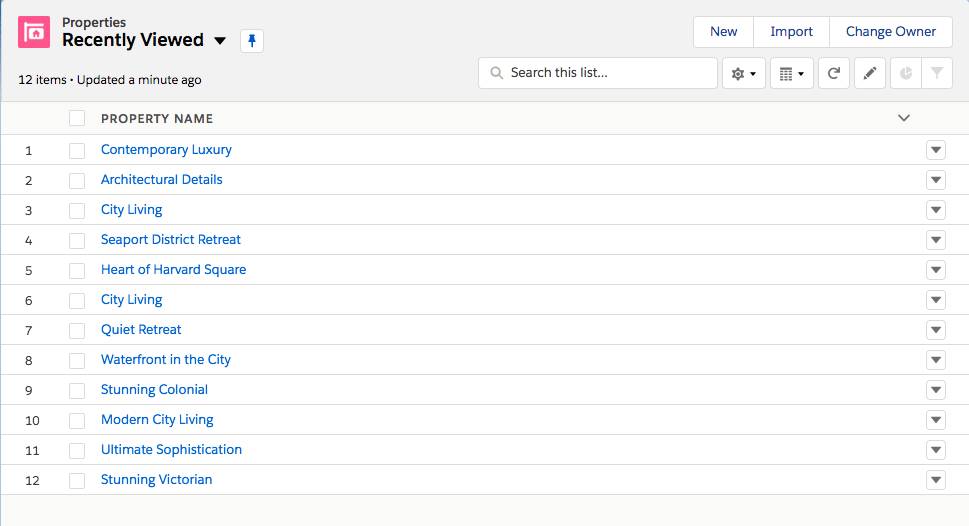
- Click the Properties tab and notice that there are twelve new properties.
- Click the Brokers tab and notice that there are eight new brokers.

Congratulations! You used the Salesforce CLI to create a scratch org, assign a permission set, and push sample data.
You're now ready to begin developing new features in the DreamHouse application. Continue learning how to use Salesforce DX with other developer tools such as Visual Studio Code (VS Code) and build continuous integration (CI). Learn more about Salesforce DX in the Get Started with Salesforce DX trail.
Click Verify Step to confirm the scratch org was created and to earn the badge.