Connect Your Flows to Einstein Copilot
Learning Objectives
In this project, you’ll:
- Test Copilot actions with sample data in Copilot Builder.
- Create a custom Copilot action to use Flow for automation.
Bring Einstein Copilot into the Conversation
Generative AI has made it possible to interact with computers in the same way we interact with our friends and coworkers: with conversational language. Einstein Copilot adds this amazing power of generative AI into Salesforce so you can interact with Salesforce conversationally, too. Using everyday language, you can ask Einstein Copilot to get the latest hot leads, summarize a case, or draft an email to a potential customer.
As you learn in Einstein Copilot Basics, Copilot actions and custom actions are the building-blocks for these natural interactions. For example, one action, called Query Records, finds and retrieves Salesforce records based on the user’s request and specific conditions. Einstein Copilot comes with several actions out of the box, and together they allow for some really sophisticated interactions. Custom actions allow you to create actions that are unique to your organization, and they can even harness Flow and Apex for truly impressive interactions.
In this project you explore the standard Copilot actions, and learn how to test them in the Copilot Builder. Then you create a custom action that uses an existing flow that we’ve already set up to initiate a return for a recent order.
Sign Up for a Trial Org with Einstein Generative AI
To complete this project, you need a special, 14-day custom playground that contains Einstein AI and our sample data.
- If you haven't already, click the I can receive a password email checkbox in the beginning of the unit.
- Click Create Playground.
- Follow the prompts.

Get to Know Copilot Actions
Einstein Copilot is already quite capable out of the box thanks to the premade actions that you just learned about. Let’s take a minute to review those actions in Copilot Builder, and discover what Einstein Copilot can do without any customization on your part.
- If you don’t already have your Einstein AI-enabled trial org open, scroll down to the Challenge section and click Launch to open it.
- From the App Launcher, search for
ordersthen click Orders.
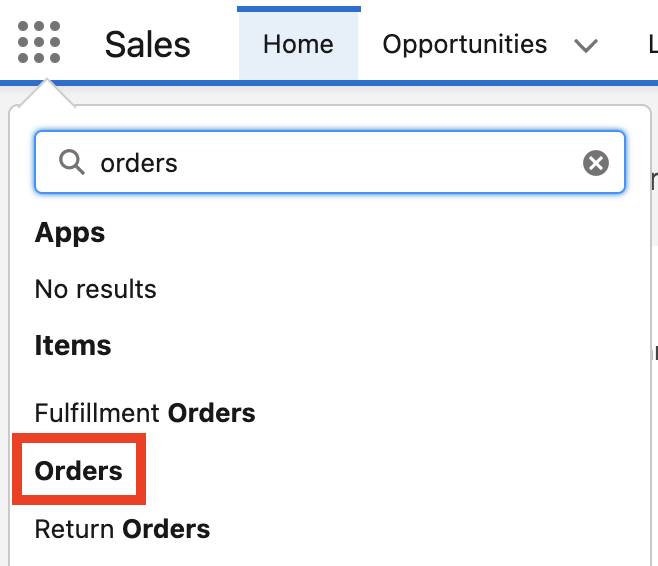
- Choose the All Orders list view.
Two orders will appear, both for Edge Communications. They play a role later in our story, so it’s good to verify they exist. Now we can set up Copilot.
- Click
 and click Setup. The Setup page opens in a new tab.
- In the Quick Find box, enter
einstein setup, then click Einstein Setup.
-
Turn on Einstein by clicking the toggle. It may already be on if you’ve completed the Quick Start: Prompt Builder project.

- Refresh your browser window. This reveals new admin settings now that Einstein is enabled.
- In the Quick Find box, enter
copilot, then click Einstein Copilots.
Currently, you can customize and launch one copilot for your employees, and that copilot is available in the flow of work in Salesforce.
- Turn on Einstein Copilot for Salesforce by clicking the toggle.

- Click Einstein Copilot, found at the bottom of the page.
- Click Open in Builder.

- If the right-hand pane has a welcome message, click Got It.
Welcome to the Copilot Builder. Here you can test your copilot and witness how it plans its response using real data.

It’s okay if you see an error message in the Conversation Preview, the following directions will work. Let’s start a conversation by asking your copilot to search and retrieve a record.
- In the Conversation Preview window, type
Tell me about the account Edge Communications.Then press return.
Einstein Copilot begins processing your request. It’s figuring out what you intend, and how to respond. In a moment you’ll get an answer that’s based on the available Copilot actions. Einstein Copilot uses large language models (LLMs) so you might find some questions return results that are a bit different that the screen captures in this project.
If you get a message that Copilot is having trouble, then click the Refresh icon in the Conversation Preview window and try again.
- If Einstein Copilot asks you to pick a record, select
Edge Communicationsand click Submit.
A lot happens when you ask this question. And in Copilot Builder you see the process your copilot follows in order to respond, shown as a Dynamic Plan.

For this request, your copilot recognized that two actions were required. First, it needed to identify the correct account. Second, it needed to summarize the details. The ability to chain together the right actions is one of the ways that makes Einstein Copilot especially good at maintaining its side of the conversation. Another important part of holding a conversation is remembering details that were brought up earlier. Copilot can do that too! For example, you can ask it to provide more details about something it previously mentioned.
In the Conversation Preview window type Do they have any active orders? Then press return.
This time Einstein Copilot uses the context of the conversation to understand that you are asking about orders specific to Edge Communications. After a moment, details of the two existing orders will appear.
Create a Custom Copilot Action
The standard Copilot actions can do a lot, but in this scenario you have a special process for handling order returns. In fact, you already have a flow that automates the process. (Team Trailhead made the flow for you in your Einstein AI-enabled org.)
You can use that flow to extend the capabilities of your copilot. You do that by creating a custom action that references the flow.
- Click the left arrow
 to exit Copilot Builder.
- In the Quick Find box, enter
copilot, then click Einstein Copilot Actions.
- Click New Copilot Action.
- For Reference Action Type, choose Flow.
- For Reference Action, choose Initiate Return.
This is the existing flow you’ve been using to initiate order returns.
- Click Next.
- For Copilot Action Instructions, paste the following:
Use Initiate Return for requests to return or refund orders or products in an order. - For Instructions (under Inputs), paste the following:
Populate this input variable with an Order recordId. - Check Require Input.
- Check Collect data from user.
- For Instructions (under Outputs), paste the following:
This output indicates the status of the return request, whether it has been initiated, processed, or completed. - Check Show in conversation.
- Click Finish.
Excellent, your custom copilot action has everything it needs. For this example, we supplied the descriptions because they are critical to how the action will function. They are used as part of the prompt that Einstein AI sends to the LLM. You can learn all about what makes a great prompt in the Prompt Fundamentals badge. Then use the prompt engineering skills you learn to make the descriptions for your custom copilot actions clear and complete.
Now you have to go back to the Copilot Builder to add the new action to your copilot.
- Click Einstein Copilots.
- Click Einstein Copilot.
- Click Open in Builder.
- Click Deactivate, then click OK.
Your copilot must be deactivated in order to add new actions.
- Click Copilot Action Library.
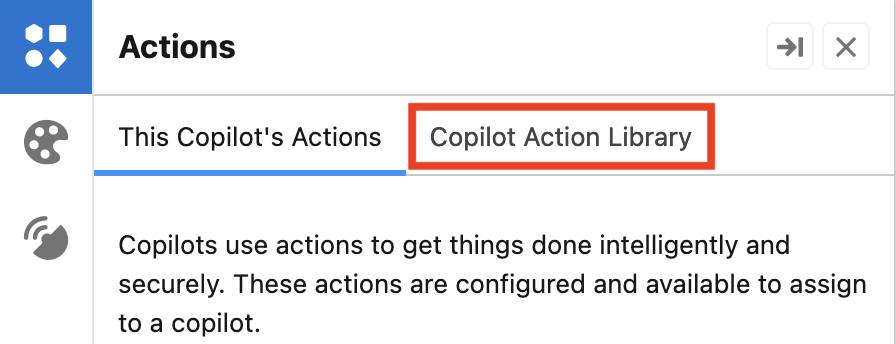
- In the menu for Initiate Return, choose Assign to Copilot.

- Click Activate.
Great, your copilot can now use the Initiate Return action in a conversation. Let’s try it out as if we were an actual user.
- Close the Setup tab to return to the Sales app.
- Click the Home tab.
Let’s start from Home as if we were just starting our day.
- Refresh your browser window, which should make the Einstein button appear.
- Click the Einstein button to open the conversation window.

- To start your test, give your copilot some context to work with by finding a specific order. In the conversation window, type
What is the order with the most recent order start date?Then press return.
After a moment it should display order 101, with a clickable link.
- Click order number 00000101.
- In the conversation window, type
Tell me about order 101. Then press return.
The summary will describe three products, the same order products in the related list. Edge Communications accidentally ordered these items, so let’s start a return.
- In the conversation window, type
Start a return for order 101. Then press return.
Because your custom action has a clear and comprehensive description, your copilot can identify it as the action you intend to take. So it will kick off the related flow, and give you a status update.
- Click the Details tab.
If you scroll to the bottom of the page, you’ll find that the Return Status field has been updated to Initiated thanks to the Initiate Return flow.
With just a few clicks, you can incorporate existing automation into your copilot’s catalog of actions. Now, automations and processes that are unique to your organization can be part of the conversation when interacting with Einstein AI.
Resources
- Trailhead: Einstein Copilot Basics
- Trailhead: Prompt Fundamentals
- Salesforce Help: Best Practices for Einstein Copilot Action Instructions