Migrate a Process
Migrate a Process to a Flow
Processes give you more options when using the Migrate to Flow tool. You see that next.
- Return to Setup, enter migrate in the Quick Find box, and then select Migrate to Flow.
- Select the Opportunity above 5000 Process.
- Click Migrate to Flow.

Here you select the criteria options that you want to migrate. In Process Builder, they're the diamonds that let you define criteria. You can migrate all criteria to one flow or migrate criteria to separate flows.
- Select the Opportunity Lost above 5000 criterion.
The action in the Opportunity Lost above 5000 criteria only sets a value on the opportunity NextStep field.
- Click Migrate to Flow.

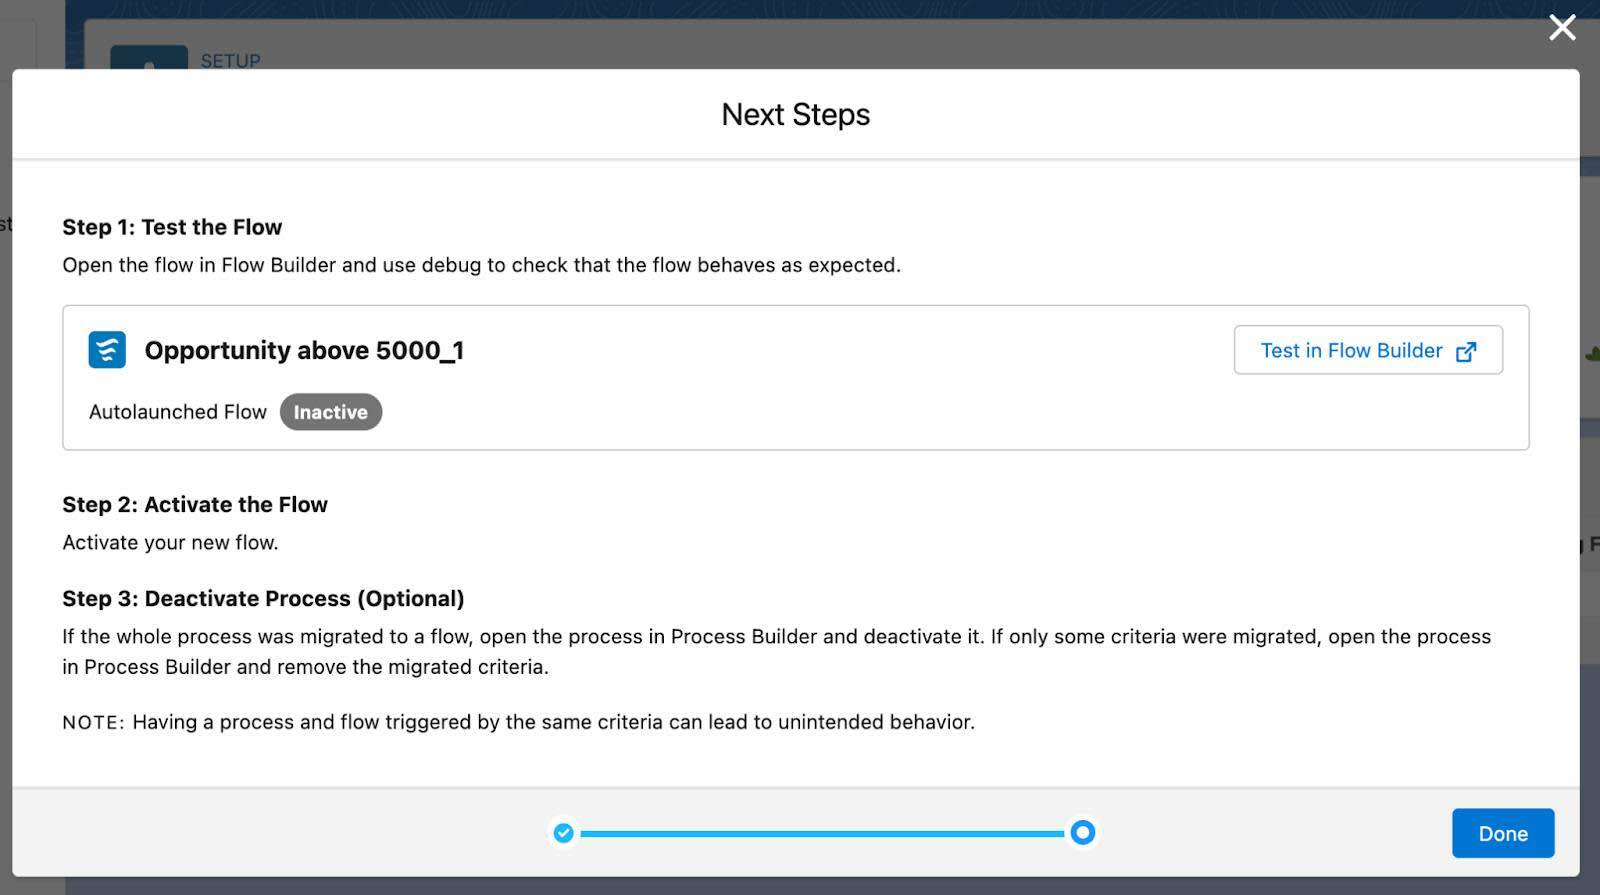
Notice that there is no Switch Activations button.
- Click Test in Flow Builder to open the flow in another tab.

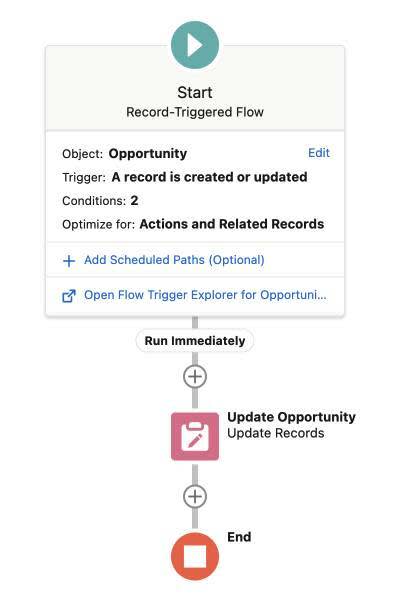
- In the Start element, click Edit.
- Scroll to the Optimize the Flow for section.
This flow only updates the NextStep field in the opportunity. Because we're only updating the triggering opportunity, this is a perfect use case for Fast Field Updates.
- Select Fast Field Updates.

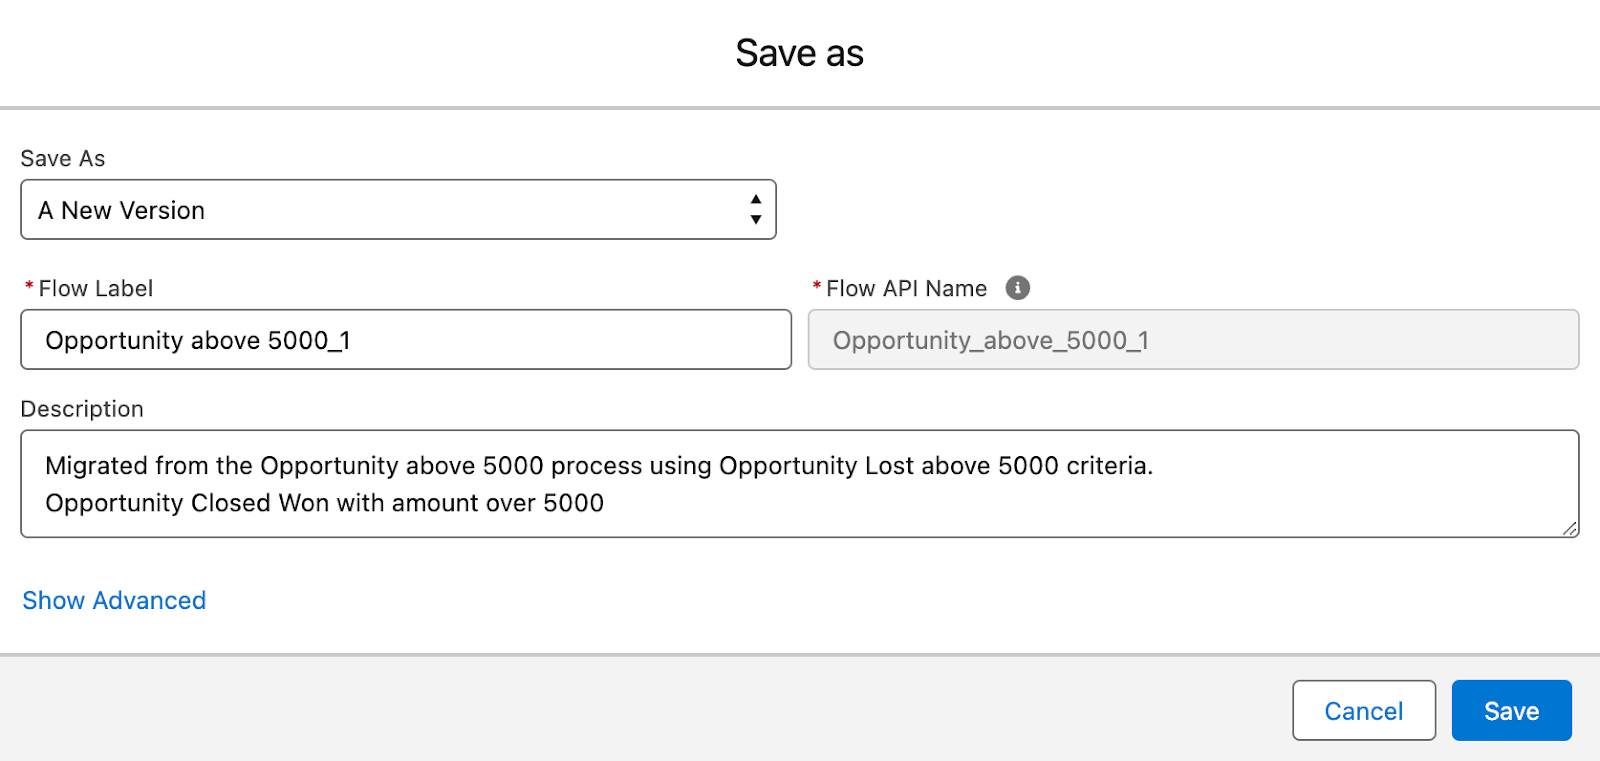
- Click Save As New Version.
- Click Save.

- Click Activate.
Now that the flow is active, deactivate the process.
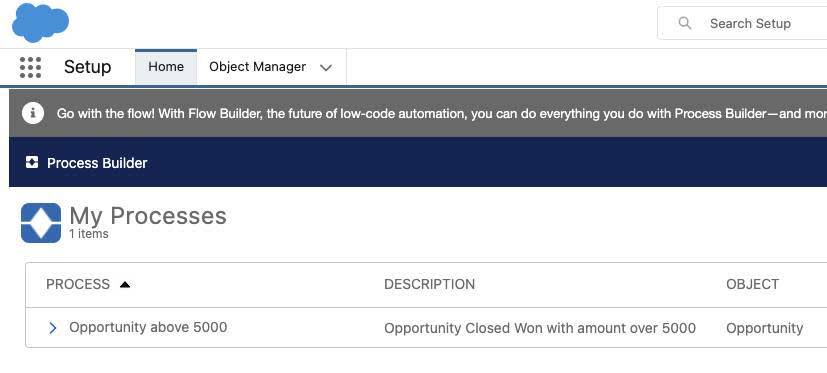
- Return to Setup, enter process builder in the Quick Find box, and then select Process Builder.
- Click to open the Opportunity above 5000 process.

- Click Deactivate.
- Click Confirm.
Well done! You migrated two automations to flows. You also updated one of the flows to Fast Field Updates to make it run faster. Using the Migrate to Flow tool is a great way to get into Flow Builder and start working with flows. Just remember to work and debug in your sandbox or scratch orgs to keep your data safe. Happy migrating!