Create Data Streams
Learning Objectives
In this project, you’ll:
- Learn how to connect data using data streams.
- Define data lake objects.
- Create data streams.

Everything Begins with Data
Data is the foundation of our world and work. It can help you make discoveries, answer questions, drive decisions, and connect. To do this, you need data in the right place at the right time. But just having mountains of information isn’t what sets you up for success. What really matters is being able to easily, accurately, and quickly categorize that data. Salesforce Data 360 makes it possible to quickly bring data to your fingertips using the power of the Salesforce Platform and a scalable infrastructure.
So, how exactly does your data get into Data 360? And what do you do after you get data into Data 360? In this project, you explore bringing data into Data 360, mapping and unification of that data, and then querying and acting on that data.
Sign Up for a Developer Edition with Data 360
To complete this module, you need a custom playground that contains Data 360 and our sample data.
- Click Create Playground.
- Your new org is automatically attached to your Trailhead account!
- Make note of your org's expiration date and complete this badge before then.
Connect Your Data
Connections in Data 360 are started by setting up data streams, which are data sources either connected or ingested into Data 360. The data from those data sources are stored in data lake objects (DLOs), which are basically storage containers for data stream data. If data needs manipulation, formula fields can be created to normalize your data or to create basic calculations.
Create a Data Stream
Before you can ingest data into Data 360, you need to configure any data source that you’d like to connect. Data sources can be other Salesforce orgs, Marketing Cloud Engagement business units, external platforms, CSV files, and more! For this project, we’ve already connected a Sales Cloud and Service Cloud org to your Developer org. Since these data source connections are already established, you can now add data streams to Data 360.
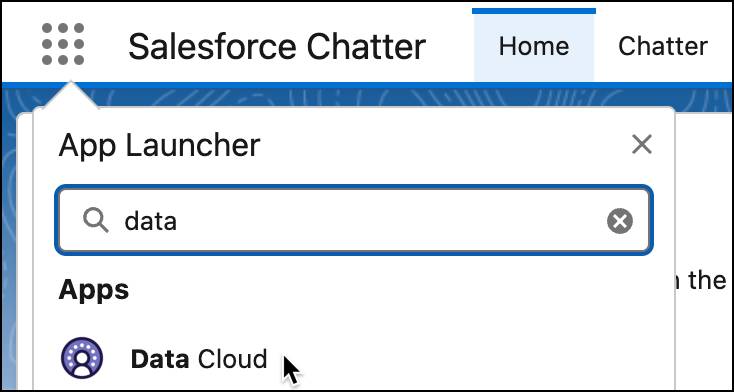
- After logging back into your Developer Org, go to Data Cloud from the App Launcher and search for and select Data Cloud.
- In Data Cloud, go to the Data Streams tab and click New.
- Click Salesforce CRM under Connected Sources, and click Next.
- Note the Salesforce Org is preselected. From View Bundles, choose the Sales data bundle and click Next.

- View the associated fields and click Next. It may take a few minutes for the fields to appear.
- Notice that the default Data Space is preselected and all the fields included in the bundle are listed. Leave the selections as is, and click Deploy.
Six new data streams are now created. Next, add some additional data streams to connect Service Cloud case data to Data 360.
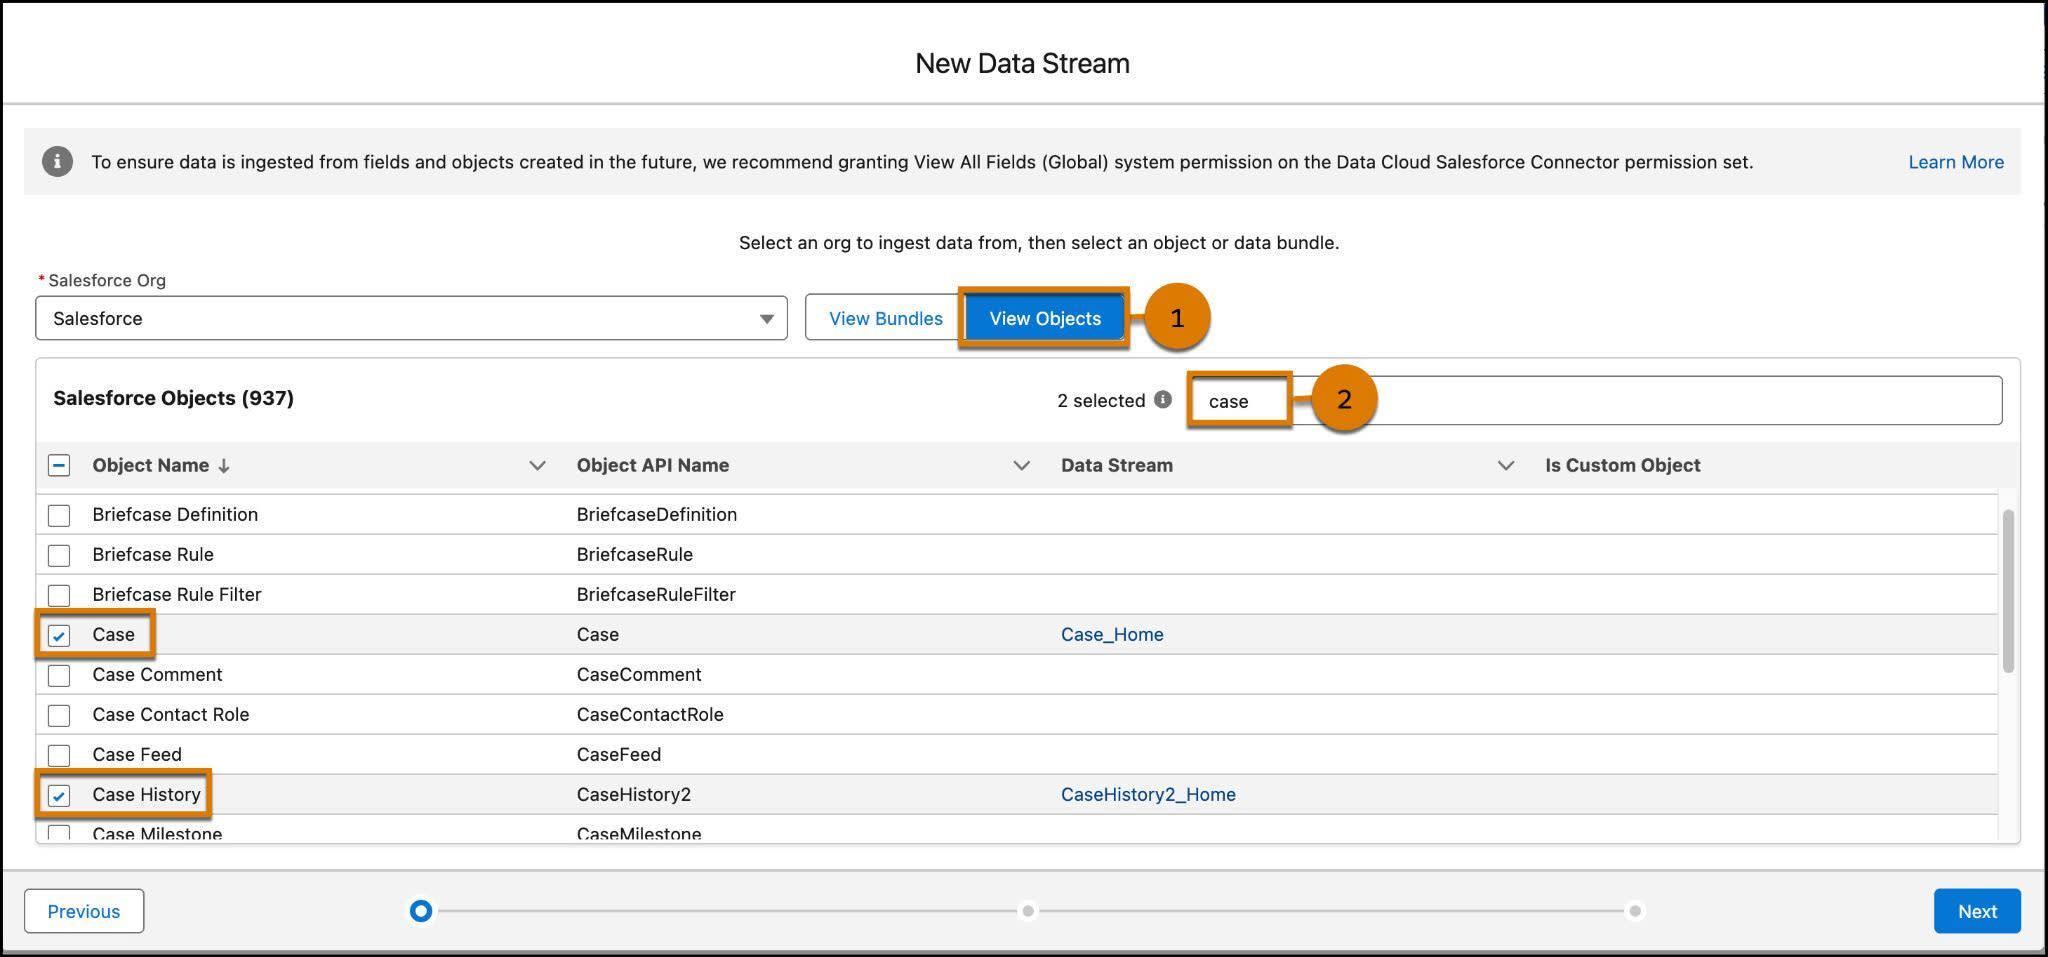
- From the Data Streams window, click New.
- Select Salesforce CRM and click Next.
- Select View Objects (1) and search for
Case(2).
- Select both Case and Case History and click Next.
- Under Objects starting with Case, keep the name the same (Case_Home) and select Engagement from the Object Category dropdown.
- Then select Created Date from the dropdown for Event Time Field.
- Under Objects, click CaseHistory2. Keep the same name (CaseHistory2_Home) and select Other for the Object Category.
- Click Next.
- Check that the default data space is selected and click Deploy.
Verify Your Data Streams
Great, you’ve created data streams to start the flow of data from Sales and Service cloud objects into Data 360. Now that you have created these data streams in your Developer Org, click Verify Step to check your work before moving to the next step in the project. In the next step, you add formula fields and map data to the Customer 360 Data Model.
Resources
- Salesforce Help: About Salesforce Data 360
- Salesforce Help: Data 360 Glossary of Terms
- Salesforce Help: Data360 Editions and Licenses