Customize the Expense Item Related List
Introduction
Now when you view the Expense Items from a Travel Approval record, it only shows the Expense Item Numbers and not other fields/columns. To allow managers to see details of each expense item without having to drill down to those records, you simply change the related list.
Edit the Expense Item Related List
Related lists can be added to any Salesforce page they are related or linked to.
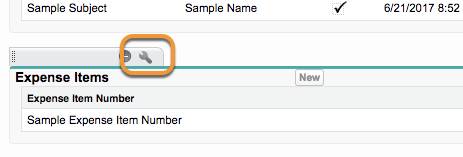
- From Page Layouts in the Object Manager, select Travel Approval Layout. Scroll down to the Expense Items related list. Click the wrench icon in the header tab.

- Move the Expense Type and Amount fields from Available Fields to Selected Fields.
- Click OK. Click Yes if you’re asked if you want to Overwrite Users’ Related Lists Customizations.
- Click Save.
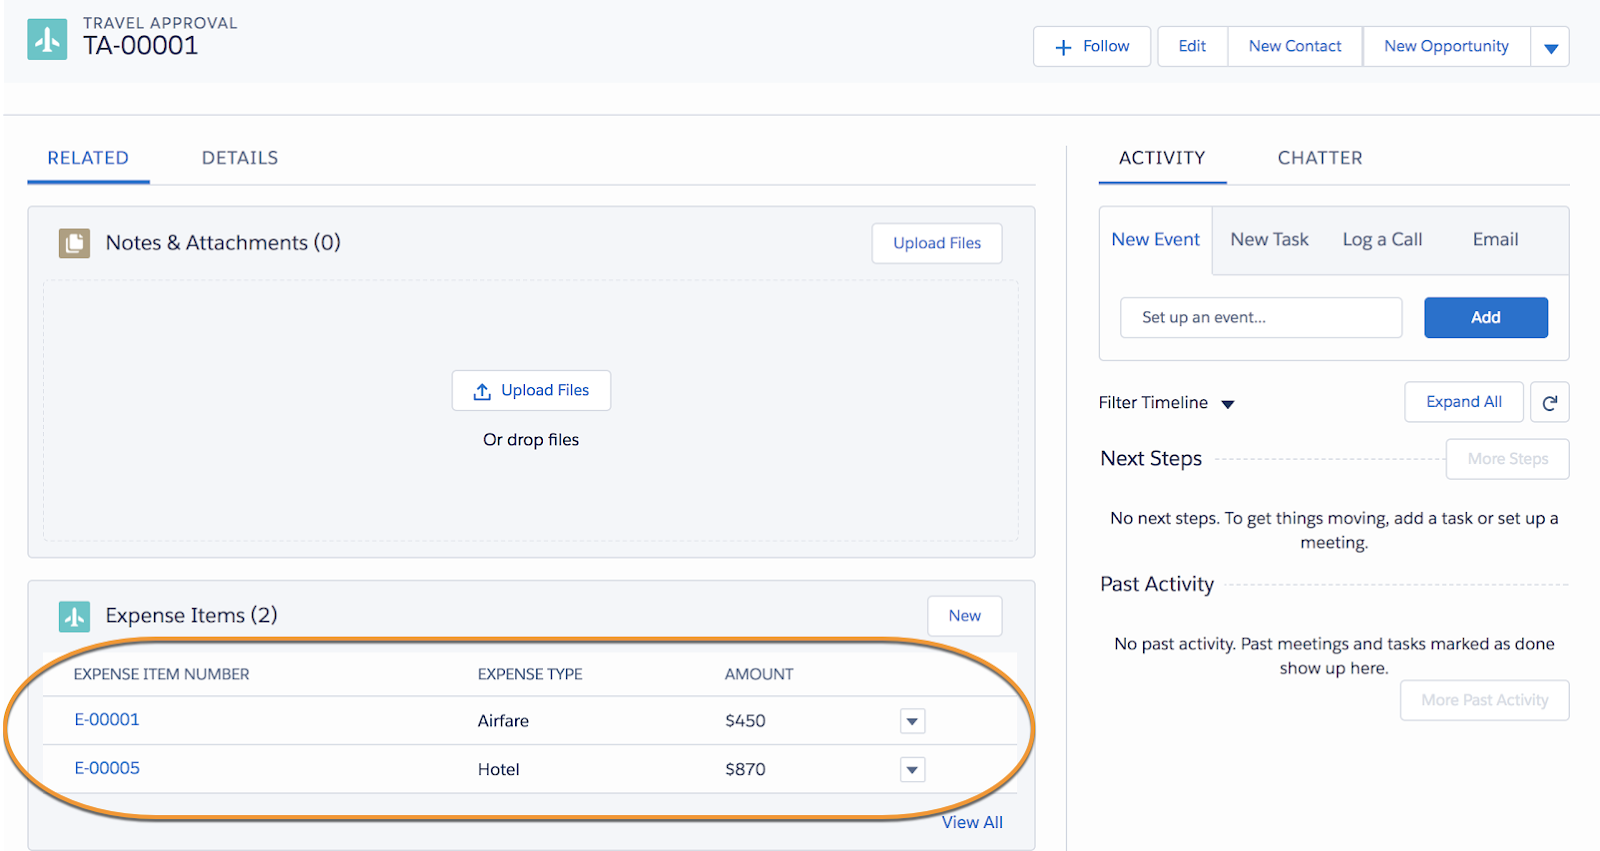
- Navigate back to a Travel Approval record and look at the related lists. You should see the extra columns you added to the expense item related list.

Note: You may need to refresh your browser screen for the changes to show up.
Great work! You have now changed the related list for expense items to display additional columns so we can see details of each expense item without having to drill down into those records. Move on to the next step and enable Chatter on the Travel Approval object to allow managers to easily communicate about travel approval.