Get Started with Customer Insights Analytics
Learning Objectives
In this project, you'll:
- Sign up for an Analytics Developer Edition org.
- Schedule and run recipes.
- Embed a dashboard in an Accounts page.
- Use a custom field in a recipe.
- Add a custom object to a recipe.
- Check security settings.

Say Hello to the Customer Insights Analytics App
You’re the longtime Salesforce administrator for Larry’s Laptop Emporium, a leading provider of tablets, phones, and other hardware devices. Your Salesforce rep tells you about the new Customer Insights app (with component libraries for cases, insights, and opportunities). You’re excited to learn that the app brings together unified analysis of Sales Cloud and Service Cloud.
The app also comes with a number of prebuilt dashboards that are organized by use cases, along with a gallery of components that enable you to mix and match the insights that align with what you’re working on.
Sales Performance Dashboard
Gives you an overview of the current state of the business, including an easy click-path for drilling into details.
Embedded Dashboards
Deliver ready-made dashboards for embedding on the Account and Opportunity pages in Salesforce.
- Account embedded dashboard
- Opportunity embedded dashboard
Gallery Dashboards
Contain dashboard components that you can easily copy-and-paste to your own custom dashboard.
- Use the Case Insights Dashboard to understand how your Service organization engages with customers.
- Use the Opportunities Insights Dashboard to explore your opportunity data and understand pipeline health.
- Use the Activities Insights Dashboard to understand account engagement.
- Use the Lead Insights Dashboard to understand current lead generation from Marketing and other sources.
- Use the Products Insights Dashboard to understand how your customers engage with your products.
Simplify Building Your Apps with Recipes
Recipes are great for Salesforce admins with little to no data integration experience who want suggestions on how to clean up data and to preview transformation results. With the Customer Insights app, you can use recipes to get up and running quickly.
With a recipe, you can:
- Preview your data and see how it changes as you apply each transformation.
- Quickly remove columns or change column labels.
- Analyze the quality of your data with column profiles.
- Get smart suggestions about how to improve and transform your data.
- Bucket values without having to write complex SAQL expressions.
- Create calculated columns with a visual formula builder.
- Use a point-and-click interface to easily transform values and ensure data consistency. For example, you can bucket, trim, split, and replace values without a formula.
- See the history of all your changes, and back up or move forward to replay it.
Depending on the Objects that are used in your Salesforce org, the Customer Insights app comes with up to 5 Recipes that run the data load and transformations to create and update the app’s Datasets.
- User
- Opportunities
- Activities
- Case
- Lead
Based on the objects that are used in your Salesforce org, these recipes generate up to 11 prebuilt datasets (as of Summer ’22) for you to explore.
- Account
- Opportunity
- User
- Activity
- Case
- Lead
- OpportunityHistory
- OpptyProduct
- Product
- UserRole
- CaseHistory
Make Data Refreshes More Efficient
One of the benefits of using recipes is that they run faster than dataflows. And not all data needs to be refreshed with the same intervals. For example, at Larry’s Laptop Emporium, the User Recipe only runs once every week since the emporium doesn’t update its organization more than once a week. However, the Opportunity dataset is refreshed twice per day.
Note: When installing Customer Insights, the recipes will run once to generate the datasets.
Get More Insights with Dashboard Components
One of the best features of the Customer Insights App is the Dashboard Component library.
Dashboard components are a type of dashboard widget that can contain other widgets, pages, and Lightning Web Components.
You use dashboard components to manage and reuse groups of charts, tables, filters, text, and more in multiple dashboards. With the component libraries, you can mix and match groups of components to create customized dashboards. Each of the Customer Insight dashboards has groups of reusable dashboard components that you can copy and paste into dashboards. Remember the days of copying and pasting individual widgets into your dashboards? Think of all the time you can save!
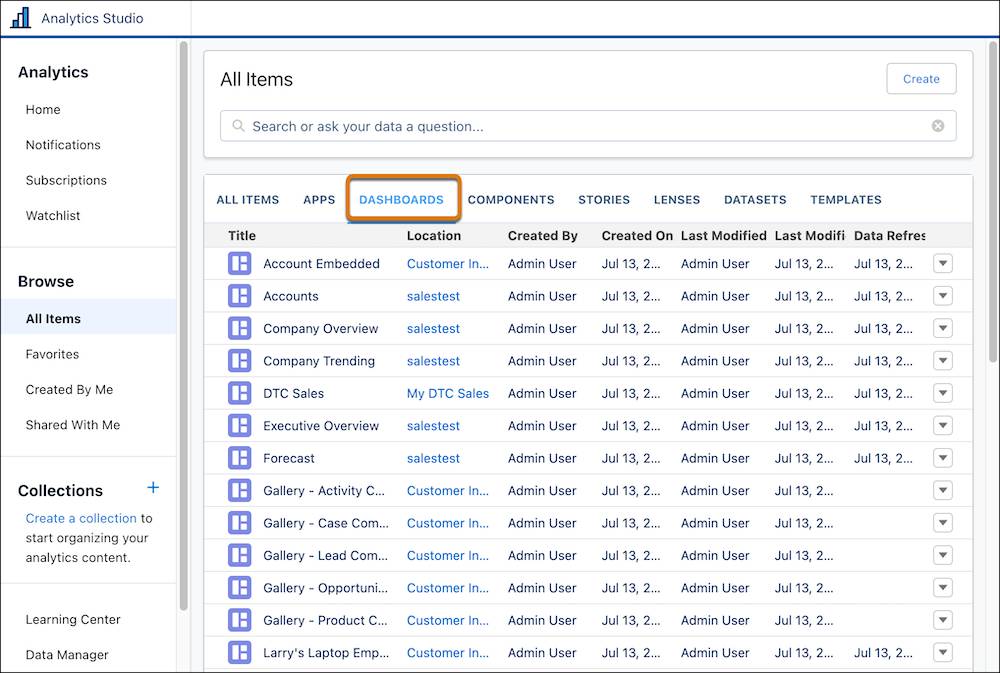
You can also see the Customer Insights dashboards directly from Analytics Studio.
Sign Up for a New Analytics Developer Edition Org
For this project, an existing Developer Edition org or a Trailhead Playground will not work. Follow the steps below to get a CRM Analytics–enabled Developer Edition that comes with a limited CRM Analytics Platform license and the sample data required for this project.
If you already have a CRM Analytics–enabled Developer Edition org, you should still sign up for a new one. This ensures you get the latest and greatest features, and that your experience matches the steps we outline in this project.
- Go to https://trailhead.salesforce.com/promo/orgs/learn-to-develop-crm-analytics
- Fill out the form.
- For Email, enter an active email address. We recommend the one associated with your Trailhead account.
- For Username, enter a username that looks like an email address and is unique. It doesn’t need to be a valid email account. For example, your username can be yourname@crmarocks.de, or you can enter your company name.
- After you fill out the form, click Sign me up. A confirmation message appears asking you to check your email.
- When you receive the activation email, open it and click Verify Account.
- Set your password and challenge question, and click Change Password. Make sure to save your username and password, as you need them to connect the org to Trailhead.
You’re now logged in to your new Salesforce org with CRM Analytics enabled and all the necessary permissions.
Important
Even if you already have an Analytics-enabled Developer Edition org, sign up for a new one. The older orgs don’t get recently released features—signing up for a new one ensures that you get the latest and greatest. In some cases, you can’t complete the challenges without the new features.
Connect Your New Org to Trailhead
Signed up? Great! Now, it’s time to connect your new org to Trailhead.
- Make sure you’re logged in to your Trailhead account.
- In the Challenge section at the bottom of this page, select Connect Org from the Trailhead Playground picklist. We need you to log in so we can verify your work as you progress through this Trailhead project.
- On the login screen, enter the username and password for the Developer Edition you just set up.
- At the Allow Access? screen, click Allow.
- At the Want to connect this org for hands-on challenges? screen, click Yes! Save it. You are redirected back to the challenge page and ready to use your new Developer Edition to earn this badge.