Embed a Dashboard into the Accounts Page
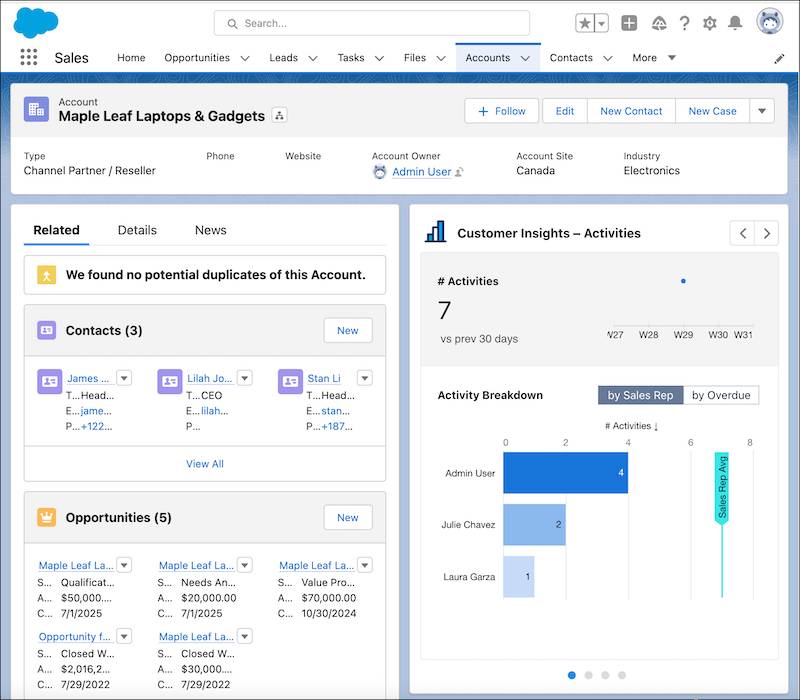
Your Sales team is itching to get their hands on a dashboard, and the prebuilt Account embedded dashboard has the data they need. Let’s add it to the Accounts page.
- From the App Launcher, select Sales | Accounts.
- Select All Accounts from the dropdown list.
- Search for Maple Leaf Laptops & Gadgets.
- Open the Account page for Maple Leaf Laptops & Gadgets.
- Click Setup and select Edit Page.
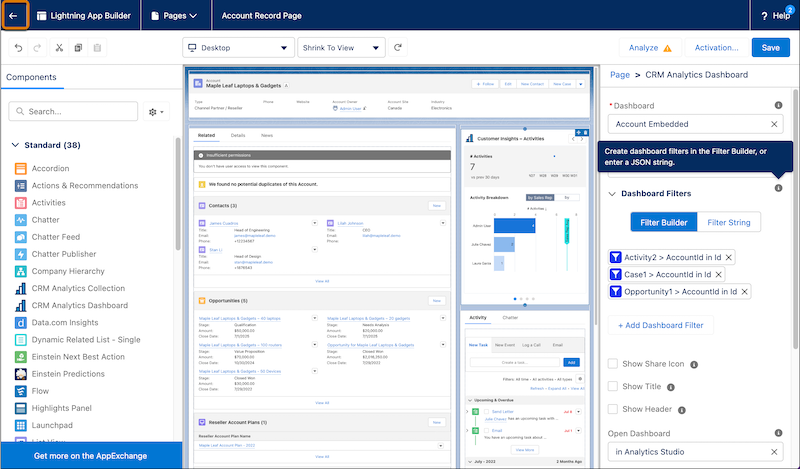
- From the Components menu, find the CRM Analytics Dashboard and drag it to the column above the Activity & Chatter panel.
- In the Dashboard field, select Account Embedded.
- In the same panel, change the height to
620. - Uncheck Show Title and Show Header.
- Click + Add Dashboard Filter.
- For Data Source, select Activity.
- For Data Source Field, select Account ID.
- Leave the operator as Equals, and open the Object field by clicking Select.
- Choose Account ID.
- Click Done and OK.
- Repeat the steps for the Case dataset: Account ID equals Account ID.
- Repeat the steps for the Opportunity dataset: Account ID equals Account ID.
- Click Save.
- Click Activate.
- Select Assign as Org Default.
- Click Desktop and Phone.
- Click Next.
- Click Save.
- Click Save.
- Click the back arrow to return to the Account page.
Congrats! You’ve embedded the Customer Insights dashboard on the Accounts page, and you and your team can now check your data when you need it!