Configure an Email Letterhead and Template
Introduction
Having a consistent look makes correspondence from your teams instantly recognizable and professional. Here, we’ll configure a template and letterhead that can be used by all team members for their day-to-day email needs. Need assistance in creating a default no-reply email address? If so, visit the Set Up a Default No-Reply Email Address help article.
Create a Letterhead
Your Customer Support team isn’t generic, and their correspondence shouldn’t be either. Manager Kenya Collins has requested you create custom letterhead for her team’s HTML email templates.
Before creating and customizing letterhead for the Customer Support team, you’ll need to save the Support Team logo to your org.
- Open this image and save to your desktop.
- Click the App Launcher
 .
.
- Enter
Filesin the Search apps and items... box and select Files.
- Click Upload Files.
- Choose the image you just saved to your desktop.
- Ensure the title is GetCloudyConsultingLogo.
Note: To edit the title name, click the down arrow to the right of the file. Click Edit File Details and rename to GetCloudyConsultingLogo.
Now create a letterhead:
- Click the App Launcher
 .
.
- Enter
Letterheadsin the Search apps and items... box and select Enhanced Letterheads.
- Click New.
- Complete the details about the new letterhead:
Field
Value
Name
General Customer SupportDescription
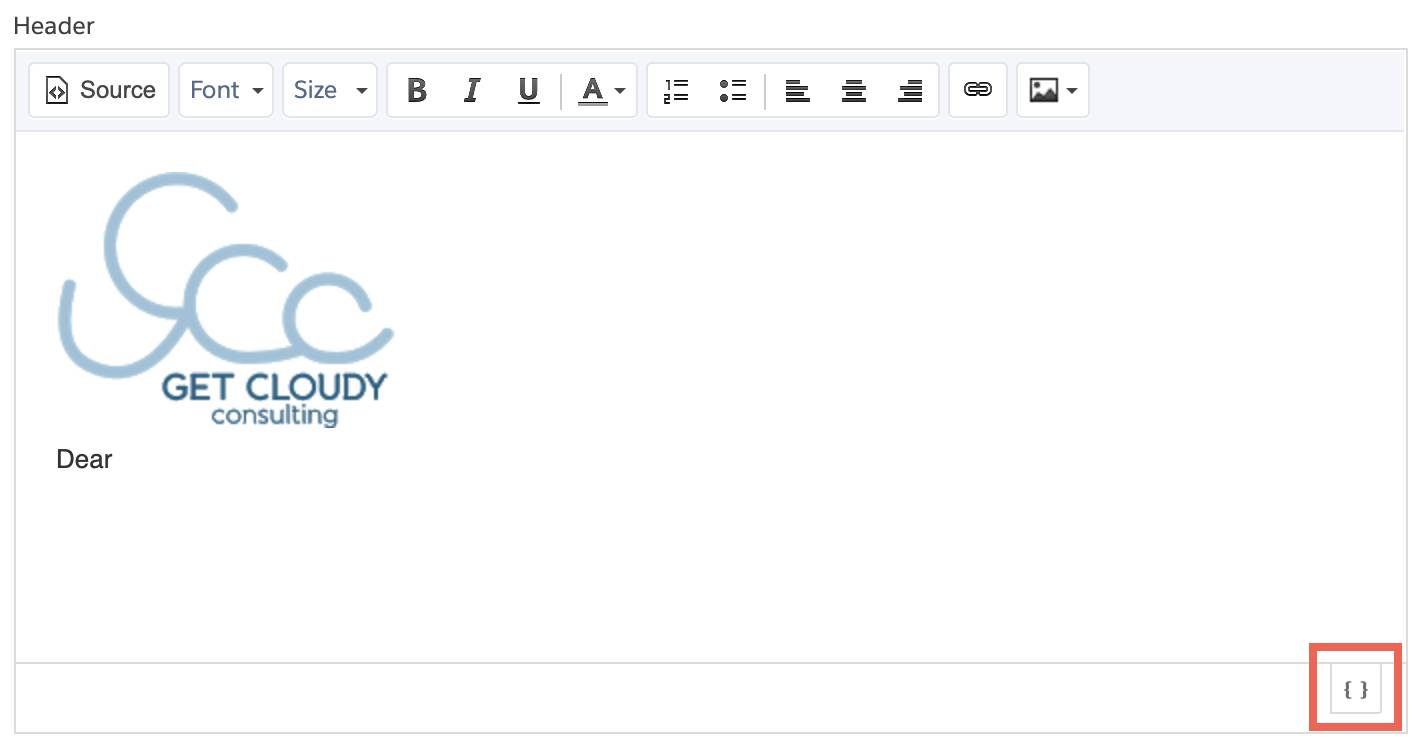
Use this letterhead for all public facing communications if no specific Customer Support letterhead exists - Click in the header section and click the insert image icon.
Note: If you receive the "insufficient privileges" error in the Letterhead Content, navigate to Setup>Lightning Email Templates and toggle on Folders and Enhanced Sharing. Refresh your browser.
- Select Browse or Upload.
- Select the GetCloudyConsultingLogo from the Owned by Me menu and click Insert.
- Click in the Header section and move the cursor to the next line by pressing ENTER.
Add merge fields:
- Enter the word
Dear.
- Press the SPACEBAR.
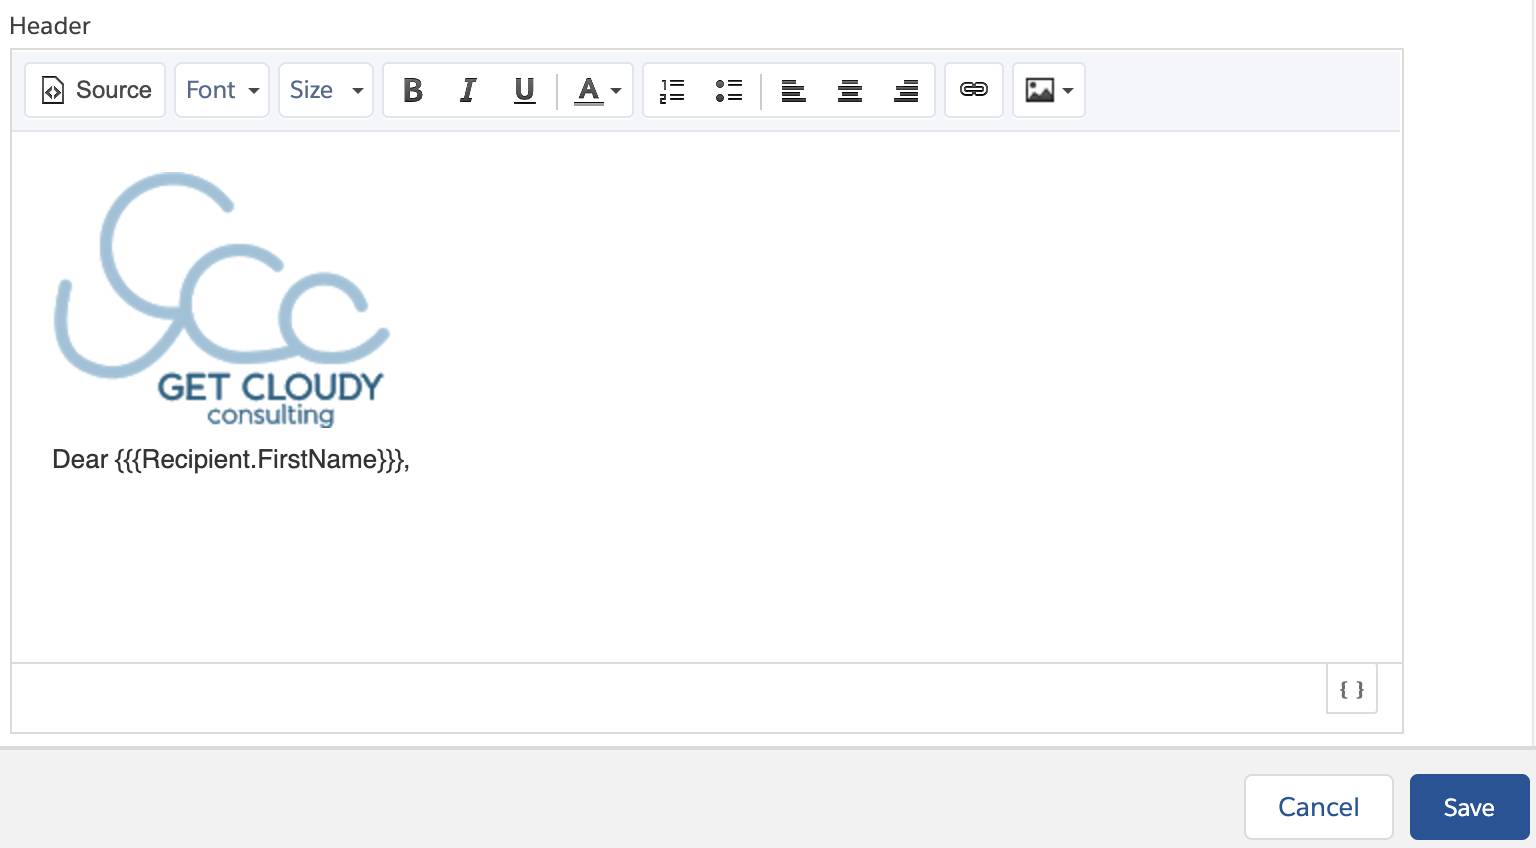
- Click the Insert merge field icon.

- In the Select Merge Field, enter
First Nameand select First Name.
- Click Insert.
- Add a comma after the last curly bracket and then press ENTER.

- Click Save.
Letterhead + Email Template
Now create an email template with the General Customer Support letterhead:
- Click the App Launcher
 .
.
- Enter
Email Templatesin the Search apps and items... box and select Email Templates.
- Click New Email Template.
- Fill in these details:
Field
Value
Email Template Name
Public Facing GeneralDescription
To be used for all public facing emails if there is no more specific template availableFolder
Public Email Templates
Subject
<<REPLACE WITH SUBJECT>>Enhanced Letterhead
General Customer Support
- Click Save.
Send an Email Test
Finally, test your email template.
- Click the App Launcher
 .
.
- Enter
Contactsin the Search apps and items... box and select Contacts.
- Change the Contacts list view to All Contacts and select Andy Young. (If List View options are only My Contacts and My Important Contacts, click the List View button in the upper right corner to toggle the view.)
- Under the Details tab, edit the Email for this contact to your email address.
- Click Save.
- On the right, in the Activity tab, click the send an email icon. (You may have to click More to find it.)
- Click the Insert, create, or update template icon
 .
.
- Select the Public Facing General template from list that appears.
- Click Insert on the pop-up.
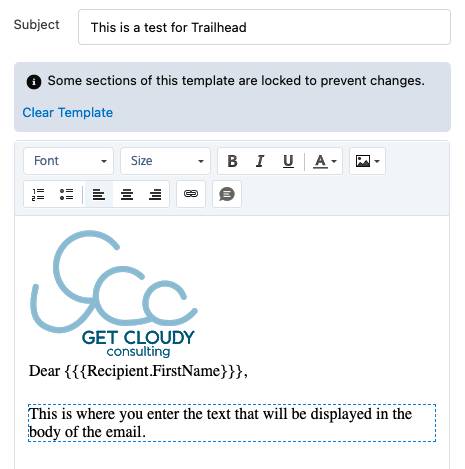
- Review the template for accuracy.
- In the Subject field, delete <<REPLACE WITH SUBJECT>> and fill in a subject line of your choice.
- Click in the dashed line box and enter text of your choice, this will be displayed in the body of the email.

- Click Send.
- Check your inbox for the email.
Now that you’ve improved the look of communications for Customer Support, move on to the last step in this project, where you’ll help the team work more efficiently by automating a few processes.
Resources
- Salesforce Help: Set Up a Default No-Reply Email Address
- Salesforce Help: Set Up Organization-Wide Email Addresses
