Get Agent-Ready
Learning Objectives
In this badge you’ll:
- Improve a prompt template.
- Use the AI Models editor to configure the agent model.
- Update a flow for an agent to use.
- Customize subagents and actions for a service agent.
As Coral Cloud Resorts becomes more and more popular as a vacation destination, support cases on its website are increasing significantly. Customers interested in its new beach resort activities need lots of assistance—especially during the peak holiday seasons. This puts a strain on the customer service team, leading to longer response times and lower customer satisfaction.
Conscious of the cost and ramp time for seasonal service representatives, Coral Cloud Resorts is using Agentforce for Service to help. The team at Coral Cloud Resorts is enabling Agentforce for Service in their Salesforce org, but they need to further customize the agent to better fit their unique needs.
Sign Up for an Agentforce Builder Org
Follow these steps to set up the special, limited-time custom playground that contains Agentforce and Prompt Template data.
- At the top of the page, click Create Playground.
- Your new org is automatically attached to your Trailhead account!
Make note of your org's expiration date and complete this badge before then.
Get the Org Ready and Update Details
Before Coral Cloud admins can start customizing its agent, the team enables all the required org features. Here’s what they do.
- Click
 and select Setup. The Setup page opens in a new tab.
- In the Setup Quick Find, search for and select Salesforce Go.
- In the Search features... textbox, enter and select Agentforce Studio.
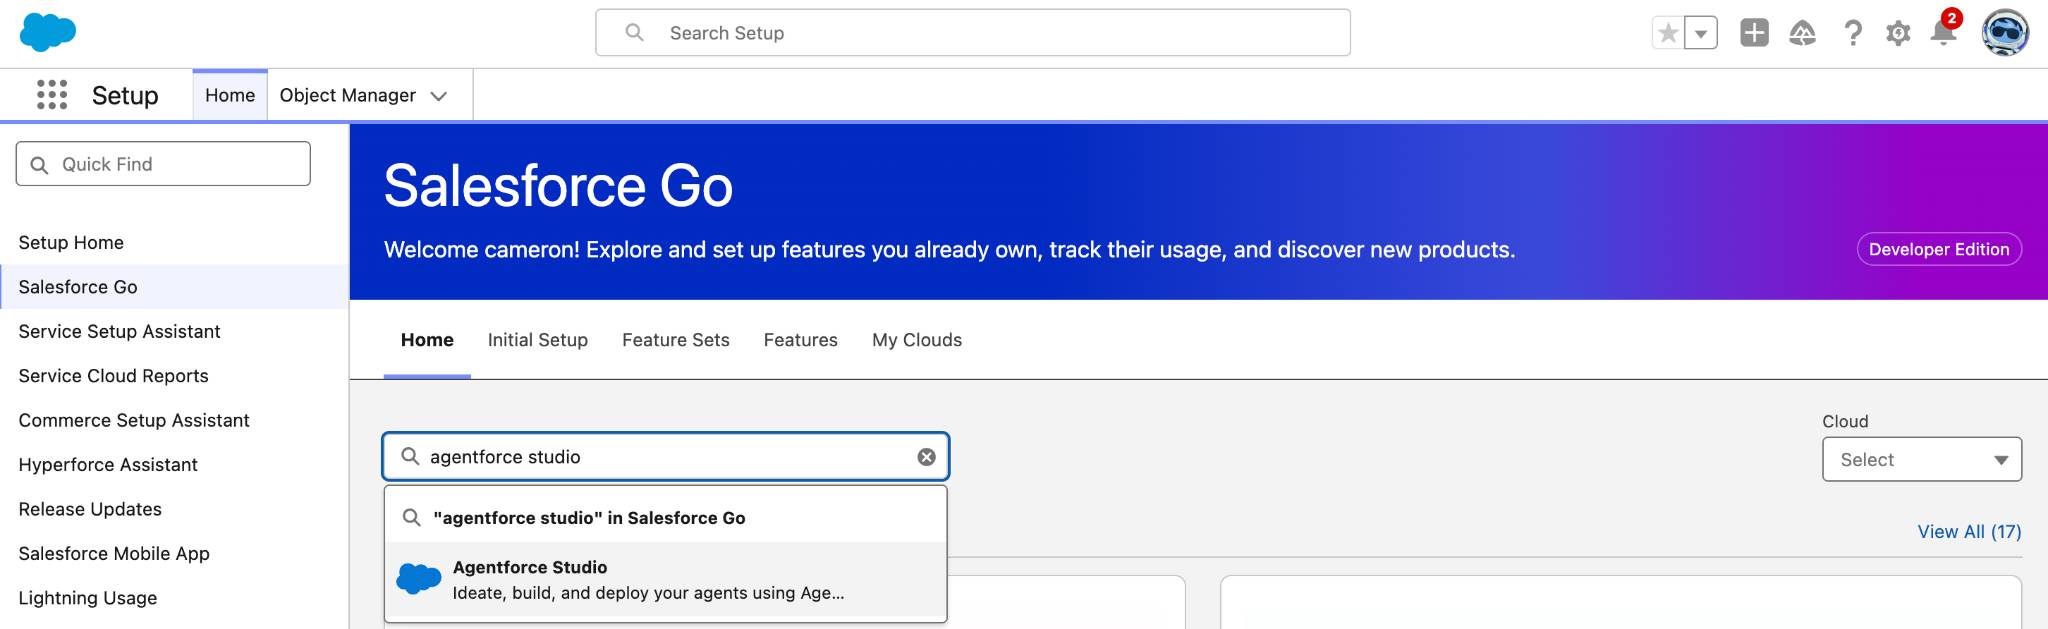
- Click Get Started.
- Click Turn On.
- Click Confirm.
Update User Details
The company name is used later in a prompt, so now is a good time to update it.
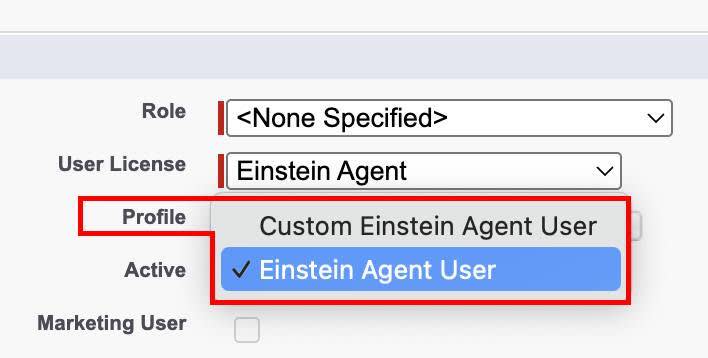
- In the Setup Quick Find, search for and select Users.
- Select the Edit action next to the EinsteinServiceAgent User.
- Update Company to
Coral Cloud Resorts.
- Update the Profile to Einstein Agent User.
- Leave everything else as is.
- Click Save.
Improve a Prompt Template
Coral Cloud has an existing prompt template that needs to be refined.
- In the Setup Quick Find, search for and select Prompt Builder.
- Scroll down and select the prompt with the name Generate Personalized Schedule.
- In the Prompt Template Workspace, move your cursor to the very beginning of the prompt. Click enter/return to add a blank line to the beginning of the prompt.
- Enter this text:
Your name is . You work in the guest success team at . - Place your cursor before the first period after the word is.
- Click + Insert Resource and select Current User > First Name.
- Place your cursor after User.FirstName and click the spacebar to add a space.
- Click + Insert Resource and select Current User > Last Name.
- Place your cursor before the second period after the word at.
- Click + Insert Resource and select Current User > Company Name.
- Enter this text:
- Find the line just below the username variables, which starts with “Present the list of”.
- Delete Present and replace with
Always introduce yourself with your full name, then present - Review the newly updated section of the prompt:
Your name is User.FirstName User.LastName. You work in the guest success team at User.CompanyName.
Always introduce yourself with your full name, then present the list of resort activities happening today that match the guest's interests.
- Find the line near the bottom that says: Tell the guest to reach out if they’d like to book any of these activities.

- With your cursor at the end of that line after the word “activities.”, press enter/return to add a blank line.
- Enter this text:
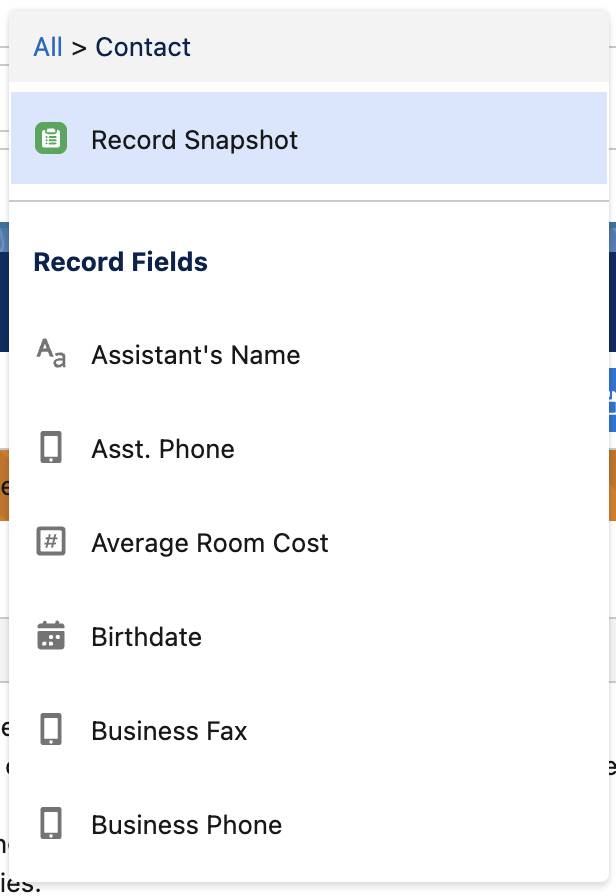
Information about the guest is here: - With your cursor at the end of that line after “here:”, press spacebar to add a blank space, and then click + Insert Resource and select Contact > Record Snapshot. (The list is not alphabetical.)
- Press enter/return to add a blank line after the RecordSnapshot:myContact. Enter this text:
Use this information about the guest. Use a casual style of writing. - The updated section of the prompt should look like this:
Information about the guest is here: Record Snapshot: myContact
Use this information about the guest. Use a casual style of writing.
List of activities happening today that match the guest’s interests:
Apex: PersonalizeGuestExperiences
Test the Prompt
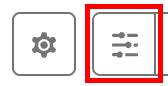
- Click the Preview Settings icon
 to expand the Preview Settings section.
- In the Contact box, search for and select Sofia Rodriguez.
- Click Save & Preview

- Review the Response section to see how the prompt template affects the test response. Feel free to toggle the Response Languages to review the response in various languages. Just return the language back to English when you’re done.
Update the Prompt Template Model
The leadership at Coral Cloud Resorts wants the agent to have a more predictive response than it does now. They can use the Prompt Template model to control tone/style, point of view, ethical considerations, and so on, of the agent’s response. The model can be modified using the AI Models editor.
- While still in Prompt Builder, click the Template Settings icon
 to open the Template Settings section.
- Expand the Inputs section and ensure the Model Type is set to Standard.
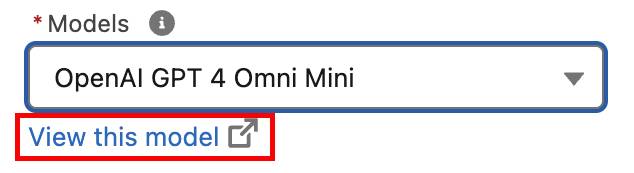
- Select OpenAI GPT 4 Omni Mini from the Models dropdown menu.

- Click the Preview Settings icon and ensure Sofia Rodriguez still appears in the Contact box.
- Ensure the Response Language is set to English.
- Click Save & Preview. Notice that the response is slightly different than before.
- Click the Template Settings icon.
- Click View this model in the Model section to open the AI Models editor.
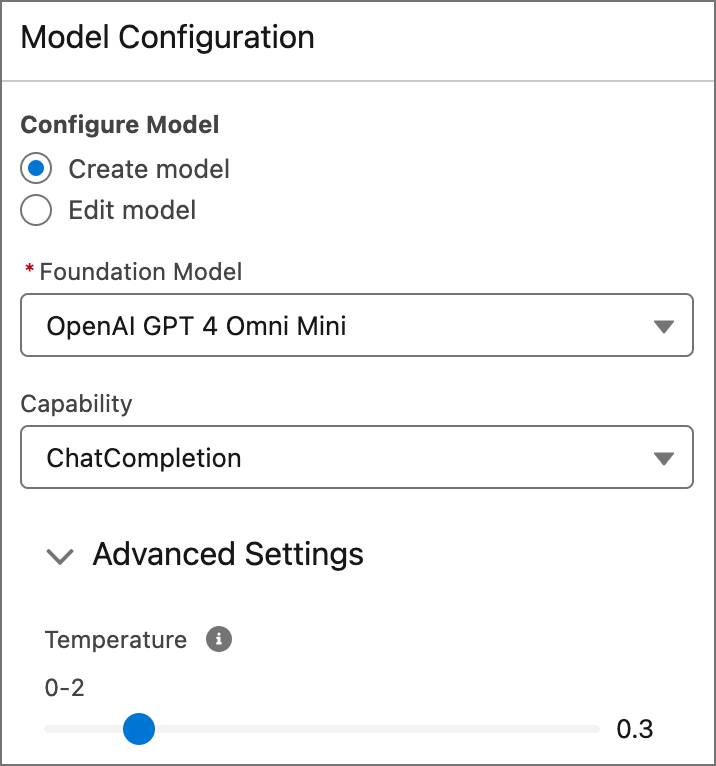
- With the AI Models editor open, click the Edit button.
- In the Model Configuration side panel, select the Create model radio button.
- Change the Temperature to 0.3 by moving the dot on the slider. Leave all other settings as is.

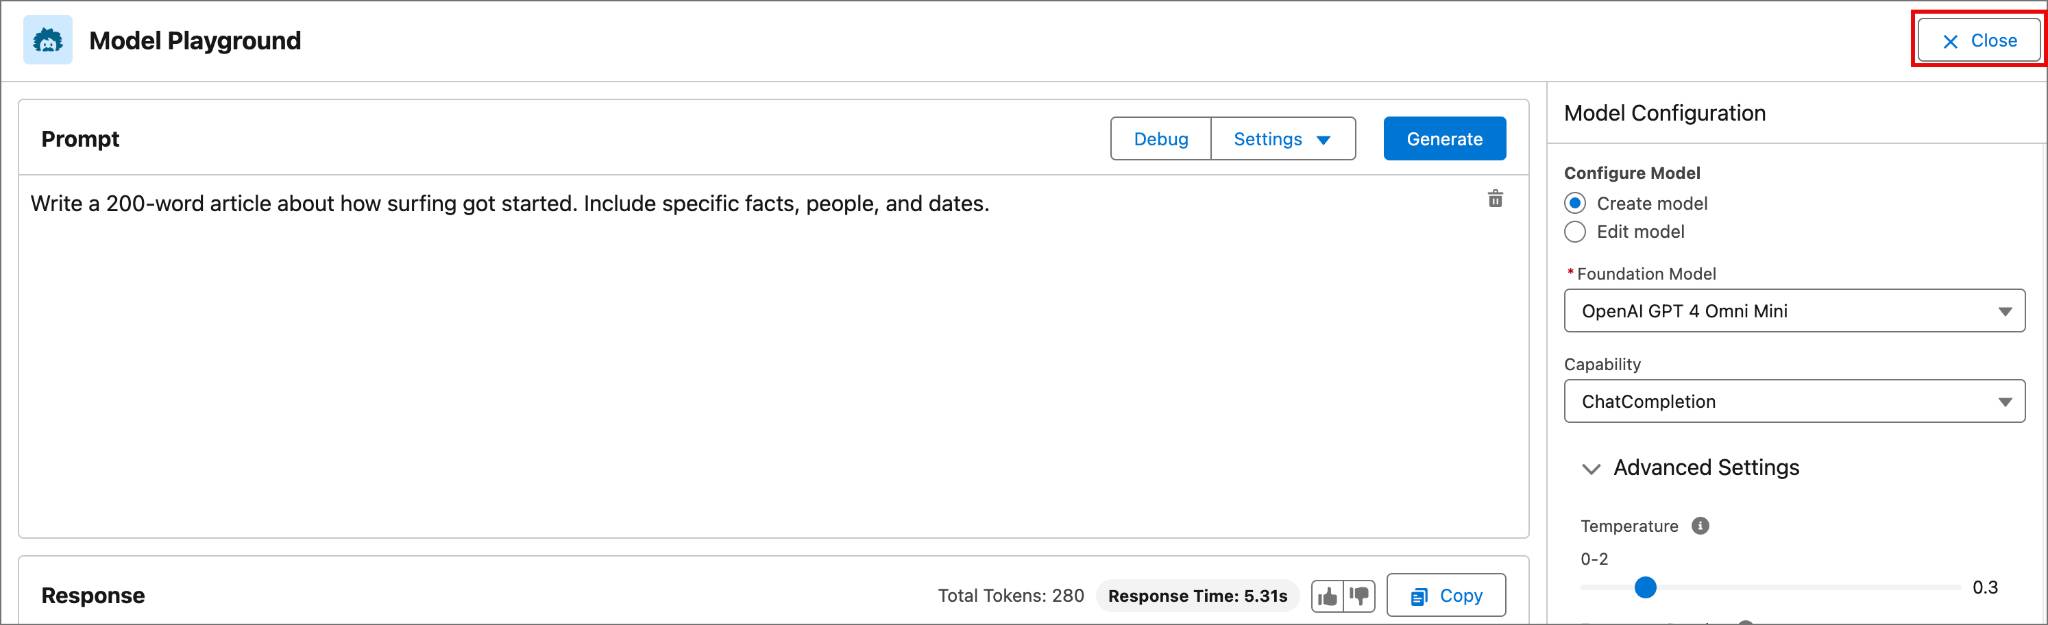
- To see a sample of this writing, page up and enter this prompt:
Write a 200-word article about how surfing got started. Include specific facts, people, and dates. - Click Generate. Feel free to test the surfing prompt with different temperatures to see the difference in writing style output. Make sure the temperature is set back to 0.3 before saving.
- Click Save. Note: The model is being saved, not the example prompt. The 200-word article about surfing was created to give a sense of the writing style this model produces.
- Enter this information:
- Name:
Business Writing - Description:
This model will be less creative, and therefore should hallucinate less.
- Name:
- Select Create Model.
- After you create your new model, click Close.
Test the Model
Time to experience the updated model settings in Prompt Builder.
- If the Generate Personalized Schedule Prompt Template is not still open in another tab, click the Setup icon and select Setup.
- In the Quick Find, search for and select Prompt Builder.
- Select the Generate Personalized Schedule prompt.
- Ensure the Template Settings section is open.
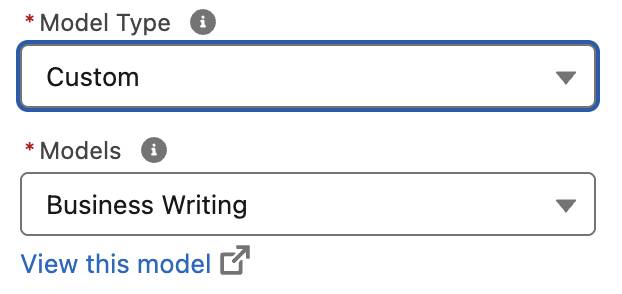
- In the Model settings section, select the Model Type dropdown list.
- Select Custom.
- Ensure Business Writing is selected in the Model dropdown.
- Click Save.
- Click the Preview Settings icon.
- In the Contact box, search for and select Sofia Rodriguez.
- Click Preview. Review the phrasing and structure of the response as it changes when the Model Type is updated. Note that the response is now more business-like due to the model settings.
- Click Activate.
- Click the back arrow to return to Setup.

Now the agent is enabled for Coral Cloud Resorts, the prompt template is improved, and there’s a new business writing model. In the next unit, all of these features come together to enhance the actions that the agent can execute.