Add Pages to Your Site
Accessibility
This unit requires some additional instructions for screen reader users. To access a detailed screen reader version of this unit, click the link below.
Open Trailhead screen reader instructions.
Showcase your organization skills by grouping information onto specific pages. For example, you can include a page about you, a page about your education, a page about your work experience or any extracurricular activities, a page about any Salesforce apps or projects you’ve completed, and maybe even some photos to show your school campus, community, or volunteer participation. The number of pages you choose and what content you put on them is up to you. For this project, you add the following three pages.
- About Me
- Experience
- Education
Now that you’re thinking about how to group your information to show off your awesome organizational skills, let’s create the pages.
Create Your Pages
- On the Home tab, click the down arrow next to the Page Properties
 icon.
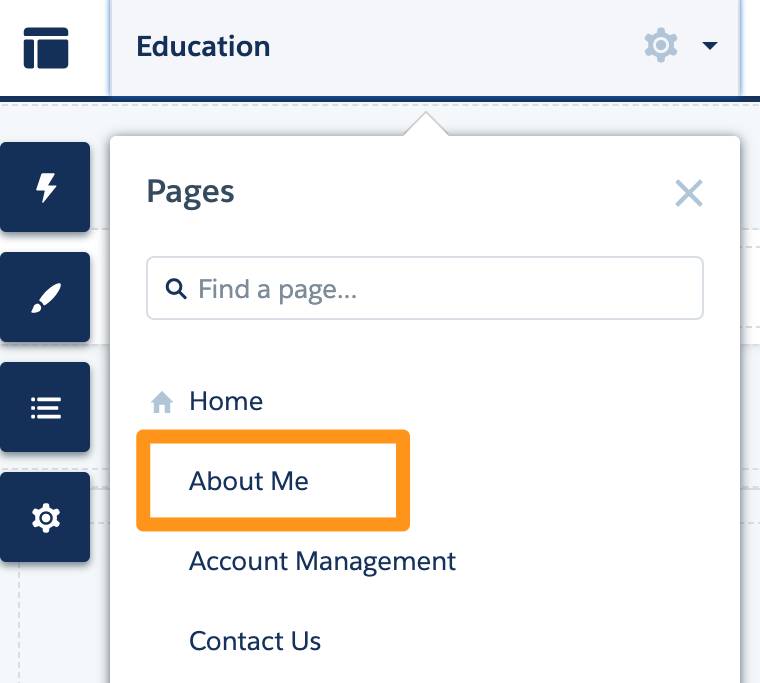
icon. - Select New Page at the bottom of the menu.
- Click Standard Page.
- Click +New Page.
- Choose a content layout. This defines where content on your page is displayed. For this exercise, choose Flexible Layout. Click Next.
- Enter
About Mein the Name field. - Click Create. Look at your page and start thinking about how you would like to fill in that page. You can finish that in the next unit.
- At the top of your page, click the main tab (it might now be called About Me).
- Now that you’ve created your About Me page, Repeat steps 1 to 6 to complete the Experience and Education pages.
When you’re done, you should be able to see each of the new pages you created in the Pages menu.

Great! Now that you have your pages defined, it’s time to create a way for your reader to navigate between them.
Create Your Navigation
- On the Home tab, click the down arrow next to the Page Properties
 icon.
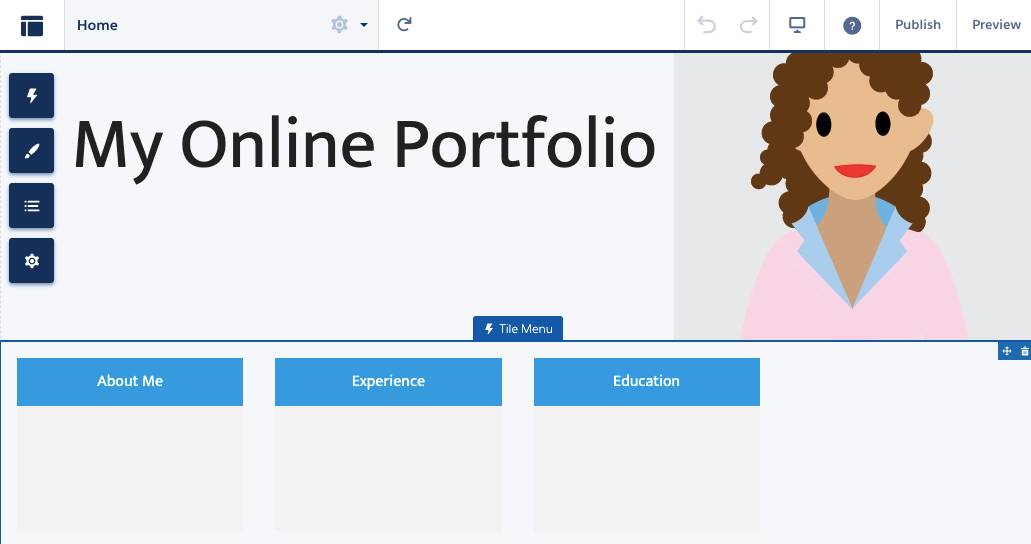
icon. - Once you are back on your home page, click into the Tile Menu area (this is the area that will contain your navigation items), then from the Default Menu dropdown select Default Navigation.

- Click Edit Default Navigation.
- Click the X next to the default Support and Knowledge (if visible) menu items to remove them.
- On the Edit Default Navigation panel, click Add Menu Item. You’ll add a menu item for each page you created in the previous step.
- In the Name field, name your new menu item the same as the page to which it will be connected. For this project, About Me, Experience, and Education.
- In the type field, select Site Page.
- Select the corresponding page that you created from the Page dropdown list.
- Select Publicly available.
- Repeat steps 3 to 6 for each page and menu item, linking the corresponding pages.
- Delete any default menu items that don’t match your pages.
- Click Save Menu.
When you’re done, you should see each of the menu items displayed as tiles below your banner image.

Preview and Publish Your Changes
Before you publish your page, check to make sure everything is displaying the way you want it to. Pay attention to spelling and placement of text.
- In the top right corner of your site, click Preview to see how your site looks so far.
- Test out your page and navigation mappings by clicking each box and seeing that the tab changes to the corresponding tab. Click the menu items at the top of the page and ensure that the resulting tabs match the menu items.
- Click Back To Builder.
- Click Publish.
- Click Publish again.
- Click Got It.