Run and Monitor Data Processing Engine Definition
Activate and Run a Definition
In the earlier step, you configured the Data Processing Engine definition. Now it’s time to activate and run it. When you run a definition, data is synced from the data sources and each node is executed as you defined in the definition workflow.
- From Setup, in the Quick Find Box, enter
Data Processing Engine, and then select Data Processing Engine.
- Click Get Order Aggregate.
- On the Get Order Aggregate definition builder canvas, click Activate.
- Click Run Definition.
- On the Run definition? window, click Next.
- Click Run Definition.
Monitor the Definition Run Status
You can monitor the progress of your definition run using the monitor workflow services, and check if the run has completed, canceled, failed, or is in progress. You can also see the status of each run task. Here’s how you can monitor your definition’s run status.
- From Setup, in the Quick Find box, enter
Monitor Workflow Services, and then select Monitor Workflow Services. Review the current run status of your definition.

- Click Get Order Aggregate.
- Click the Tasks tab. Notice the run status of each task.
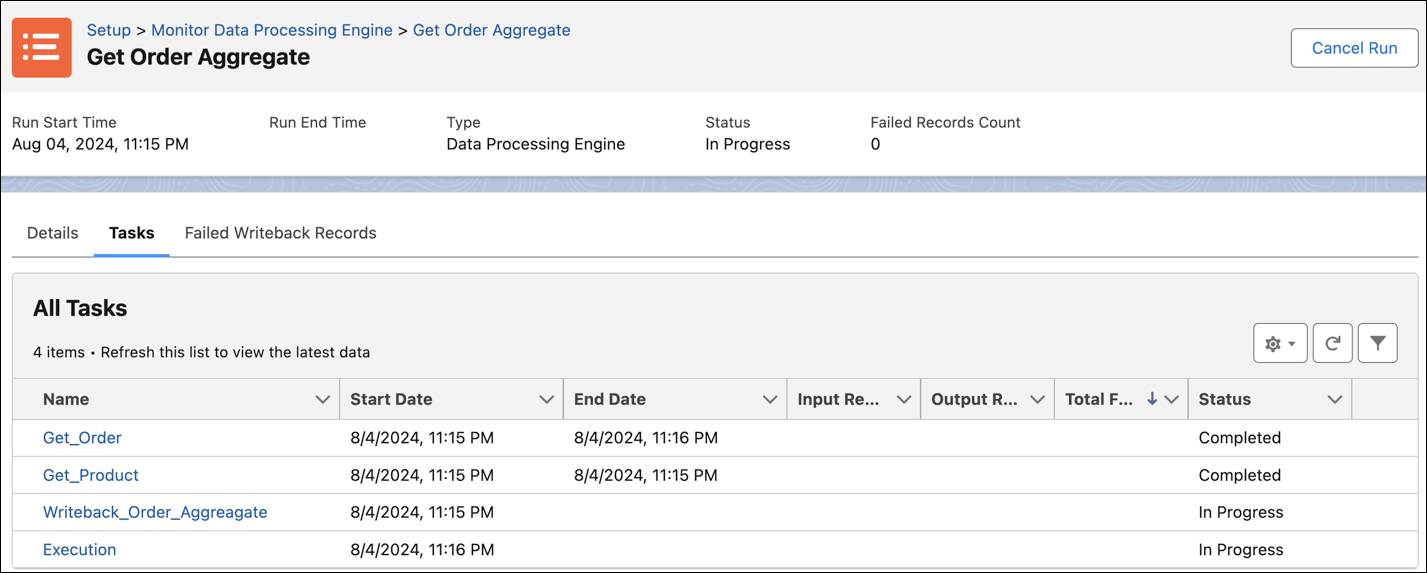
- After the run completes, the status changes to Completed. Refresh the list or the page to see the latest status.

Your results are now written back in your custom object fields, which you had defined in your definition.
Verify the Writeback Results
Now, it’s time to verify the data written back in your custom object fields.
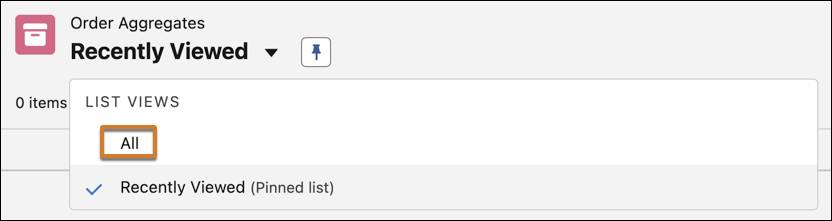
- Click
 , then find and select Order Aggregates.
- Click
 and select All.
Congratulations! Your transformed data is ready.

You can now see the four Cloud Kicks sneaker products along with the total quantity ordered and the total revenue generated for each product.
Run a Definition Using Flow
You can also run a Data Processing Engine definition by automating the run process using a Salesforce flow. Here’s how to do it.
Create a Salesforce Flow
First, create a Salesforce flow.
- From Setup, in the Quick Find box, enter
Flows, and then select Flows.
- Click New Flow.
- On the New Automation window, under Categories, select Screen Automations.
- Under Types, Select Screen Flow.
Your flow is now created and ready to be configured.
Call the Data Process Engine Definition
Next, use an action element to bring the Get Order Aggregate definition into the flow you just created.
- Click
 to add an element.
- Select the Action element.

- In the Search Actions pane, find and select Get Order Aggregate-DataProcessingEngine.

- For Label, enter
Run Order Aggregate Definition.
- API Name: This field auto-populates with
Run_Order_Aggregate_Definition.
- Save your changes.
- On the Save the flow window, specify these details.
- For Flow Label, enter
Order Aggregate Flow.
- Flow API Name: This field auto-populates with
Order_Aggregate_Flow.
- Save your changes.
- For Flow Label, enter
- Click Activate.
- Click Run to run the flow and the definition.
The definition automatically runs and executes each node. After the definition run is complete, the results are written back to the target entities.

The new results appear after the existing ones as the action type is selected as Insert by default in the writeback object node. For the Insert action type, every time you run the definition, the results appear in the target object one after another.
Run a Definition with Scheduled Flow
You can also create a scheduled flow to run the definition automatically at a specific date and time. Here’s how to set up that process.
Create a Scheduled Flow
First, create a scheduled flow.
- From Setup, in the Quick Find box, enter
Flows, and then select Flows.
- Click New Flow.
- On the New Automation window, under Categories, select Scheduled Automations.
- Under Types, select Schedule-Triggered Flow.
- In the Set a Schedule pane, add these details.
- For Start Date, select the current date or a future date.
- For Start Time, select a time slot.
- For Frequency, select Once.
- For Start Date, select the current date or a future date.

You have successfully created a schedule-triggered flow and it’s now ready to be configured.
Call the Data Processing Engine Definition
Use an action element to bring the Get Order Aggregate definition into the flow you created in the previous section.
- Click
 to add an element.
- Select the Action element.
- In the Search Actions pane, find and select Get Order Aggregate-DataProcessingEngine.
- For Label, enter
Run Scheduled Definition.
- API Name: This field auto-populates with
Run_Scheduled_Definition.
- Save your changes.
- On the Save the flow window, specify these details.
- For Flow Label, enter
Order Aggregate Scheduled Flow.
- Flow API Name: This field auto-populates with
Order_Aggregate_Scheduled_Flow.
- Save your work.
- For Flow Label, enter
- Click Activate.
The flow automatically executes and the definition runs as per the set date and time.
Wrap Up
Thanks to Data Processing Engine, the large volumes of unmanaged customer data at Cloud Kicks is no longer a black hole of complex numbers and figures. The sneaker company can now finally derive useful insights such as the total quantity of sneakers ordered and total revenue for each sneaker. These insights are vital for improving customer service and growing business.
Congratulations on completing this project. You now know how to create a Data Processing Engine definition and add data sources. You also learned how to configure the nodes to transform data and write back results. Additionally, you explored the process of how to run and monitor the definition. You also learned how to invoke and execute a Data Processing Engine definition in Salesforce Flow. With this invaluable knowledge in your admin arsenal, you’re now ready to use Data Processing Engine in your business processes.
Resources
- Salesforce Help: Run Data Processing Engine Definitions
- Salesforce Help: Monitor Your Data Processing Engine Definition Runs