Configure a Data Processing Engine Definition
Create a Data Processing Engine Definition
The holiday season is approaching and Cloud Kicks is expecting a huge increase in sales. Before customers start placing orders, the management is eager to test Data Processing Engine and its wonderful data transformation magic. So, without further delay, put on your admin hard hat, and jump in!
First, create a Data Processing Engine definition.
- Click
 and select Setup.
- In the Quick Find box, enter
Data Processing Engine, and then select Data Processing Engine.
- Click New. A new tab with the New Data Processing Engine Definition window opens.
- On the New Data Processing Engine Definition window, provide these details.
- For Name, enter
Get Order Aggregate.
- API Name: This field auto-populates with
Get_Order_Aggregate.
- For Process Type, select Standard.
- For Name, enter
- Click Next.
- Select the CRM Analytics runtime platform.
- Click Done.
The Get Order Aggregate Data Processing Engine definition builder canvas opens. Next up, configure the Data Processing Engine definition.
Add Data Sources
The next step after creating a definition is to add data sources from where you want to fetch the data. The first node by default is always a Data Source node. When you select the source object, you can also select its fields as data sources. In the case of Cloud Kicks, add the Order, Order Product, and Product objects as Data Source nodes to fetch the order and product details, and product names.
- On the Get Order Aggregate Data Processing Engine definition builder canvas, click New Node.
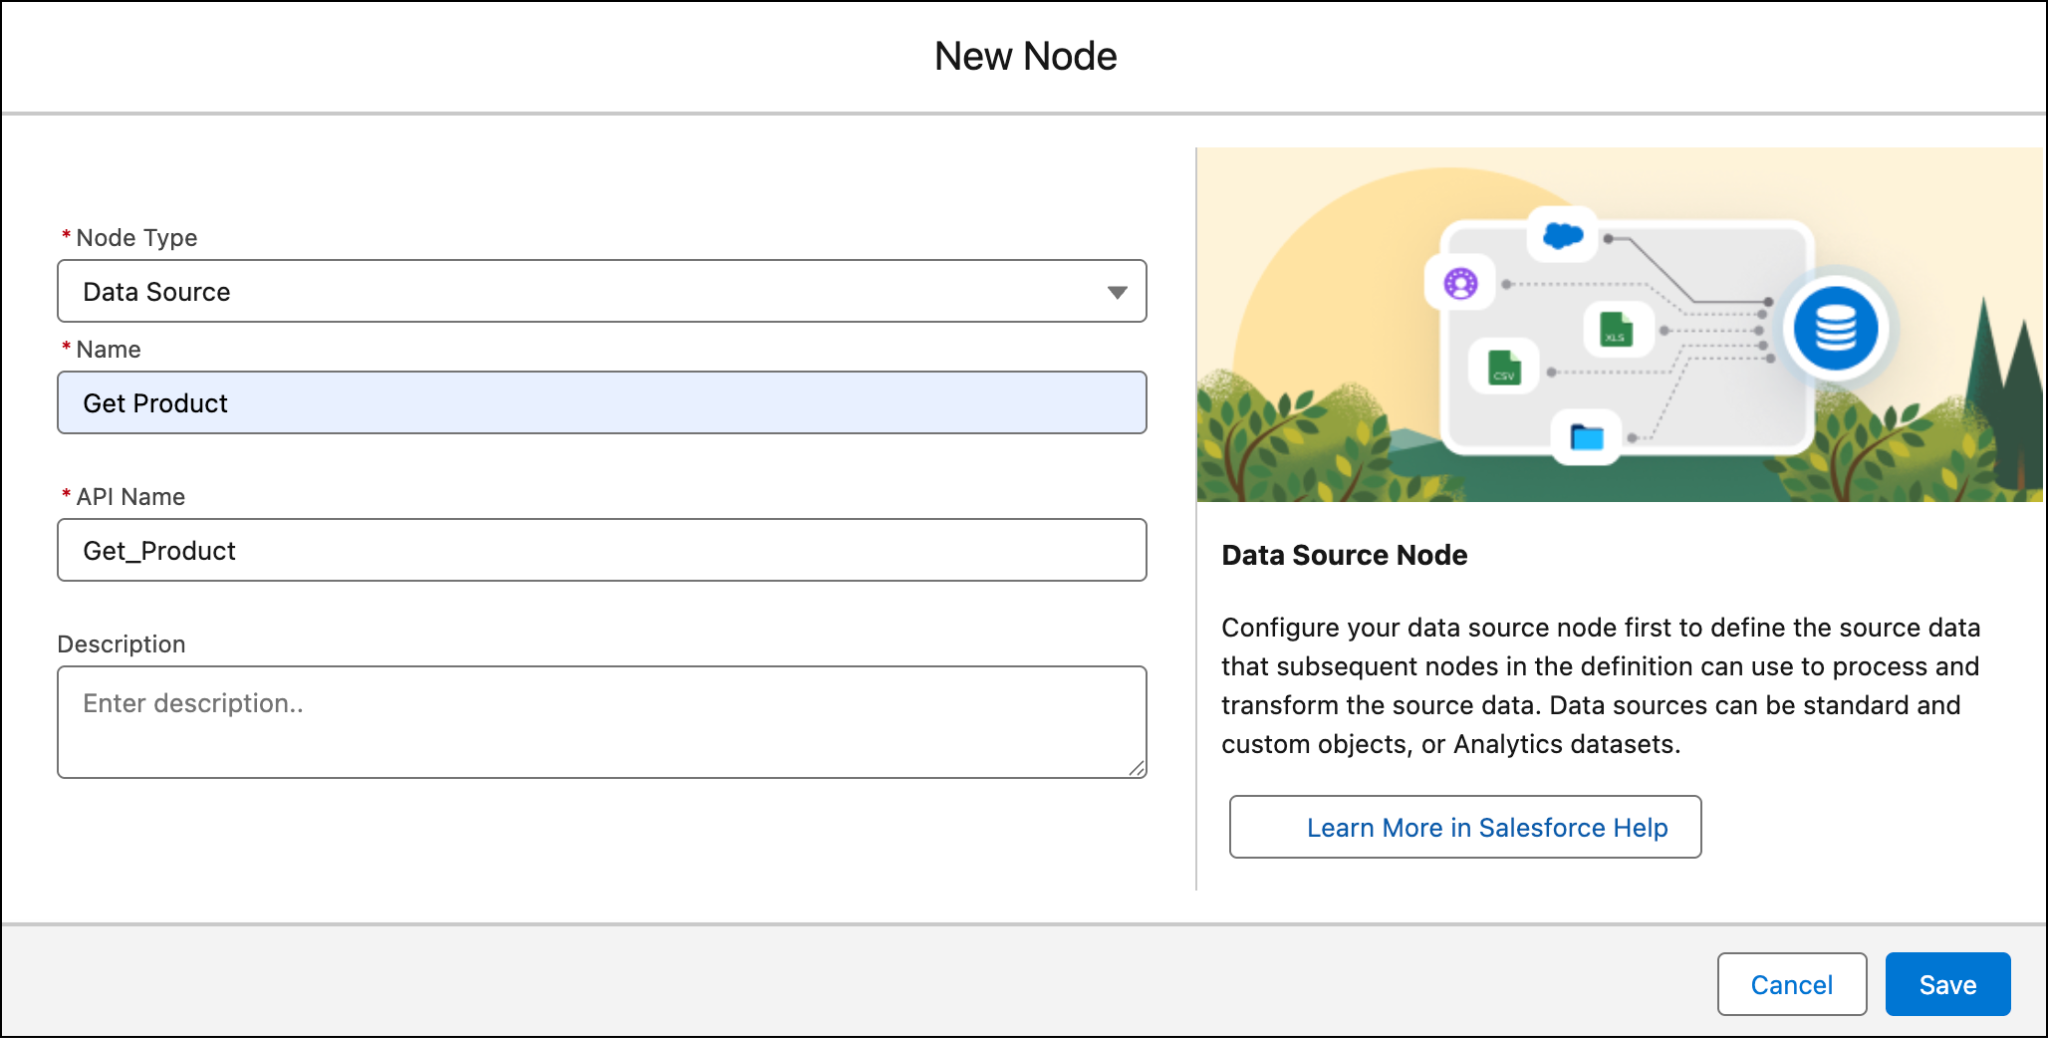
- On the New Node window, specify these details.
- For Name, enter
Get Order.
- API Name: This field auto-populates with
Get_Order.
- Save your changes.
- For Name, enter
- In the Configuration pane, for Source Object, find and select Order.
- Click Select Fields.
- Select Field to select all the fields.
- For Order ID, change the alias to
OrderId.
- In the Select Fields pane, save your changes.
- In the Configuration pane, save your changes.
- Click Save beside Activate.
You’ve successfully added the Order object as a data source and it’s ready to be used.
Add the Order Product Data Source
Use the Order Product object as the second data source to get the product details.
- Add another source node by clicking New Node.
- On the New Node window, specify these details.
- For Node Type, select Data Source.
- For Name, enter
Get Product.
- API Name: This field auto-populates with
Get_Product.
- Save your changes.
- For Node Type, select Data Source.
- In the Configuration pane, for Source Object, find and select Order Product.
- Click Select Fields.
- Select Field to select all the fields.
- In the Select Fields pane, save your changes.
- In the Configuration pane, save your changes.
- Click Save beside Activate.
And just like that you’ve added the Order Product object as a data source and it’s now ready to be used.
Add the Product Data Source
Use the Product object as the third data source to get the product names.
- You’ve already added two data sources. Similarly, add another data source node named
Get Product2. The API Name field auto-populates withGet_Product2.
- In the Configuration pane, for Source Object, find and select Product.
- Click Select Fields.
- Select Field to select all the fields.
- In the Select Fields pane, save your changes.
- In the Configuration pane, save your changes.
- Click Save beside Activate.
You’ve added the Product object as a data source and it’s now ready to be used. And with that, you’ve configured all the required data sources. Congrats! Here’s the Get Order Aggregate definition with the three configured data source nodes.
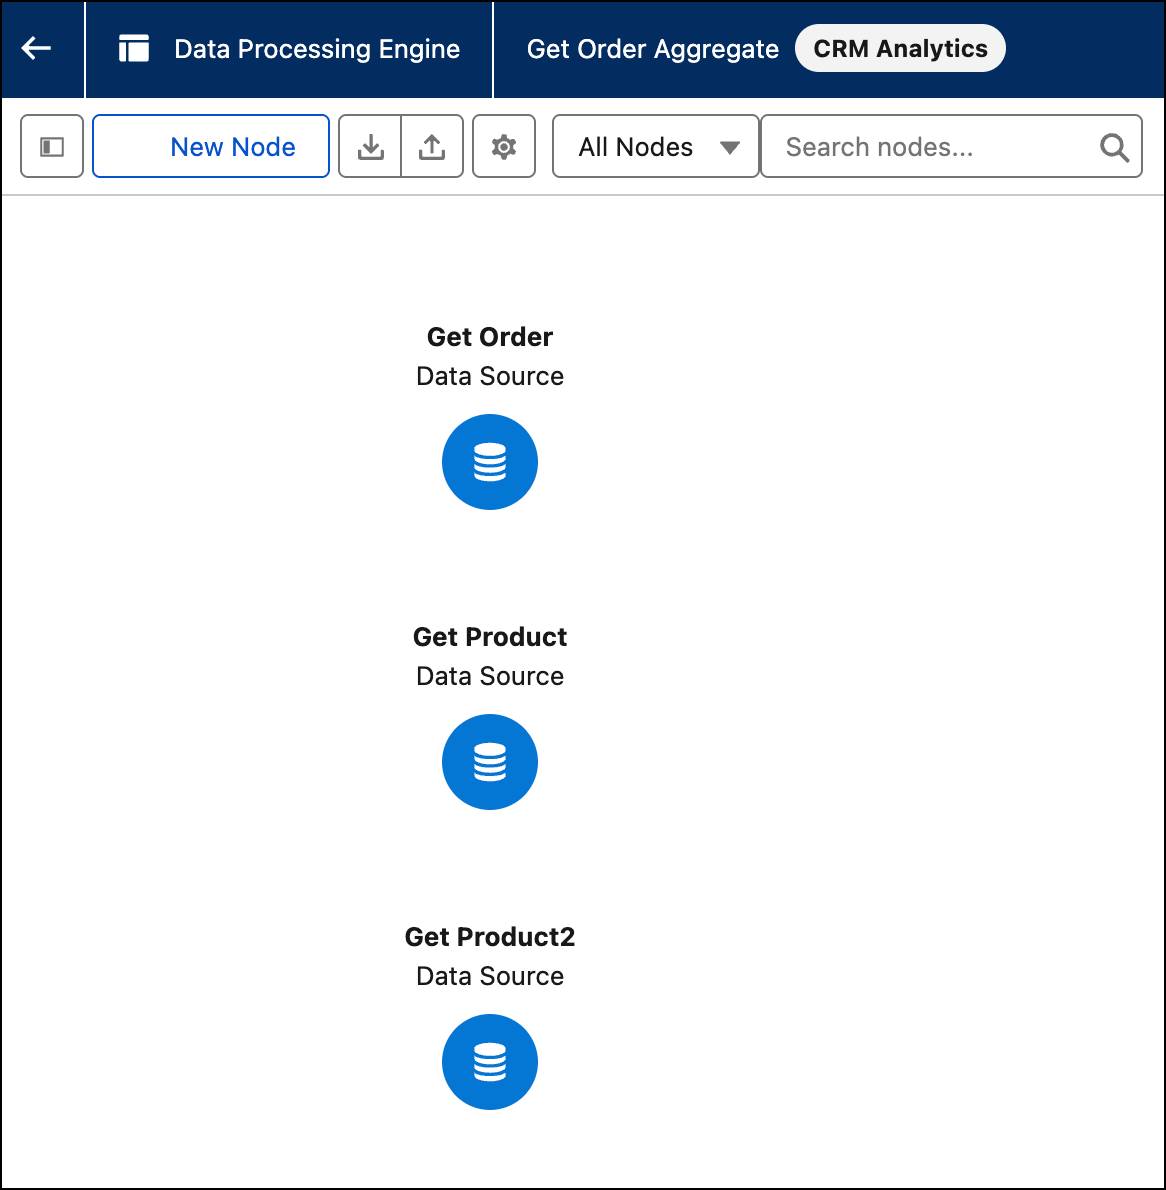
Your data sources are now configured and ready.
Add a Filter Node
Next, add a filter node to get the Cloud Kicks order information from the beginning of the current year until the current date. As the sample data in your Developer Edition org is configured for a specific year, make sure to select 2024 to get the expected results.
- On the Get Order Aggregate definition builder canvas, click New Node.
- On the New Node window, specify these details.
- For Node Type, select Filter.
- For Name, enter
Filter Order.
- API Name: This field auto-populates with
Filter_Order.
- Save your changes.
- For Node Type, select Filter.
- In the Configuration pane, specify these filter condition parameters.
- For Source Node, find and select Get Order.
- For Resource, find and select Effective Date.
- For Operator, select Greater Than or Equal.
- For Type, select Field.
- For Value, select Jan 1, 2024.
- For Source Node, find and select Get Order.
- In the Configuration pane, save your work
- In the builder canvas, click Save beside Activate.
The Filter node fetches only those orders that meet the filter condition.
In this step, you learned how to create a Data Processing Engine definition, add data sources, and filter the data. In the next step, learn how to configure nodes to transform data and write back results in the definition.