Create a Button and an Action (Guided Project Light)
Project Objective
You've learned the basics of Xcode and Interface Builder. Now you'll apply your knowledge of these tools by building an app.
By the end of this guided project, you'll have created an app named Light that changes the screen from black to white and back again when the user taps a button. To successfully build this app, you need to use Xcode documentation, add breakpoints,
and create outlets and actions.

Step One: Create a Button and an Action
First, start a new project:
- Create a new Xcode project using the Single View App template that you've used in previous lessons.
- Name the project
Light. - Select Main.storyboard in the project navigator to open your storyboard in Interface Builder.
The storyboard includes an instance of ViewController. ViewController is a subclass of UIViewController that Xcode predefines as part of the Single View App template and lists in the project navigator.
Verify the view controller's identity:
1. Click the Show Document Outline button
 to reveal all the view controllers defined in
 Main.storyboard.
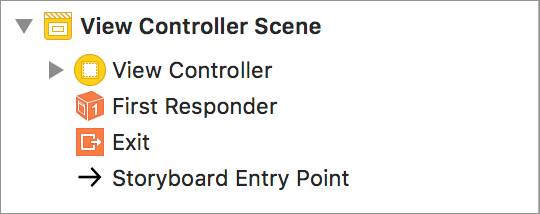
2. Select View Controller in the Document Outline view.
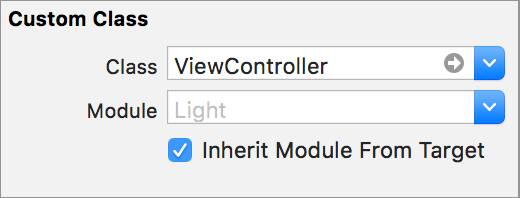
3. Click the Identity inspector button
 at the top of the utilities area to confirm that this particular view controller is of type
 ViewController.
You can use either Simulator or your own device for this project, but the size of the view controller on the canvas needs to be the same as the size of your screen. Verify that your view controller is the correct size:
- If you’re using your own device, continue to step 2. If you're using Simulator, select the iPhone 8 simulator from the pull-down menu on the left side of the Xcode toolbar.
- Click the View as button at the bottom of the canvas to select the iPhone 8 configuration or the size of the view controller that corresponds to your device.
- Leave the view in portrait orientation.


Look at the view controller's attributes:
- Select the view controller's
view. - Open the Attributes inspector
 , which you can use to customize the attributes of any interface element.
The background color for this view defaults to white. This white background is the desired state of your app on launch, so you don't need to change anything yet.
Next, you'll create an interaction that mimics the visual effect of turning on a light. Add a button that changes the view's background color from black to white:
1. Add a button to the view by clicking the Object library button in the toolbar and dragging a button object onto the view.

After placing the button onto the view, the button appears in the Document Outline as a subview.
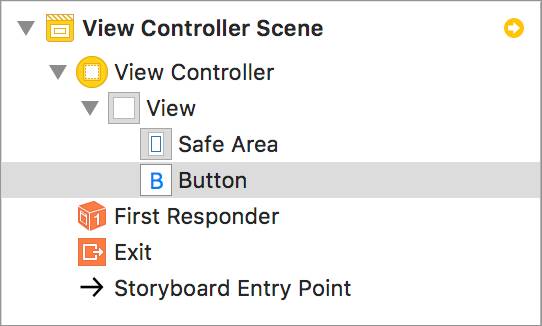
2. Move the button to the upper-left corner of the view.
The layout guides help you align the object into the correct position.

Give your button an action to perform when a user taps it:
1. Click the Adjust Editor Options button
 .
.
2. Click the Assistant Editor button
 .
.
3. Connect an action from the button to your view controller source.
The action should associate the button's touchUpInside event with a method named buttonPressed(_:) in your view controller.
4. Build and run the app.
When you tap the button, nothing happens because the buttonPressed(_:) method is empty.
5. To verify that the method executes, add a breakpoint within the method definition.
6. Tap the button to trigger the breakpoint.

7. Remove the breakpoint.
In the next part of the project, you'll add code to change the background color.
Check the Solution if You Need It
Here is the entire Light project. You can compare it to how you started your project in this step. See how the button and action were set up.