Get Hands-on with a Record-Triggered Flow
Learning Objectives
After completing this unit, you’ll be able to:
- Build a record-triggered flow that runs prior to the deletion of a record.
- Test the flow.
Introduction
You now have the ability to run record-triggered flows prior to a record being deleted. There are many reasons why you might do this including: sending a notification to the owner of a record letting them know the deletion has occurred, updating the value of a field based on the record being deleted, or handling dependencies that exist that must be resolved in order for the record to be deleted. For example, if you decide to delete a contact you must first ensure there are no cases associated with the contact. You could set up a flow that either deletes the cases or removes the cases from the contact prior to the contact being deleted.
The flow can access any record and perform actions before the triggering record is deleted from the database. To create, update, or delete other records, add Create Records, Update Records, and Delete Records elements to your flow. The $Record global variable contains the Salesforce record that launches the flow.
Who has access?
To activate a record-triggered flow that runs before the record is deleted, you need the Manage Flows and View All Data permissions.
Why was this added?
Suppose your Salesforce org has a custom field on the Account object that tracks the total items related to that account. Without automation, this field is updated manually every time a related item is deleted. Now, you can automate this task with a record-triggered flow that runs before a record is deleted.
How does it work?
The flow runs anytime an item is deleted. It finds the related account, and decrements the total number of items. When the flow finishes, the item that launched the flow is deleted.
The flow can access any record and perform actions before the record that launched the flow is deleted from the database. The $Record global variable contains the Salesforce record that launches the flow.
Considerations for record-triggered flows:
- Launching a flow after restoring a record via the undelete operation is not supported.
- Displaying custom error messages via the addError() method is not supported in invocable actions.
Create a Flow
To see a record-triggered flow that fires prior to the deletion of a record in action, let’s walk through an example. Let’s say that the sales director wants the lead owner to be notified anytime a Closed - Not Converted lead is deleted. Specifically, the sales director wants an email sent that provides the first and last name of the lead being deleted and the user record that deleted it. This way if the lead owner has questions, they know the name of the deleted lead, and can reach out to the person who deleted it.
- From Setup, enter
Flowsin the Quick Find box and select Flows. - Click New Flow.
- Select Record-Triggered Flow and click Create.
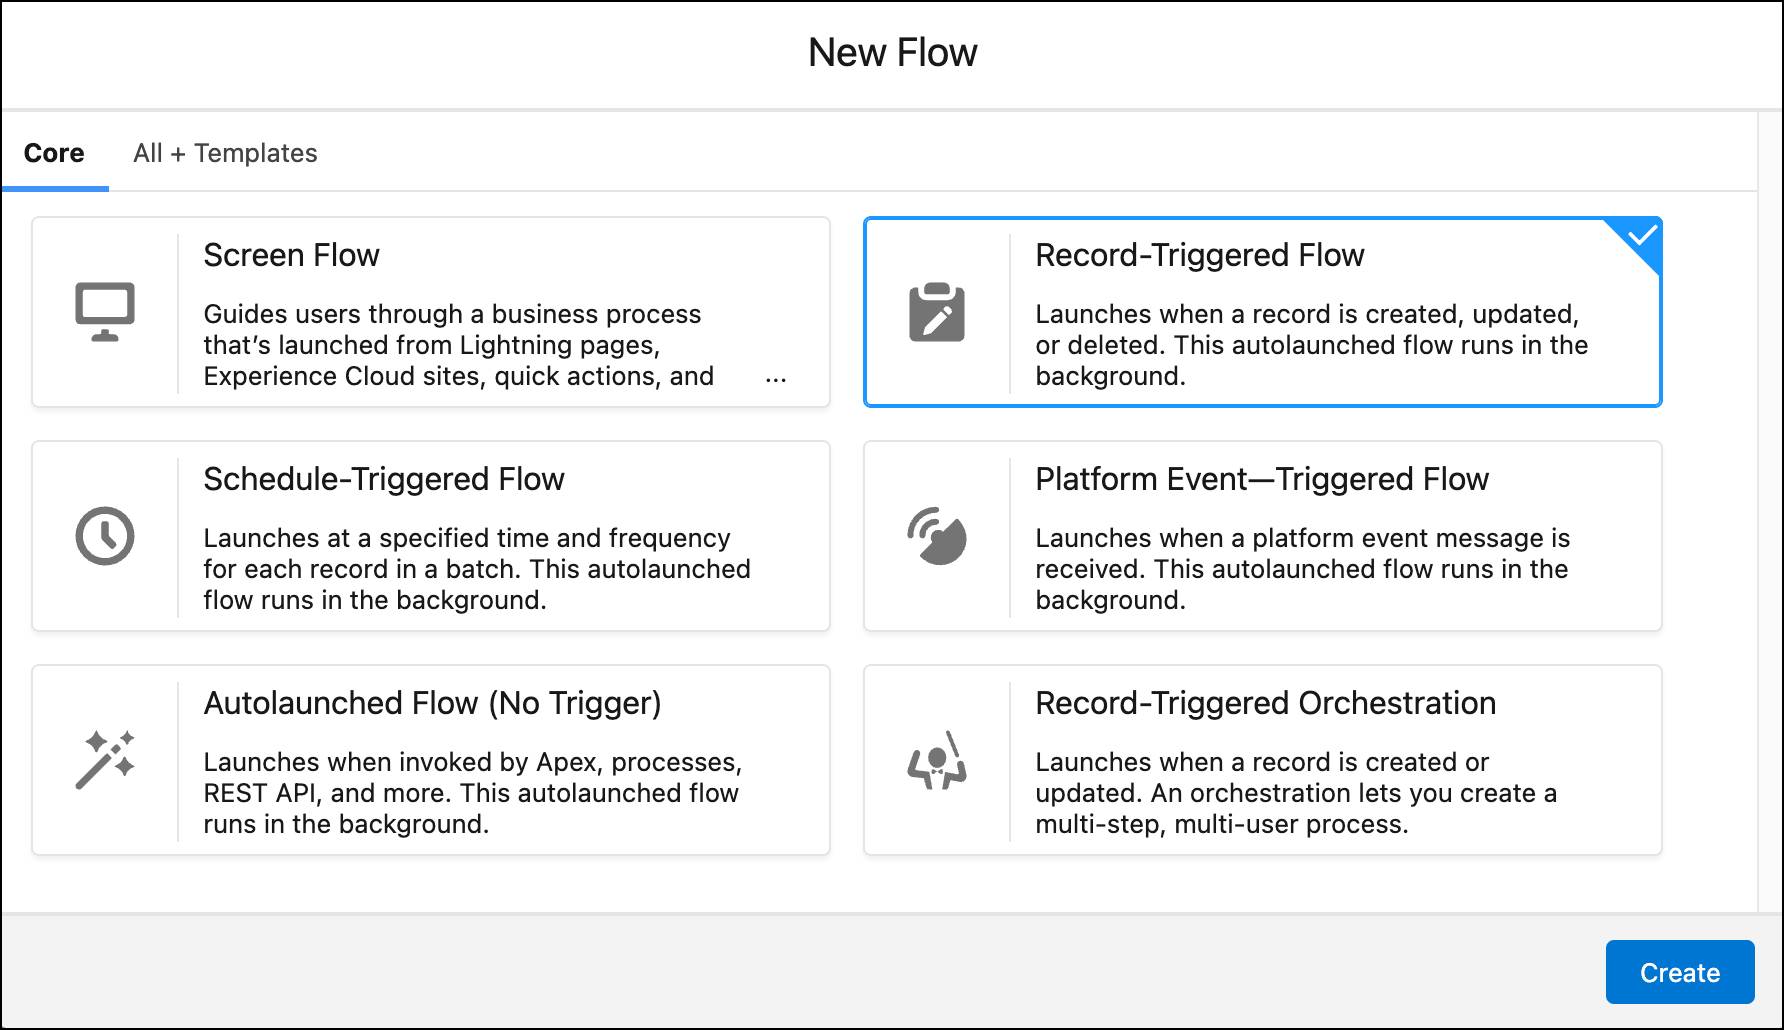
Set the Trigger Criteria
Here, you select the criteria that defines how and when the flow is triggered.
- Search for and select Lead.
- Select A record is deleted.
- In Condition Requirements, select All Conditions Are Met (AND).
- Create the condition:
- Field: Status
- Operator: Equals
- Value: Closed - Not Converted

- Click Done.
Also new for Winter ’21 is the ability to narrow the starting records of the object selected for use in the flow. In the example, the starting list of records contains just Closed - Not Converted leads. Prior to this release, all leads would have been included without being able to narrow at the start. This helps improve performance of the flow.

Add an Action
Next you add an action that notifies the Lead Owner when the lead record has been deleted. This is where you use the $Record global variable so you can include fields in the email. Keep in mind that if a variable in the email comes back as null or empty, an error may be thrown and the record will not be deleted.
- Click the Plus sign on the flow to add an Element.
- Click the Action element.
- Filter by Category and select Email.
- Select the Send Email Action.
- Fill out the fields as follows:
Field Value Label Email Lead OwnerAPI Name Email_Lead_OwnerDescription Email notification to the lead owner that a closed not-converted lead has been deleted.Body Include A closed not-converted lead {!$Record.FirstName} {!$Record.LastName} was deleted by {!$User.FirstName} {!$User.LastName}.Subject Include Deletion of Non-Converted Lead: {!$Record.FirstName} {!$Record.LastName}Recipient Address List Include
Search for and select $Record > Owner (User) > Email. This shows as {!$Record.Owner:User.Email}.
(Note: Make sure to search for the values in the search box since copying and pasting may not work.)
- Click Done.
Activate the Flow
Next, connect the email action to the start of the flow. Once the action is connected to the start of the flow, the flow can be saved and activated.
- Click Save.
- Enter the following values:
- Flow Label:
Notify Lead Owner of Closed Non-Converted Leads - Flow API Name:
Notify_Lead_Owner_of_Closed_Non_Converted_Leads - Description:
This flow emails leads owners when closed non-converted leads are deleted.
- Flow Label:
- Click Save.
- Click Activate.

- Click
 .
.
Test the Flow
The flow is now ready for use. Let's test it by deleting a Close-Not Converted lead and checking your inbox for the notification email.
- Click the App Launcher and select Sales.
- Click Leads and select the All Open Leads list view.
- Click the Gear icon and select Clone.
- Complete the following information:
- List Name:
All Closed Not-Converted Leads - List API Name:
All_Closed_Not_Converted_Leads - Who sees this list view?: Only I can see this list view
- List Name:
- Click Save.
- The list filter should be showing. If it isn't, click the filter icon. From the filter, click Lead Status does not contain closedand set as follows:
- Field: Lead Status
- Operator: contains
- Value: Closed Not-Converted
- Click Done then click Save.
- Click the down arrow next to Bill Dadio Jr and click Delete.
- A popup appears asking if you want to delete the record. Click Delete.
- Check your email. If everything is working as expected, you should receive an email that looks like the following.
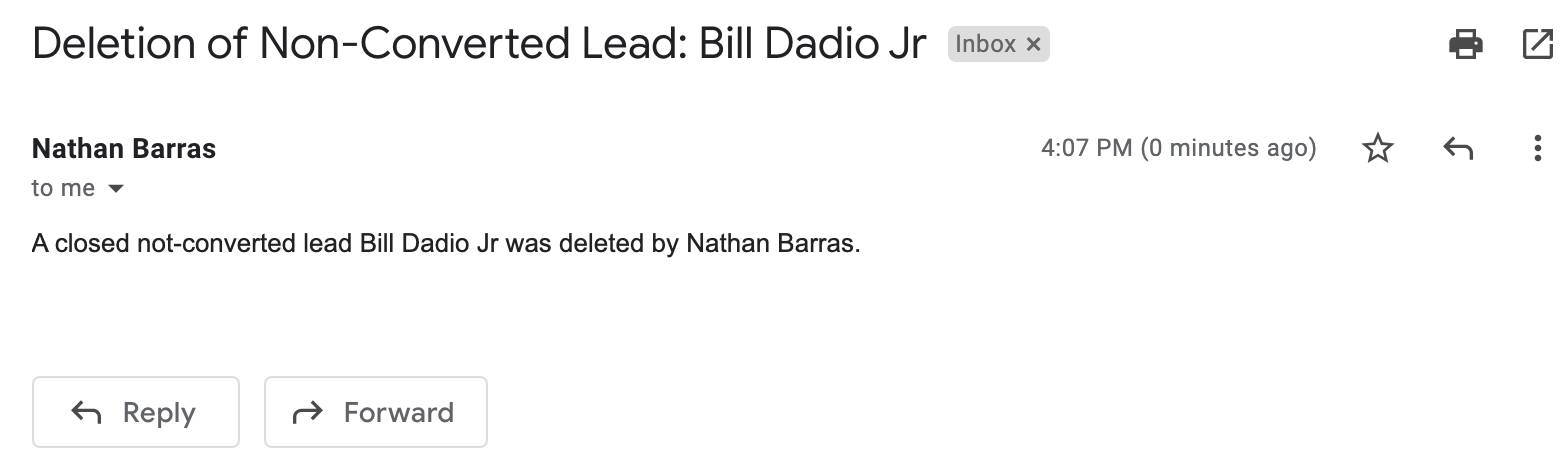
Great job! Lead owners now know when a lead is deleted and who deleted it. This makes for a happier sales team and a happier sales director. Not bad for a few minutes of work.
Now it’s your turn.