Prepare Your Data
Learning Objectives
After completing this unit, you’ll be able to:
- Describe how to connect to data.
- Edit data values using cleaning operations.
- Combine data using unions.
Tableau Prep Builder Tutorial
This unit provides an interactive activity using the Trailhead simulator. In the activity, you build a flow by connecting to data, and then add flow steps to explore, combine, and clean it.
To complete a similar exercise using Tableau Prep Builder, you can download a trial version of the Tableau Prep software and complete a tutorial in the product. The tutorial is based on the Superstore sample flow, which is included in the installation of Tableau Prep Builder.
Scenario
Imagine you work as a data analyst at the headquarters for Superstore, a large retail chain. Your manager wants you to analyze product sales and profits over the past 4 years for the company. As you start gathering all the data you need, you notice that the order data has been collected separately for each of the four sales regions. Before you can start analyzing the data in Tableau, you have to do some data preparation first. You combine the regional data, explore the data’s structure, and then perform some cleaning operations.
Superstore’s southern region uses separate data files for each year. Each of the other regions has a single data file for its orders. First, combine the files for the southern region using a wildcard union during the connection process. Then use a union in the flow to combine the other regional files with the southern region data. Next, explore the data’s structure and select which fields to include in the flow. Finally, remove extra characters and change its data type to clean a data field.
Now, let’s perform these tasks in a series of Trailhead simulations.
Connecting to Data
The first step for preparing data is to create a flow by connecting to your data. Let’s start by learning about different connection options.
Tableau supports connecting to different types of data, and that data can be available in a variety of places. Your data might be stored on your computer in a spreadsheet or a text file, or a relational database, in big data storage, or a cube (multidimensional) database. You can also connect to public domain data available on the web, such as the US Census Bureau information, or to a cloud database source such as Google Analytics, Amazon Redshift, or Salesforce. Tableau supports all of this and more. For Tableau-supported files and databases, native connectors are provided and listed on the Connections pane in Tableau Prep Builder.
In this simulation, you create a flow by connecting to data source files. Connecting to data adds input steps to a flow.
You have several files from different sales regions that contain data about Superstore orders. The orders for the southern region come in different tables for each year, and the tables have similar names and structures. The orders from other regions come in single table files.
Begin by using a wildcard union to add all the tables from the southern region in a single input step. Then, connect individually to the files from the other regions, with each region's table added as its own input step.
Trailhead Simulator
For the best experience, view the Trailhead Simulator on a computer, not a mobile device. The Trailhead Simulator is not a Trailhead Playground. It provides a simulated experience and does not store your progress. If you close and relaunch the simulation, it restarts. You can use the navigation controls to return to where you left off.
The Trailhead Simulator is designed to show a focus box on the correct click area if you click the wrong area first (see example image below). To continue, simply click the focus area.
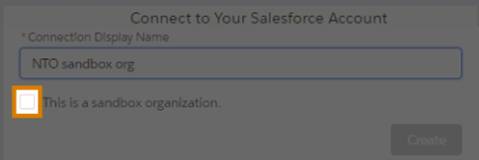
When you click in the wrong spot, highlighting shows you where to click.
- Launch the Trailhead Simulator.
- Click Connect to a Data Source.
- Click Begin.
- From the Tableau Prep Builder Start page, click Connect to Data.
- In the Connect pane, under To a File, click Text file.
- Select orders_south_2015.csv.
- Click Open to create an input step and add it to the Flow pane.
- To add the rest of the files for the southern region for each year in the input step, click the Multiple Files tab.
- Select Wildcard union button, then click Apply to add the data from these files to the
orders_south_2015input step.
- Click the
 next to Connections.
- Under To a File, click Microsoft Excel.
- Select Orders_East.xlsx, then click Open.
- Click the
 next to Connections.
- Under To a File, click Text file.
- Select Orders_Central.csv, then click Open.
Explore the Data’s Structure
In the previous simulation, you created the flow by connecting to data, and you added input steps to the flow. Now that you have connected to data, you can examine the data structure of each table in its input step. 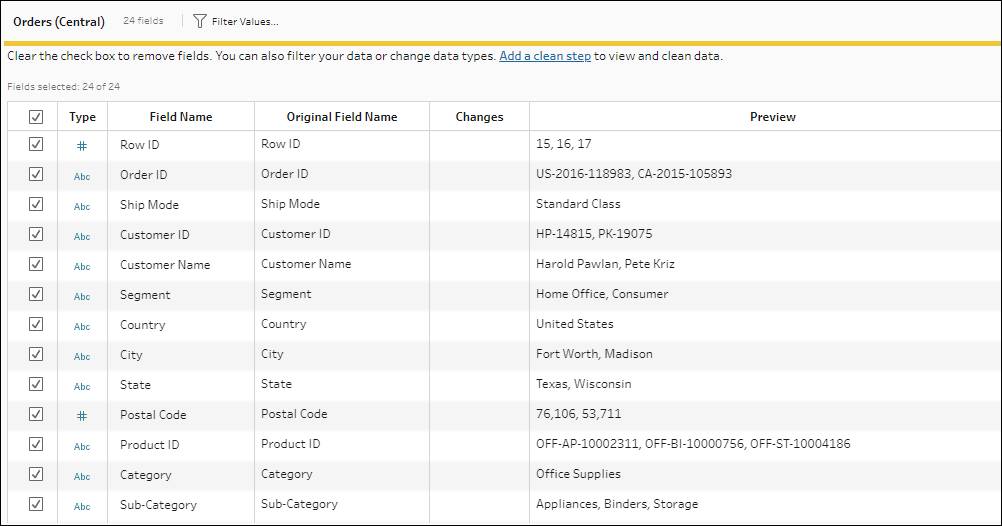
To explore a table’s data structure, select the input step for one of the tables in your flow. In the Input pane of the table’s input step, you can select which fields are included in the flow, change field properties, and add input filters to limit the data. For example, you can add a filter to a date field to include only data from the past 10 years in the flow.
After you add more steps to the flow, you can click any input step in the flow to return to it.
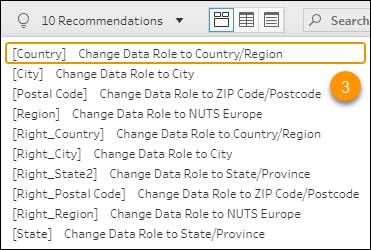
In this simulation, you explore the data structure for the Orders_West table in the input step and use the Input pane to exclude unwanted fields from the flow. When you examine the data, you see that it includes fields that start with Right_. These are duplicate fields that can be excluded directly from the input step.
- Ensure you’re in the Explore Your Data simulation. If you’re not there yet, launch the Trailhead Simulator and click Explore Your Data.
- Click Begin.
- In the Flow pane, click the Orders_West Input step.
- Type
Rightin the Search field.
- Click the check box at the top to clear all fields that start with Right so that they are not included in the flow.
- Click the Changes tab.
Note that your changes appear in the Changes pane, where you can take further actions on them, if desired. Additionally, anytime you make changes to data, an annotation appears on that step in the Flow pane. This helps you to keep track of the actions you take on your data at different points in the flow. In this case, an annotation appears on the Orders_West input step.
Operations for Cleaning, Shaping, and Combining Data
In the previous simulation, you learned that connecting to data creates a flow by adding input steps to it, and that you can perform some actions on data from input steps. To perform additional cleaning actions, add a clean step to the flow.
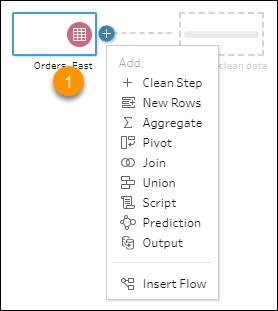
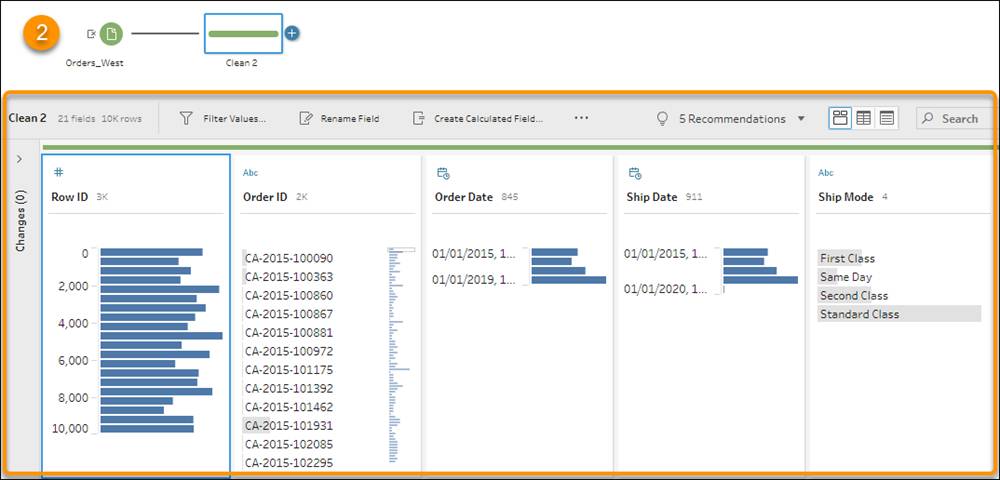
When you add a clean step (1) in the Flow pane, the Profile pane shows a profile card (2) for each field, and the toolbar shows available cleaning options, and Recommendations for data preparation actions automatically generated by Tableau Prep (3).
Clean data enables more accurate analysis, which leads to more insightful, data-driven decisions. By correcting data problems, you make the data easier to work with. This also benefits others with whom you share data sets. Some problems to look for in data are:
- Duplicate fields
- Missing fields
- Fields with inconsistent names
- Data type inconsistencies
- Unnecessary fields
- Misspelled fields and misspelled values within fields
- Upper or lower case inconsistencies in field values
- Extra spaces in field values
You can correct these problems using operations in a clean step in Tableau Prep Builder. These clean step operations include:
Operation |
Description |
|---|---|
Filter |
Filter a field to show only the corresponding values in other fields. |
Group Values |
Group values manually, or use Prep's built-in fuzzy algorithms to perform one-click grouping operations based on spelling, pronunciation, or common characters. Assign a Data Role to field values and use additional grouping options to find inaccuracies or outliers in the data set. |
Convert Dates |
Convert date field values to the day of the week, month, quarter, and more. |
Split Values |
Split string field values automatically based on a common separator, or use a custom split to specify how you want to split field values. |
Rename Fields |
Edit the field name. |
Duplicate Fields |
Create a copy of your field and values. |
Keep Only Fields |
Keep only the selected field and exclude all other fields in the step. |
Remove Fields |
Remove the field from the flow. |
Create Calculated Field |
Use an existing field in a custom calculation to create a new field. |
Edit Value |
Edit a field value. |
Change Data Type |
Change the data type of a field. |
Clean Menu (String fields only) |
Use one-click cleaning operations on string fields, such as removing letters, numbers, or punctuation, trimming spaces, changing all characters to uppercase, and more. |
As shown in (1) above, a clean step is just one of the step types you can add to a flow. You can also add the following flow steps to shape and combine the data.
Flow Step Type |
Description |
|---|---|
Aggregate |
Group data to change its granularity. |
Pivot |
Convert rows to columns or columns to rows. |
Join |
Join data. The files must have at least one field in common. |
Union |
Combine two or more tables by appending values (rows) from one table to another. |
New Rows |
Fill gaps with new rows to effectively analyze your data. |
You added orders data from four sales regions to your flow, and you excluded some fields from the flow in an input step. You want to combine the data for these regions, but before doing so, you need to perform some cleaning tasks because you have noticed some inconsistencies in field data types.
The southern, western, and central regions all contain Sales fields without an alphabetic currency code, so Tableau Prep recognizes those fields as numbers. The eastern region uses a currency code in its Sales field, so Tableau Prep considers it a string. Before you combine the data for all the regions, you need to correct the values in the Sales field for the eastern region so it is consistent with the other regions’ Sales fields. In this simulation, you clean the source data by correcting those values.
- Ensure you’re in the Clean Operations simulation. If you’re not there yet, launch the Trailhead Simulator and click Clean and Prepare Your Data.
- Click Begin.
- In the Flow pane, click
 next to Orders_East, then select Clean Step.
- Scroll right to the Sales field.
The USD currency code has been included with the sales numbers. This causes these field values to be interpreted as a string, and each unique value is listed. You need to remove the currency code from this field and change the data type.
- In the Sales profile card header, click More options (...). Then click Clean | Remove Letters.
- To change the data type from a string to a number, click the Abc link and select Number (decimal).
Your Sales field now shows the correct data type.
- Right-click the clean step and select Rename. Enter a name that will be meaningful for future reference, such as Fix Data Type.
Union Data in a Flow
Previously, you used a wildcard union when connecting to the tables within the south region’s orders data to combine the data for each year. Then you connected to orders data from each of the other regions. In the input step for the west region’s data, you excluded some fields from the flow. Then you cleaned some data in the east region’s orders. Other cleaning operations have been performed for you so that the fields have consistent names and data types across files for all four regions. Now that the data for each region is prepared, you are ready to combine it.
In this simulation, you use a union step in the flow to combine the sales tables from all four regions.
- Ensure you’re in the Union Operations simulation. If you’re not there yet, launch the Trailhead Simulator and click Combine Sales Tables with Union Operations.
- Click Begin.
- In the Flow pane, click
 next to the Rename States clean step, then select Union.
- Drag the Fix Data Type clean step to the Union 1 step. When the Union 1 step highlights, drop the clean step over the Add option.
- Repeat this process for the clean step after orders_south and then again for the clean step after Orders (Central).
- To inspect the results of the union, click the Union step.
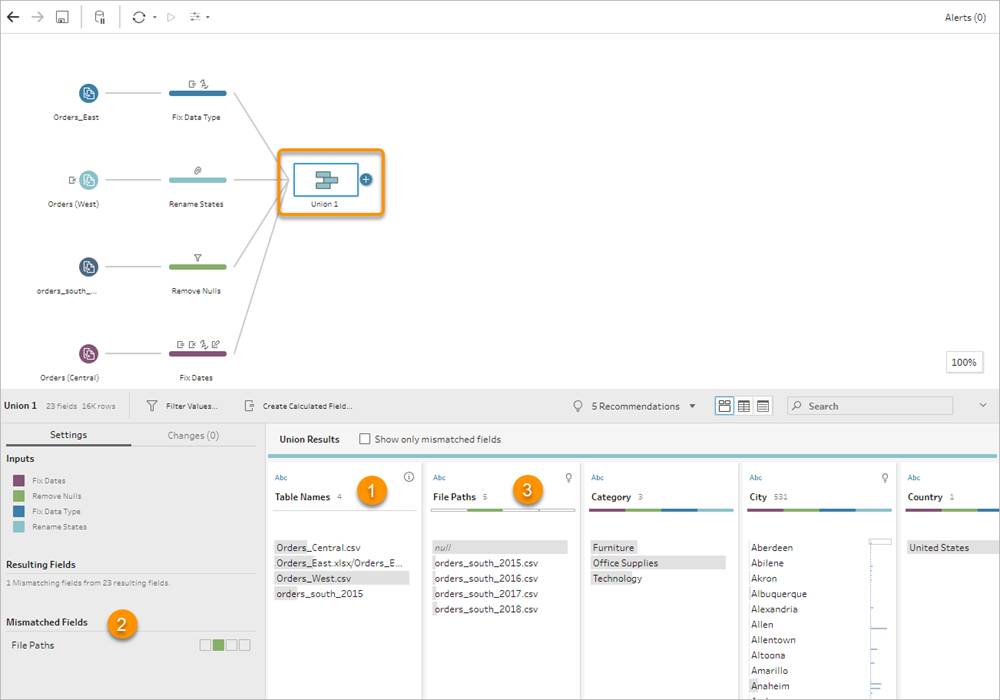
(1) A new field called Table Names was added that lists the tables for all the rows in the union.
(2) A list of mismatched fields is shown in the union pane summary.
(3) The field File Paths is the only field that doesn’t have a match. Tableau Prep Builder automatically created this field to display the file paths for the wildcard union you created earlier to combine tables for each year of sales orders in the southern region.
You have several options when fixing mismatched fields after a union. If Tableau Prep detects a possible match, it highlights it in yellow. You can also choose to remove mismatched fields. In this case, we decide to retain the File Paths field.
You did it! Congratulations on connecting to, cleaning, and combining your data. You’re now ready to save your flow and generate the prepared output file, so that you can create worksheets and dashboards, and share your data with others.
Resources