Finish Projects Faster
Learning Objectives
After completing this unit, you’ll be able to:
- Communicate and work on a project in one place.
- Explain how to add information and files to a channel.
- Describe ways to align on action items in a channel.
Communicate with Your Team
Now that you’re set up to work with your team in Slack, here’s how to finish a project faster by keeping relevant communication, information, and action items in one place rather than scattered across emails, chats, and calls.
Every project should have a dedicated channel in Slack where your team can communicate and work in one place.
Create a Channel
- Click the Create New
 plus button in the sidebar.

- Select Channel.
- In the Create a channel popup, choose a relevant template or the Blank channel option.
- Enter the channel name, workspace (if applicable), select visibility, then click Create.
- Add people from your organization if you’re ready, or wait until later.
Add Teammates
- Click the
 user icon in the top right of the channel.
- Click
 Add people.
- To add a few people, search for members by name, email address, or user group and select them. To add a large group, paste the list of names or email addresses into the field.
- When you're done, click Add.
After adding your teammates to the channel, post a welcome message or hold a kickoff meeting. You can also record a clip so teammates in any time zone can catch up asynchronously.
Add Information and Files
You can create a project brief in a canvas and add other documents to the channel so they’re easily accessible without having to leave Slack. This is useful for new channels so teammates that join can quickly find relevant information.
Create a Project Brief
- In the channel header, click
 .
.
- Then, click Canvas.
- Select Browse template.
- Choose Channel Overview.
- Then, click Use Template.
- Add key information to the canvas, such as a project overview, people involved, goals—anything you’d like.
Add Files
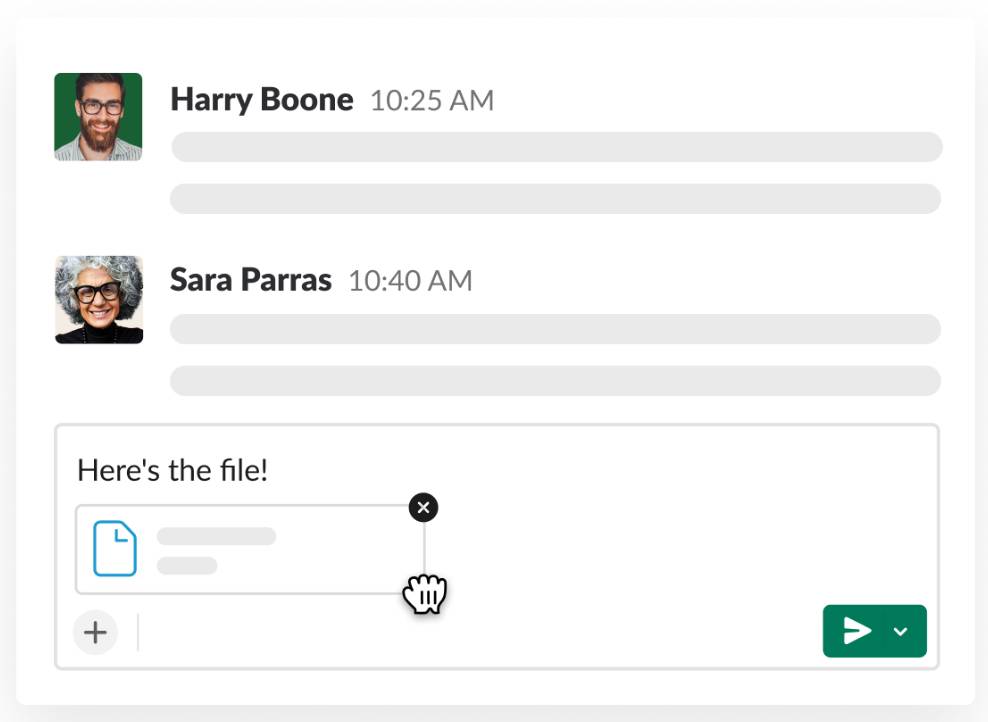
Add files to a channel or canvas by simply dragging them into the message field or into a canvas.

You can also install other file sharing apps like Google Drive and OneDrive with Slack.
Align on Tasks
Use the channel to add accomplishments and align on action items in one convenient place so you and the team can move a project forward.
Add and Assign Items
- In the channel header, click
 .
.
- Then, click Canvas.
- Select Create New Canvas.
- Then, click Browse templates.
- Find and select To-do list from the list of templates.
- Add action items and check them off when they’re done. You can also assign people to items so they get notified. Simply type the @ symbol followed by their name, then select them from the list.
You can browse canvas templates for more resources to move your project forward in Slack. On the left navigation bar, select  Canvases (if you don’t see the Canvases icon in the navigation bar, simply hover over
  More, select
  Canvases), then click on + New in the top-right corner and select Start from a Template.
Schedule Reminders
Schedule recurring messages in the project channel to automate reminders, like sharing a weekly status update.

Follow along using our video tutorial to try it.
Ta-da! You’re set up to run your first project in Slack. In the next unit, you learn how to work with external partners in Slack.
Resources
- Slack Help Center: Public vs. private channels
- Slack Help Center: Create a user group
- Slack Help Center: Run a productive meeting in Slack
- Slack Help Center: Create audio and video clips in Slack
- Slack Help Center: Create guidelines for channel names
- Slack Help Center: File sharing and storage apps for Slack
- Slack App Directory: Home
- Slack Help Center: Schedule recurring messages in a channel
